
You know those simple wooden storage organizers you have hanging around the house? The plain simplicity of wood was once slick and cool – but now it pays off to dress them up a bit! With just a couple materials and some time, you can create hip hand-painted storage pieces to adorn your table or even kitchen countertops. Be brave and give this a shot. You will surprise yourself!
Here’s what you will need:
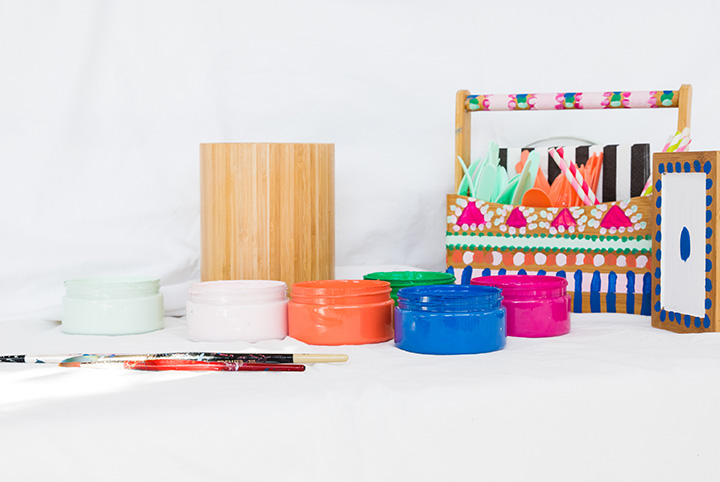
- Latex paint in colours that make you happy
- Small paint brushes
- Clean or new wooden objects (i.e. bowls, holders, organizers etc.)
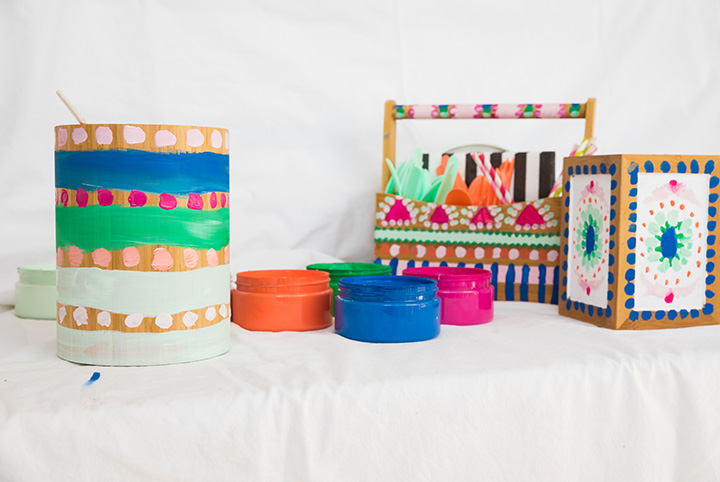
Step One: Test Out Your Colours
Play with the colours before you start painting the wooden pieces that you want to dazzle. When I painted these objects, I just used dots and lines. Sometimes I mixed the lighter hues on top of or underneath the darker shade to add dimension.
If you look at the designs, it’s all based on basic shapes with dots. Keep playing with the colours until you feel good. You can begin by using painter’s tape and getting your basic lines down, or you can freehand it all. This is totally up to you!
Step Two: Paint On Your Design
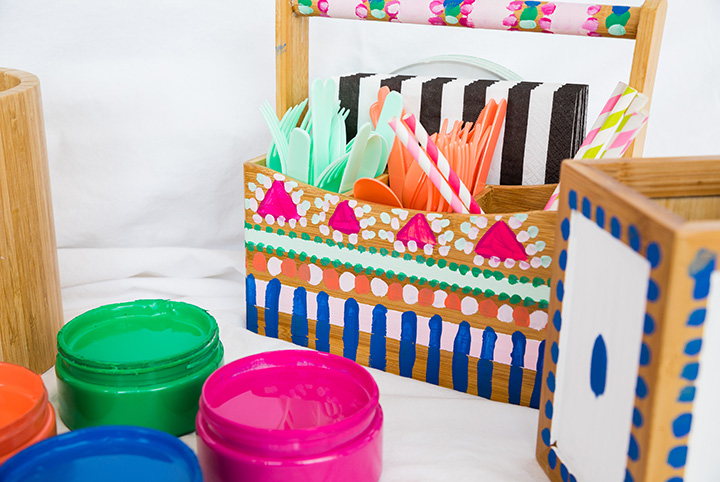
Go for it! I started with basic lines and triangles, and then once the paint was dry, I added multi-coloured painted dots.
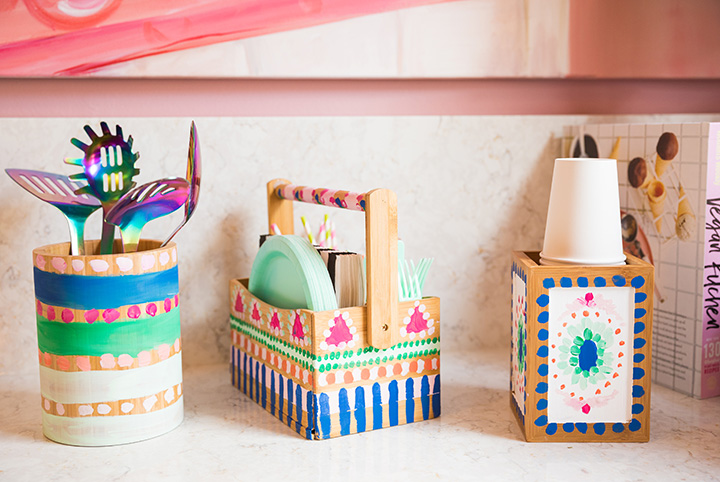
The real magic to hand-painting is going slow and building your shapes and colours until you feel you are done. If you use the same shades for a few different items than they will look like a collection, even if the patterns don’t match exactly. If you want to tape off patterns and paint, you can do that too!
Step Three: Let it Dry
The idea behind hand-painting is that you have fun! When you use latex paint you know that it will hold up to wear and tear, so you don’t need to cover it in a top coat, unless you are madly in love with your hand-painting. In this case, you can add a glossy or matte top coat to protect it.`
This is the type of project you will feel really proud of. Truly, it is all about experimentation and fun! It doesn’t need to be perfect to be great. It just needs to be done with love. That’s what great style and design are all about!
For more of Tiffany Pratt’s colourful DIY creations, visit our DIY section.

