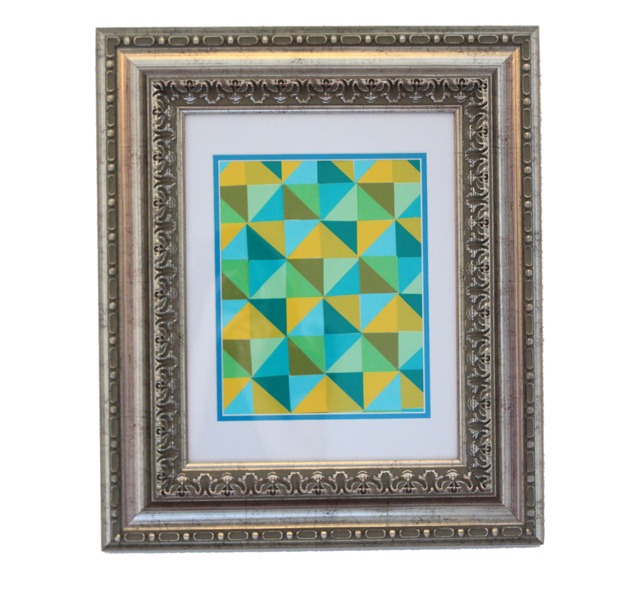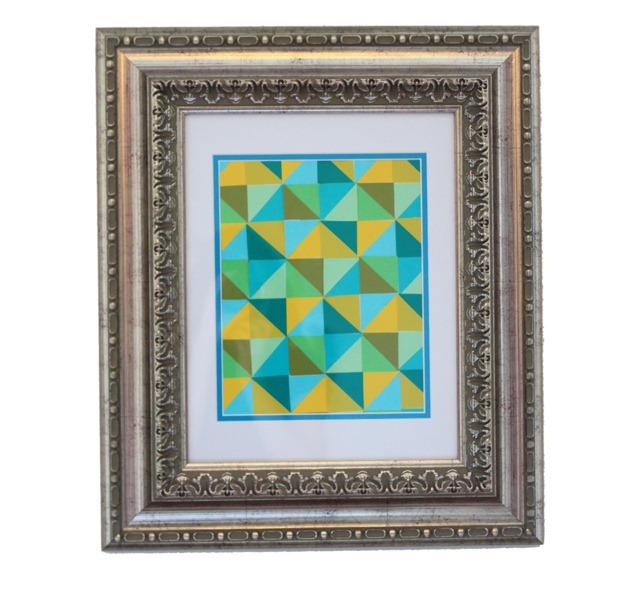
Swap oil paint with paint chips and a paintbrush with a glue stick. The result? A striking masterpiece with super-saturated colour. This mosaic print will brighten up any room – just choose your colour palette and go on, get artsy!
Materials:
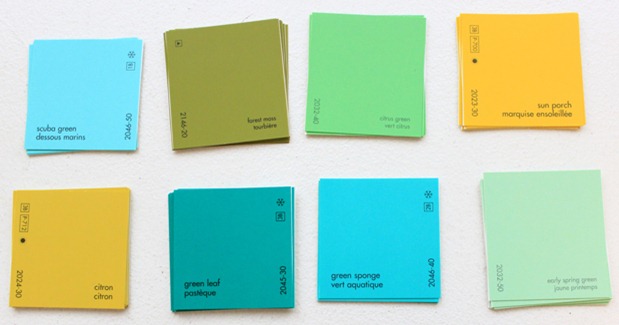
- 48 Benjamin Moore paint chips (Choose 8 different colours and get 6 paint chips of each colour). I chose: Sunset Porch, Forest Moss, St. Patrick, Green Sponge, Early Spring Green, Citrus Green and Citron.
- Scissors
- Ruler
- Pen
- 8.5″ x 11″ piece of cardstock or thick paper
- Glue stick
STEP 1: Cut it out
If your paint chips are part of a four-chip swatch, cut out the single colour chips you’ve chosen.
STEP 2: You’re square
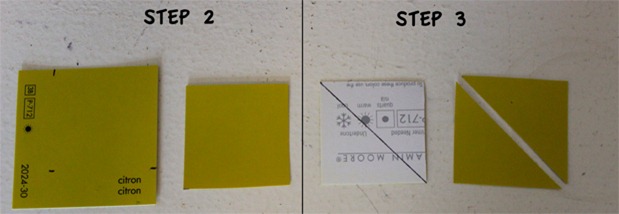
On each paint chip, measure a 1.5″ square with a ruler and mark the corners with a pen. Next, use your scissors to cut out the square.
STEP 3: Don’t be a triangle
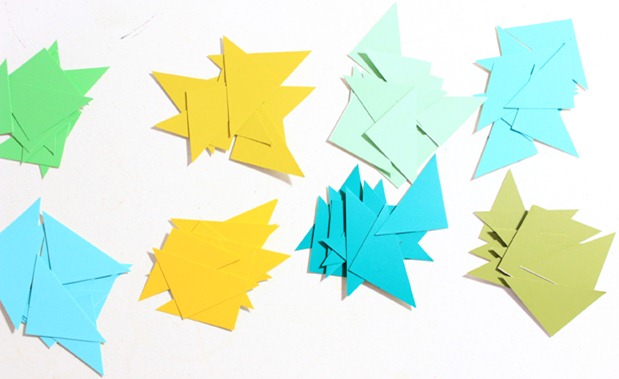
Flip over the square so that the backside of the paint chip is facing up. Draw a line from one diagonal corner to the other using a ruler and a pen. Cut along the line with scissors and you’ll be left with two identical triangles. Repeat on all of the paint chips.
STEP 4: Partner up
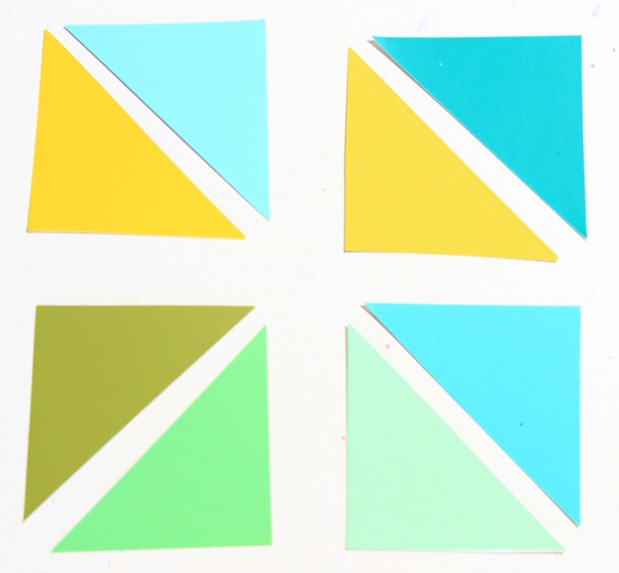
Choose which colours you like best together and pair them up. Lay them side-by-side to create a two-tone square. These squares will serve as the basis for the mosaic pattern.
STEP 5: Shine like a diamond
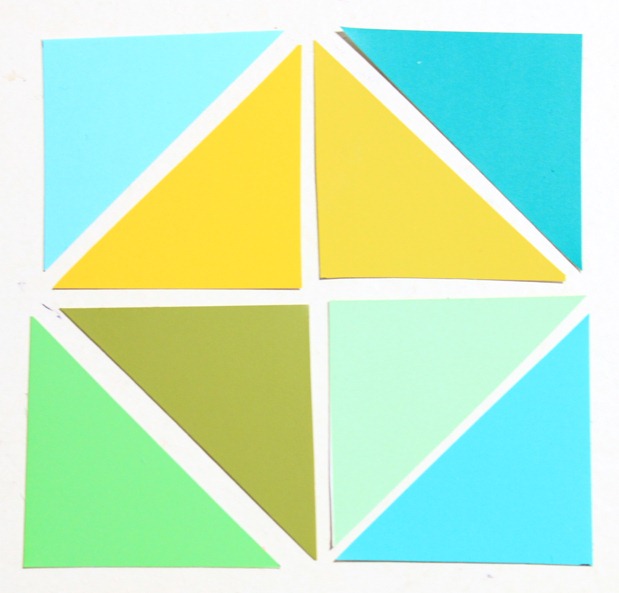
Place the two-tone squares in the following pattern: with two squares on top and two on the bottom, place the 90 degrees angles on the triangles so that they all touch in the middle, creating a diamond shape inside a square (refer to photo for an example).
STEP 6: Glue it on
Use a glue stick to glue the paint chips onto the cardstock in the diamond-square pattern described in STEP 5. Continue gluing paint chips on in the same pattern, but alternate the colours (for example, if blue made up the left side of the first square and yellow made up the right side of the first square, switch them). Continue gluing on the triangles in this pattern, alternating between colours, until the entire sheet of paper is full. The paint chips may spill over the edges of the paper a little, which is fine.
STEP 7: Mount it
Trim the bottom paint chips so that the piece of artwork fits into the frame. Place it into the frame and secure it in. Hang it up and enjoy your masterpiece!
HGTV your inbox.
By clicking "SIGN UP” you agree to receive emails from HGTV and accept Corus' Terms of Use and Corus' Privacy Policy.


