
Published November 30, 2017, Updated December 3, 2020
For awkwardly shaped soft parcels like stuffed animals, mittens or tea towels, a DIY paper gift bag is the perfect gift wrapping solution. No matter the size, you can craft a DIY paper bag to fit just about any gift, and it’s easier than you’d think. Keep reading to see our steps for creating a custom DIY paper gift bag.
Related: How to Make These Fun and Cheerful Holiday Crackers in 7 Easy Steps
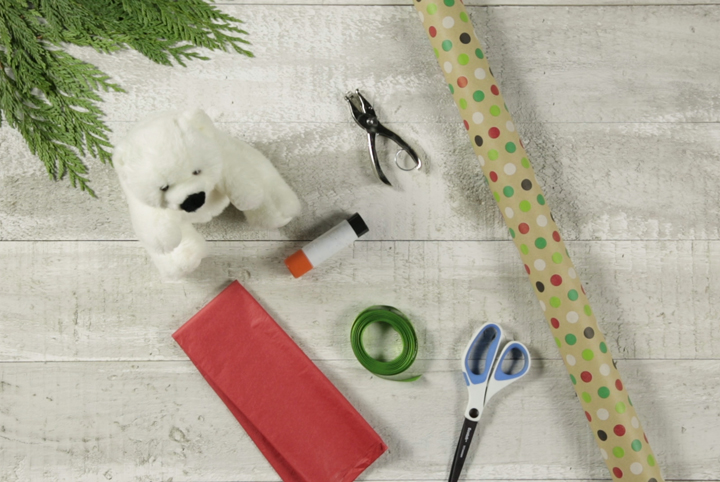
Materials Required:
- Wrapping paper
- Tissue paper
- Ribbon
- Glue
- Scissors
- A Hole Puncher
Related: How to Make an Enchanting DIY Snow Globe This Christmas
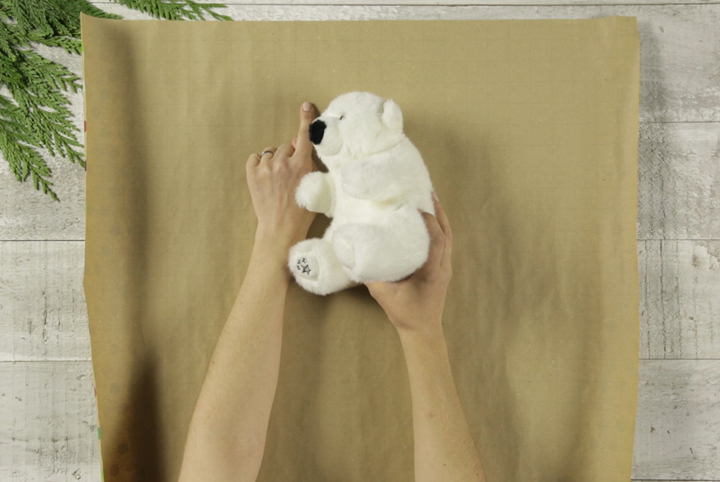
Step One: Determine the Size of Your Gift Bag
Using the item you’re wrapping, place it on your wrapping paper, leaving two to three inches on each side (this will be the size of your “pocket” gift bag), and then double the size of the pocket. For example, if your item spans 10 inches, add two inches on each side, for a total of 14 inches, and then cut your piece of gift wrap to 28 inches across. Be sure to leave two to three inches above and below the item as well.
Related: This Fun and Festive DIY Winter Doormat Can Be Made in 5 Simple Steps
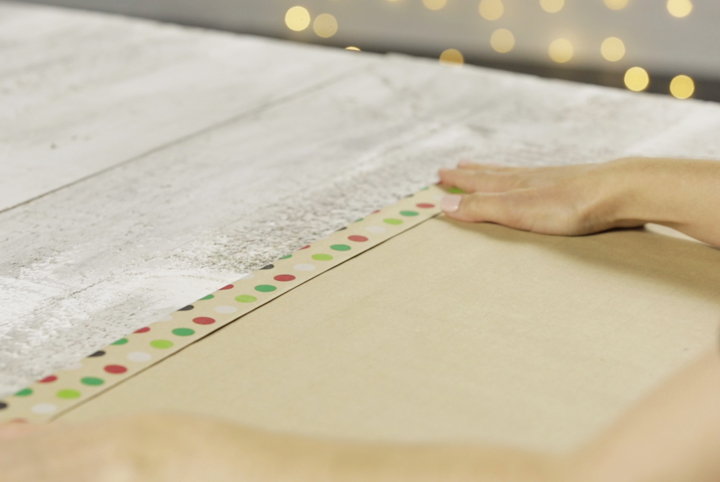
Step Two: Fold the Top of What Will Be Your Gift Bag
Once your paper is cut, fold the top of your wrapping paper twice, by one inch.
Related: DIY Ornaments That Make the Perfect Gift (When You’re Broke During the Holidays)
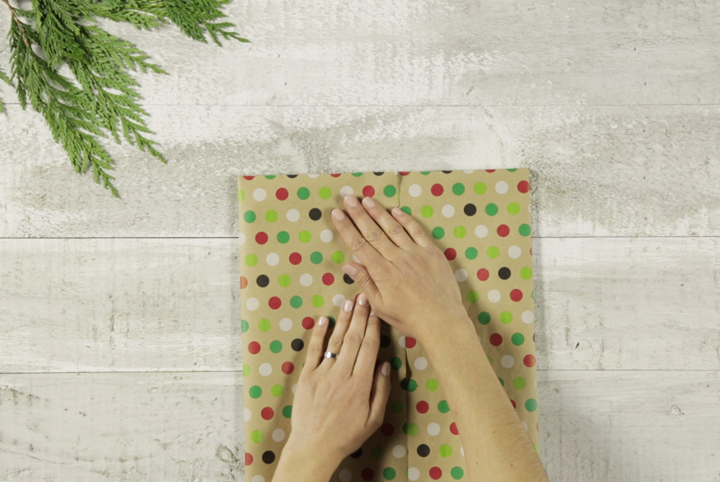
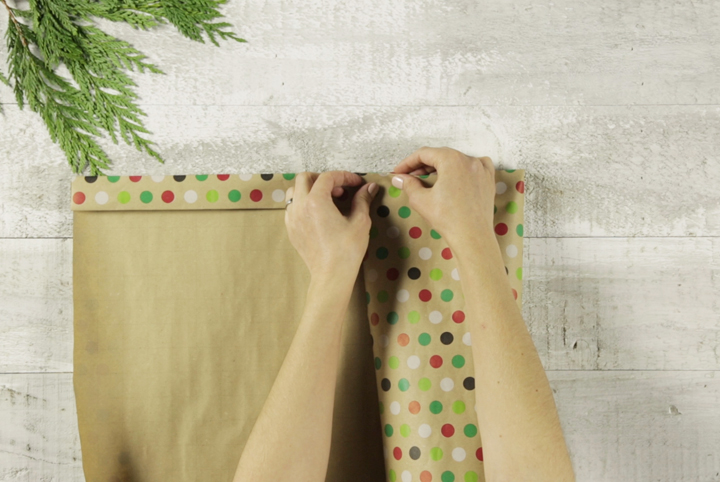
Step Three: Connect the Sides of Your Pocket
Keeping the top folded from step two, fold one side of your paper into the middle, and fold the other side in to meet it. Fold the second side so that it overlaps with the first folded side, and glue it down.
Related: Unique Holiday Gift Ideas Under $50 That Travel Well by Mail
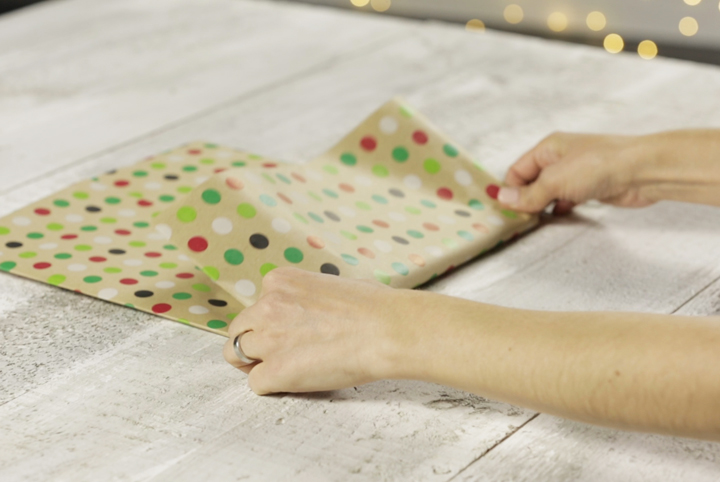
Step Four: Create the Base of Your Bag
Fold one third of the bottom of your bag up and then release. Then, fold each outer corner of the bottom up diagonally to meet the crease you just created.
With the outer corners folded up, open the pocket you’ve created to reveal a diamond shape.

Related: Get a Jump Start on the Holidays With These DIY Leather Gift Tags

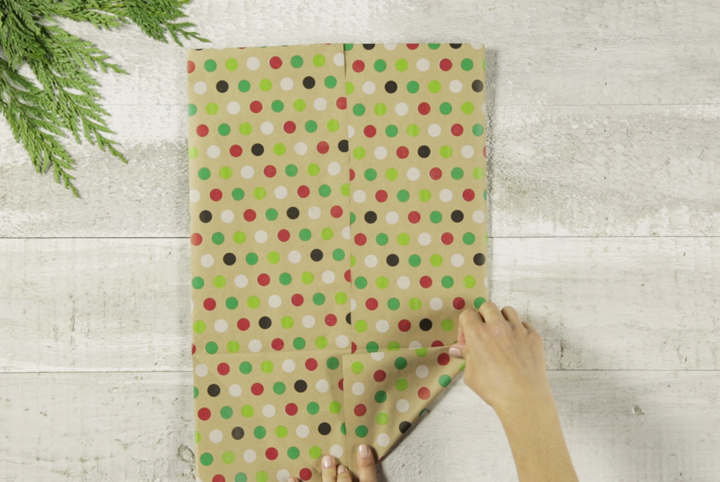
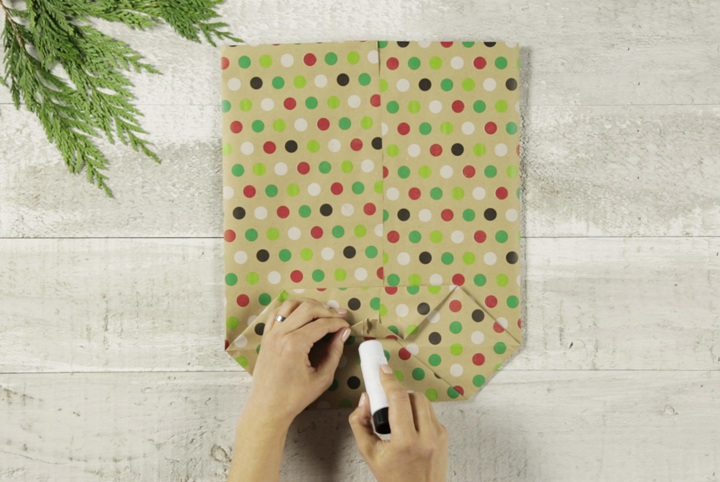
Fold the bottom corner of the diamond up to the centre of the diamond, and fold the top corner of the diamond down and glue it to the bottom corner that is now in the centre as well.

Step Five: Define the Sides of Your Gift Bag
Fold the sides of the bag in and define the creases. This will give the sides of your bag a firmer structure.
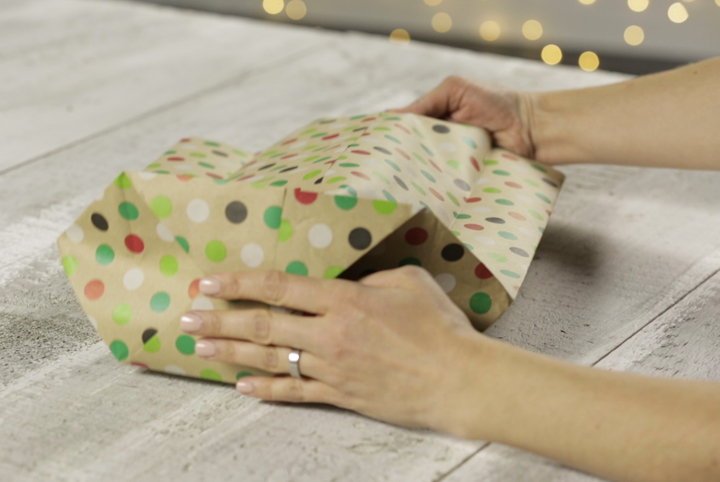
Step Six: Open Your Bag
After folding in the sides, release them, and use the open end to expand your bag.
Related: DIY Projects That Will Make Your Holiday Mantel Shine Bright
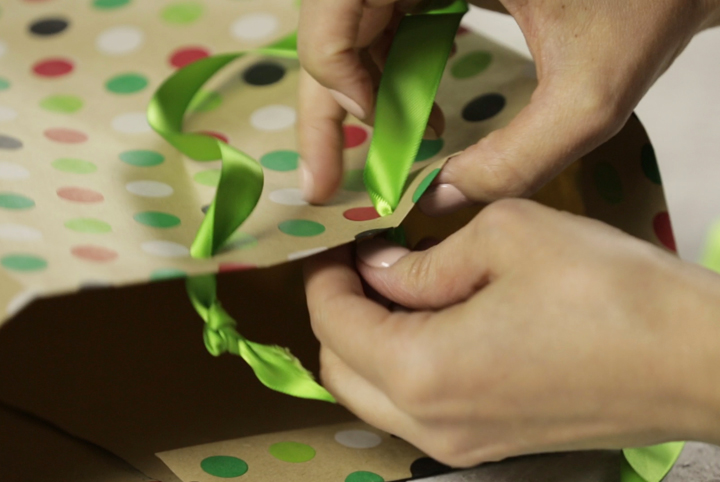
Step Seven: Add Handles
Using your hole punch, create two holes on both of the wide sides, about three inches apart. Thread about six inches of ribbon through on each side, tying each end in a knot to keep the handle in place.
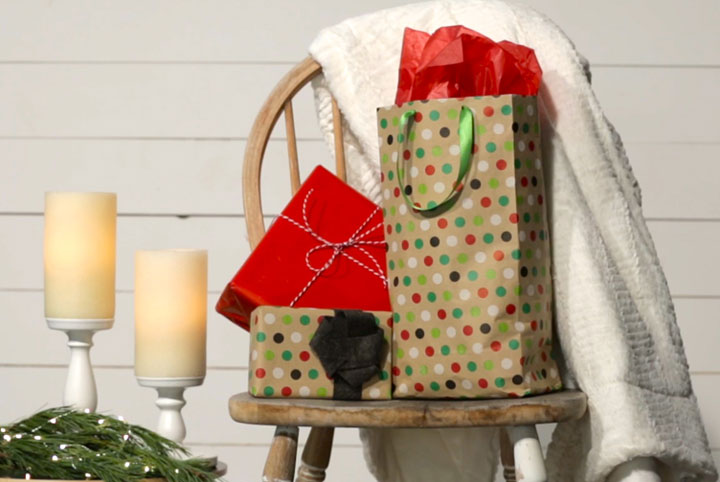
Once your bag is complete, place your gift inside, top it with tissue paper and it’s ready for its lucky recipient!
Watch our video to see all the steps for making a DIY Paper Gift Bag:
For more creative DIY ideas, visit the HGTV.ca Holiday Guide.

