
No matter how beautifully you style your front door for the holidays, your entrance won’t look complete without a fun and festive doormat. Anchor your outdoor space and give guests a warm welcome with this easy DIY winter doormat you can make in five simple steps.
Related: Goodbye Green & Red: Holiday Spaces That Highlight Pastels
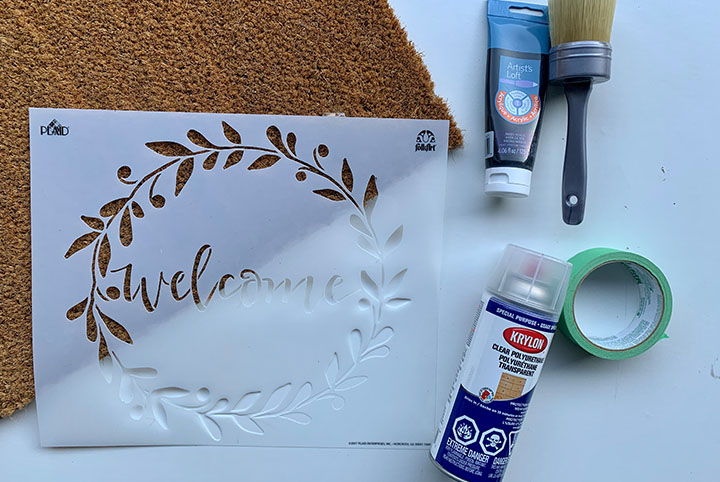
Materials required:
- Natural coir doormat
- Holiday stencil
- Outdoor acrylic paint
- Wax or stencil brush
- Painter’s tape
- Clear polyurethane coating
Related: Check Out This Adorable DIY Cactus Stocking
Step One: Plan Your Design
Think about the design you’d like to create to complement your front porch or entrance. You can choose a single graphic element or monogram, a festive phrase in fancy lettering, or a classic holiday pattern. Look for inspiration in magazines or blogs and measure or sketch out your design to help visualize your finished doormat.
Related: Countdown to the Holidays With This Festive DIY Advent Calendar
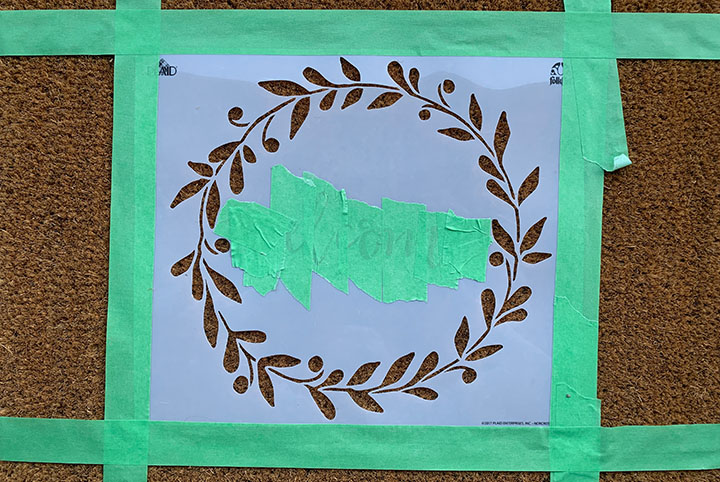
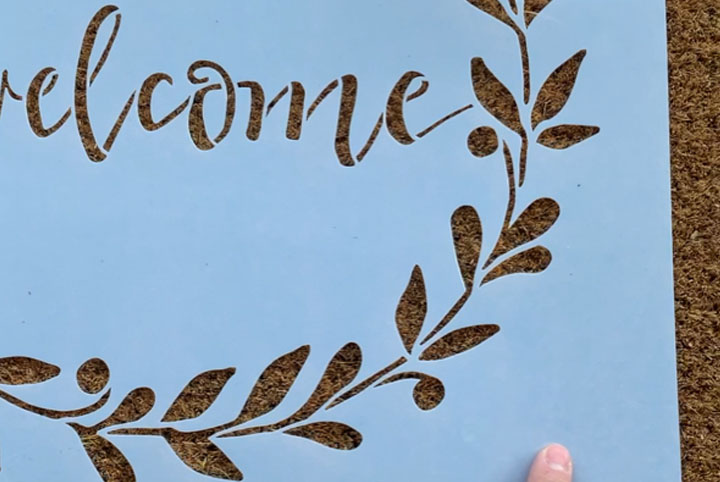
Step Two: Position Stencils
Once you’ve decided on a design, use a plastic stencil to bring it to life. If your design is more complex, you may need several stencils in various sizes. Position your stencils on the doormat and carefully secure them in place with painter’s tape.
Related: 2 DIY Projects That Will Make Your Holiday Mantel Shine Bright
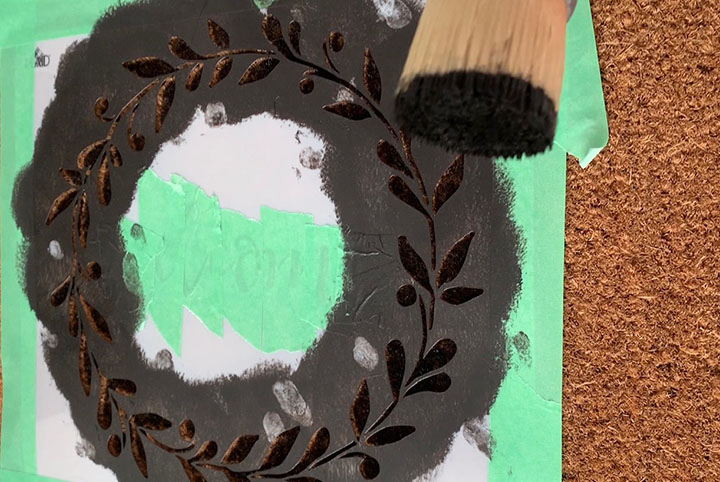
Step Three: Paint
Apply a light and even layer of outdoor acrylic paint to a large wax or stencil brush. Carefully and firmly stamp the paint over the entire stencil. Depending on your design and stencils, you may need to work in batches.
Related: DIY Clay Ornaments That Make the Perfect Personalized Gift

Step Four: Remove Stencils
Once your paint is completely dry, gently remove the painter’s tape and lift your stencil away from the doormat. If you’re working in batches to complete your design, be sure to allow enough drying time before laying down your next stencil.
Related: 5 DIY Wrapping Paper Ideas Made with Household Items
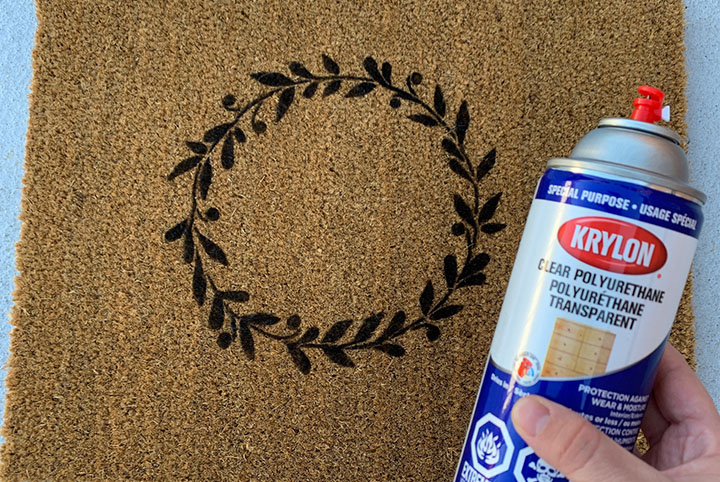
Step Five: Apply a Protective Coating
When you’re happy with how your finished design looks, apply a layer of transparent polyurethane spray to protect your doormat from the winter elements. Be sure to complete this step in a well-ventilated or outdoor area.
Related: How to Make Enchanting DIY Snow Globes
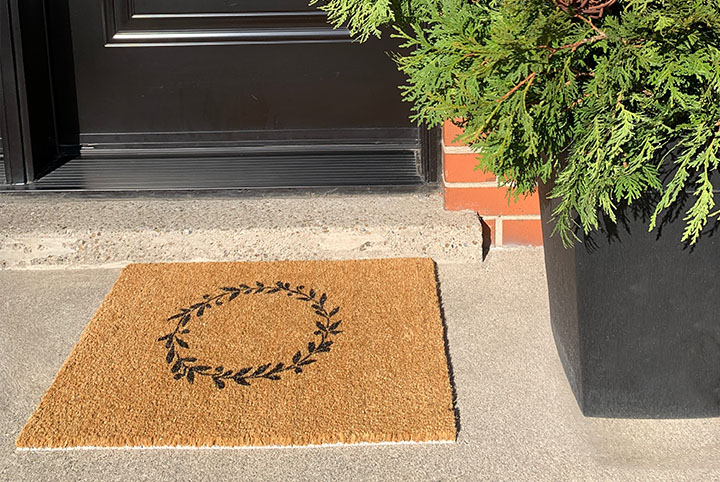
Set the Holiday Scene
Dress up your front entrance using your new winter doormat and some greenery. Enjoy!
Images courtesy of Denise Dias

