
There’s nothing quite like the familiar and festive “POP!” of a holiday cracker to bring cheer around the Christmas or Hanukkah dinner table. Make these joyful decorations in a snap with seven simple steps and completely customize them with personal messages and tasty treats to delight your loved ones.
Related: Countdown the Holiday Season With This Festive DIY Advent Calendar

Materials Required:
- Paper rolls
- Wrapping paper
- Scissors
- Tape
- Ribbon or string
- Cracker snaps
- Confetti
- Treats and goodies
Related: How to Make an Enchanting DIY Snow Globe This Christmas
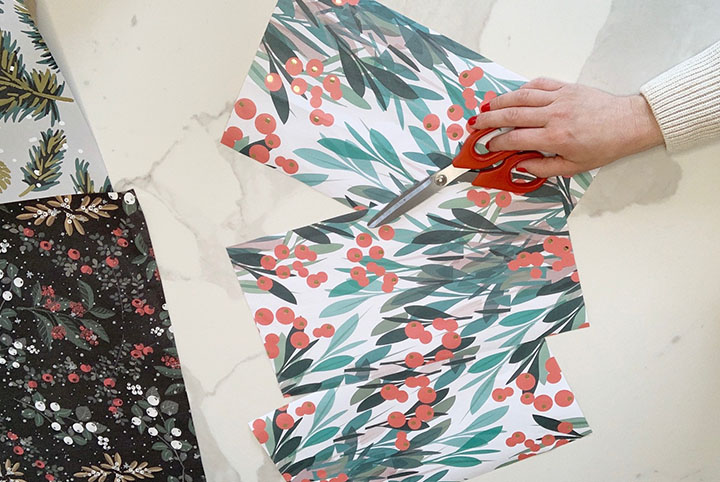
Step One: Cut Wrapping Paper
Cut out a few pieces of bright wrapping paper approximately 14 inches wide and 8 inches long. Look for wrapping paper that features grid lines along the back for easy measuring and cutting.
Related: This Fun and Festive DIY Winter Doormat Can Be Made in 5 Simple Steps
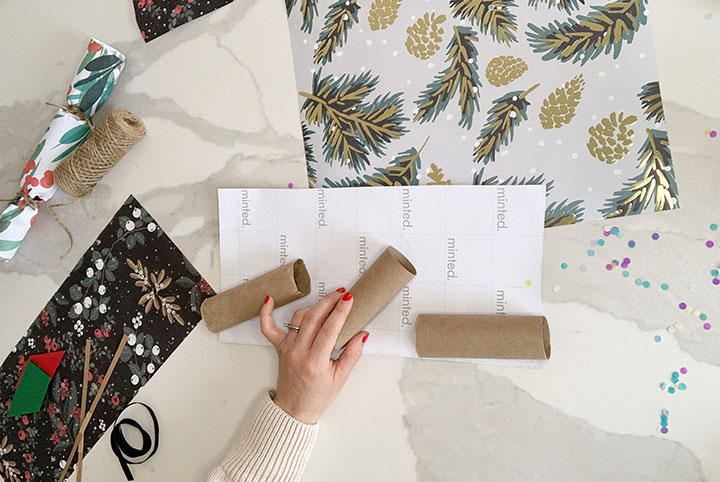
Step Two: Wrap Paper Rolls
Line three cardboard paper rolls side by side and carefully wrap them by rolling along the paper. Secure the paper with a piece of regular tape, double-sided tape, or a bead of hot glue.
Related: DIY Ornaments That Make the Perfect Gift (When You’re Broke During the Holidays)
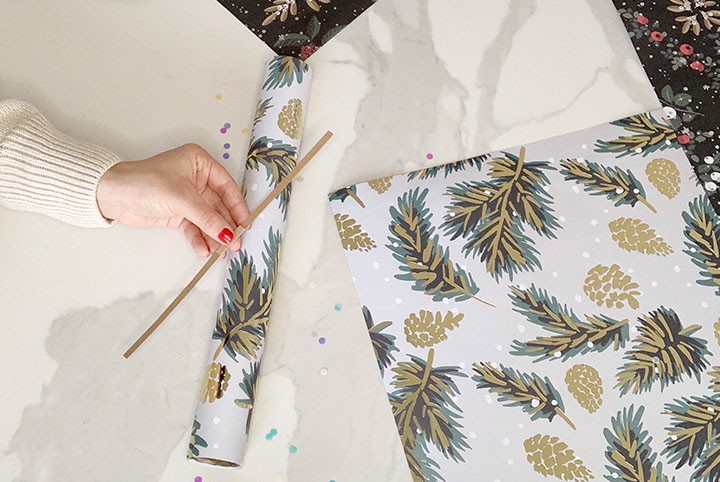
Step Three: Insert Cracker Snap
Slide a bon bon snap or cracker snap through the paper rolls from one end to the other. Secure one end with a small piece of tape. This will keep the snap in place when you fill the cracker and close the ends.
Related: Unique Holiday Gift Ideas Under $50 That Travel Well by Mail
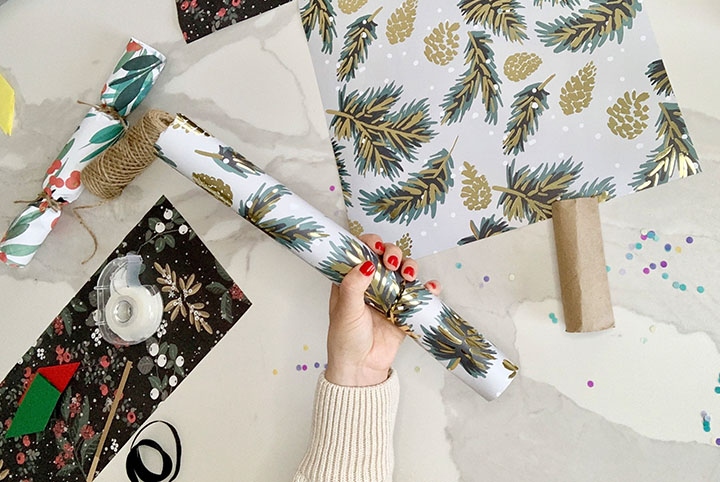
Step Four: Gently Crush Ends
Grab hold of the wrapped cracker with both hands and find the break beneath the surface where the paper rolls meet. Gently twist the rolls apart to form a groove in the paper.
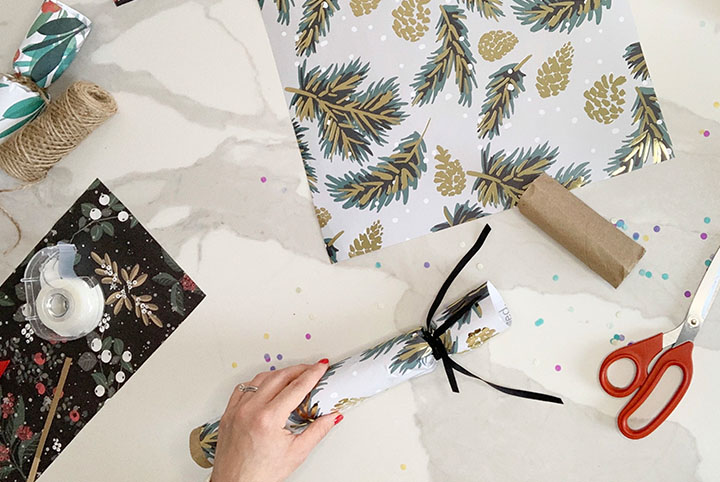
Step Five: Close One End
Make sure the cracker snap is easily accessible on either end of your cracker. Carefully tie a ribbon or string to close one end of the cracker. Work the ribbon along the groove of paper to gently seal it shut. Once the ribbon is in place, trim the paper ends and lightly fluff them into shape.
Related: Get a Jump Start on the Holidays With These DIY Leather Gift Tags
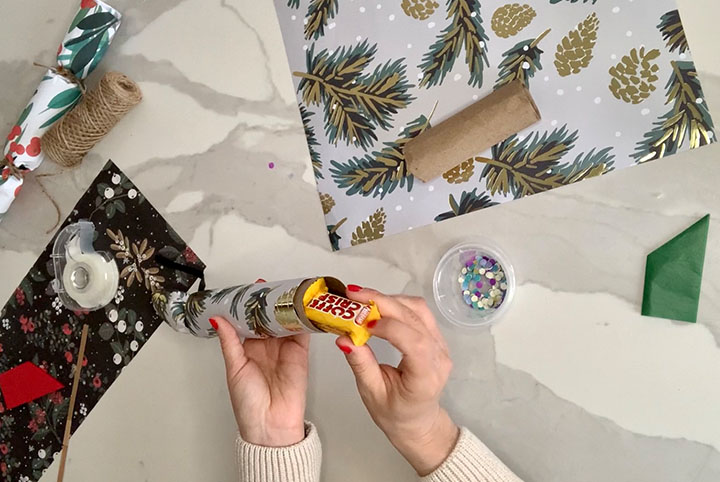
Step Six: Fill Cracker
Now the fun part! Fill your cracker with items like personalized jokes or meaningful messages, paper crowns, balloons, candy, small trinkets or toys, and – of course – confetti!
Related: Hanukkah Decorations You’ll Want to Display All Year Long
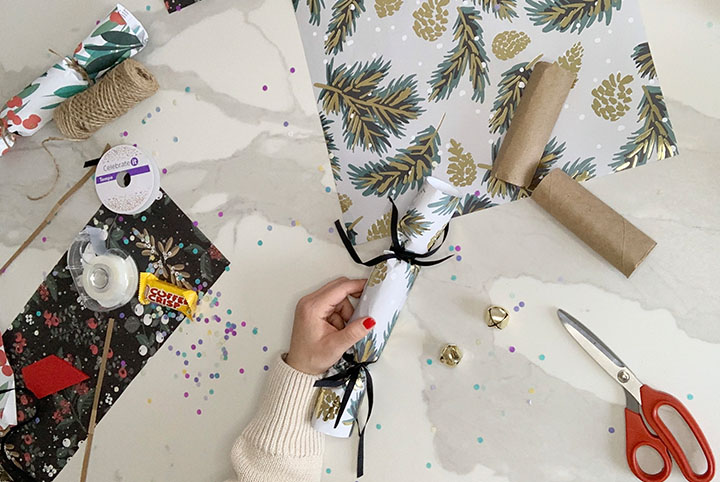
Step Seven: Close Other End
Repeat step five to close the other end of the cracker. Leave the ends tied simply with a ribbon or string, or dress them up with some jingle bells, small ornaments or colourful pom poms.
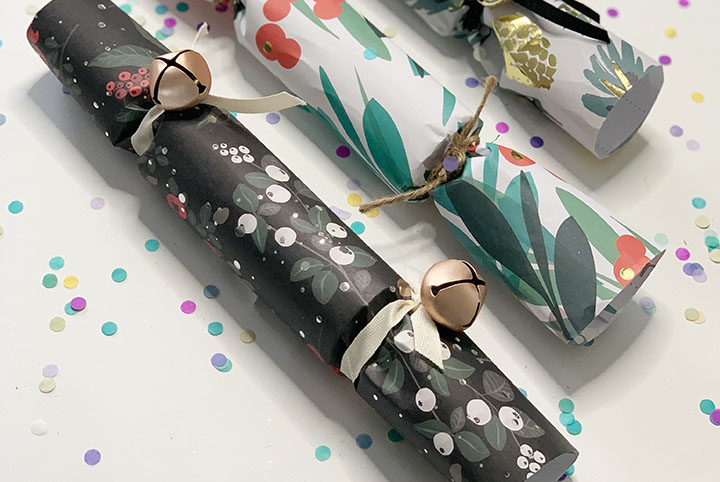
Set the Holiday Table
Make your holiday table pop with these fun and festive crackers!
Related: DIY Projects That Will Make Your Holiday Mantel Shine Bright
Images courtesy of Denise Dias

