
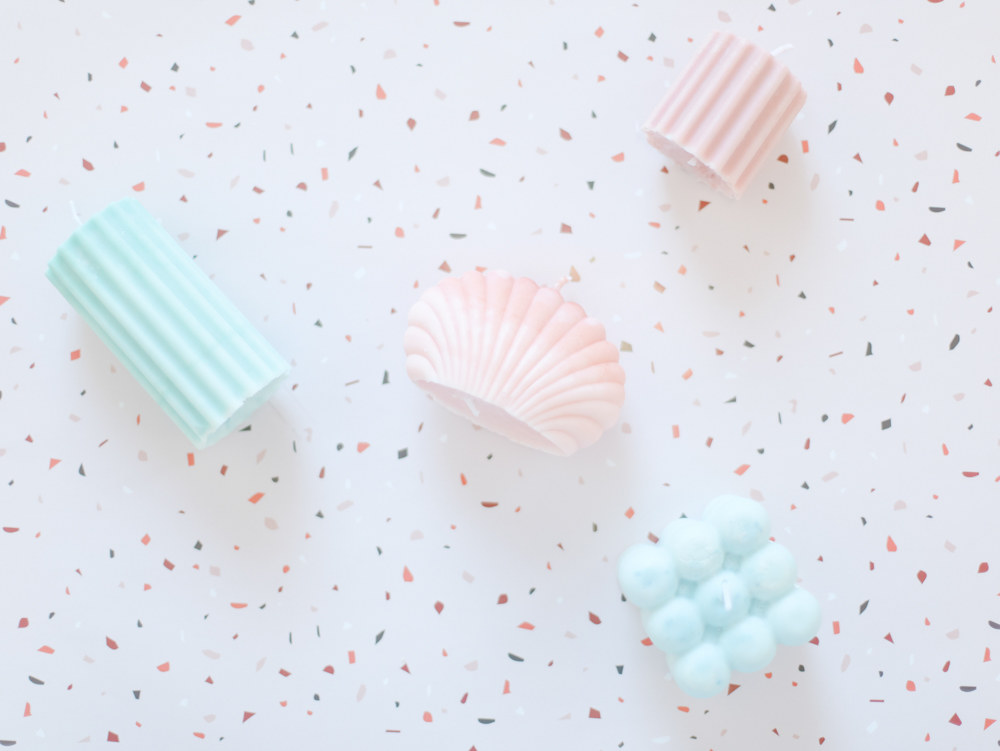
We’ve seen colourful candles in fun shapes and sizes all over Pinterest lately, so today we’re showing you how easy it is to make your own at home. They’re stylish and the perfect addition to your decor. Let’s get started…
Related: The Most Fun and Unique Gift Ideas for Valentine’s Day
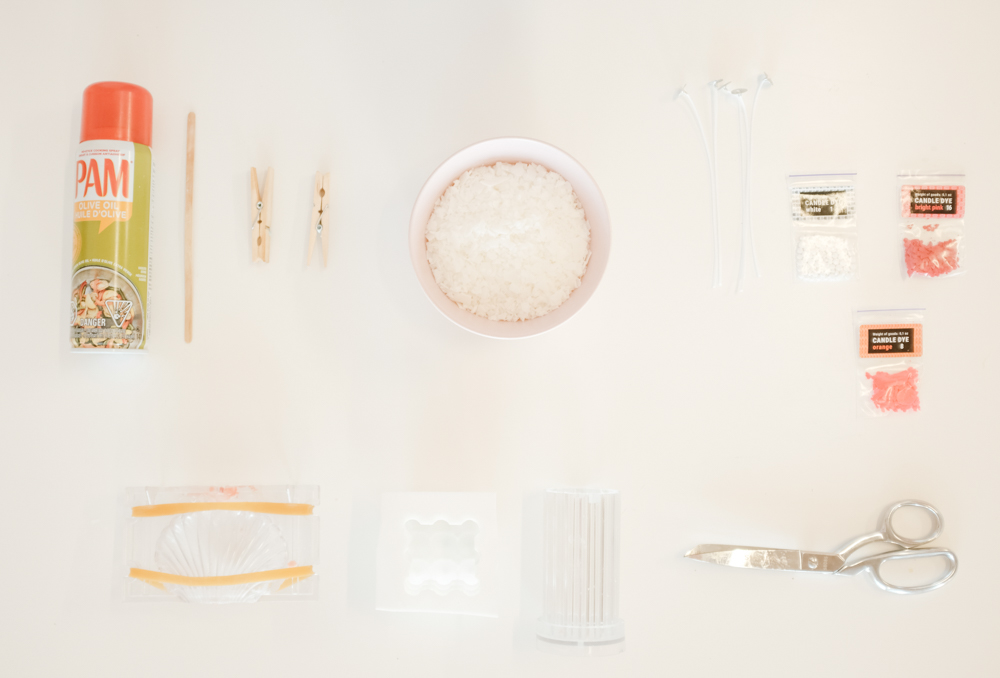
Materials Required:
- Candle molds (in different shapes)
- Oil spray
- Mica powder or candle dye (in different shades)
- Natural candle wicks
- Natural soy wax
- Scissors
- Bobby pins or clothes pins
- Small pot and different glass containers to melt the soy wax
Related: Romantic Pink and Red Rooms We Can’t Get Enough Of
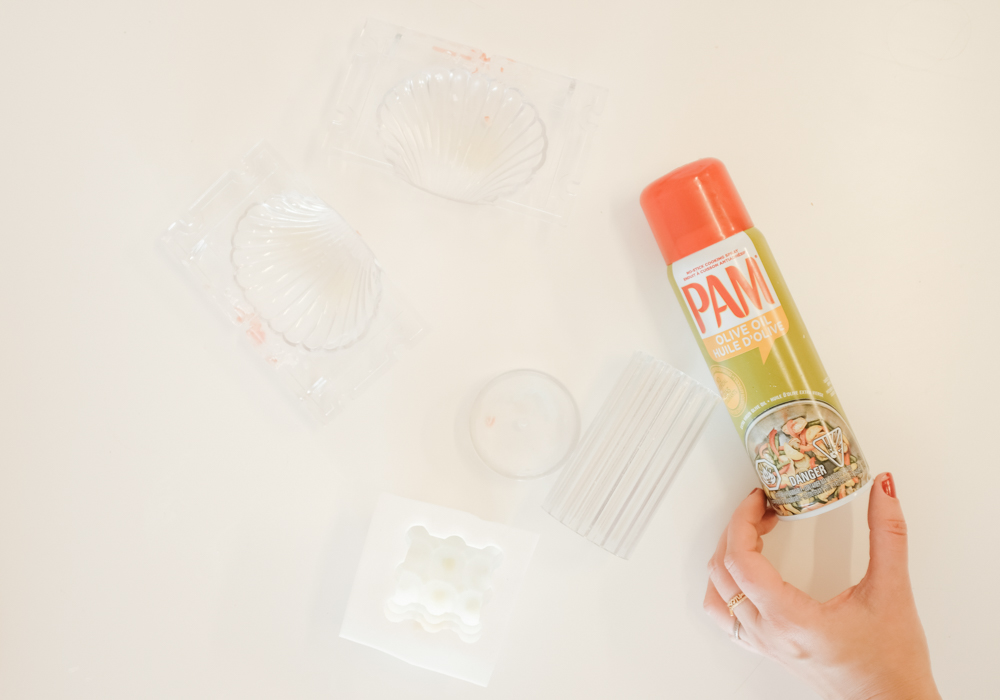
Step One: Spray the Oil in Your Candle Molds
Open all of your candle molds and spray your oil inside so they don’t stick when you remove them.
Related: Tiffany Pratt’s Over-the-Top Last-Minute Valentine’s Day DIY
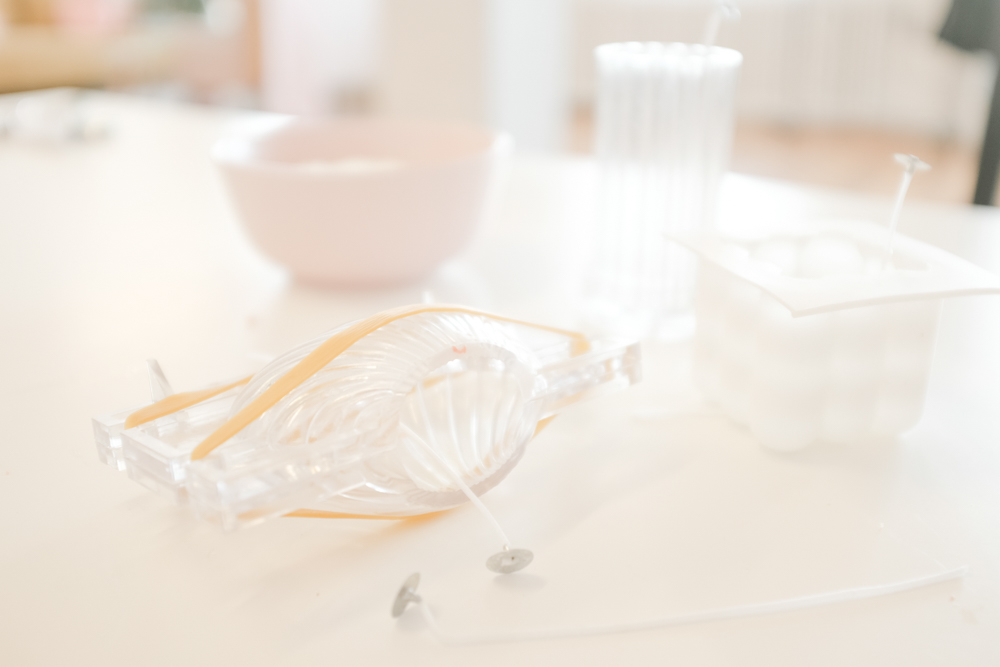
Step Two: Thread the Candle Wicks
Now grab the mold bases and thread all of your candle wicks through them. Cut the bottom of the wick, leaving the desired length you’d like for each candle.
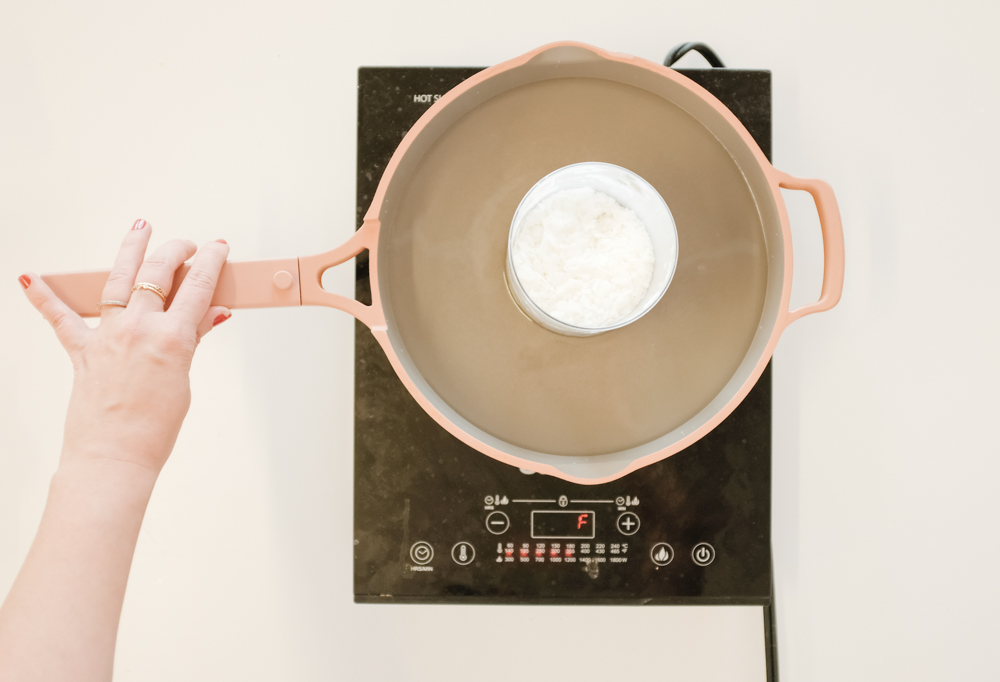
Step Three: Melt the Soy Wax
Using a pot, add water and a glass container to melt your soy wax. Start stirring it as soon as you see the wax melting (it doesn’t take long to melt). If you have a microwave, place the wax in a heat-resistant container and heat it on medium for five minutes.
Related: How to Make These Beautiful (and Easy!) Dried Flower Wreaths
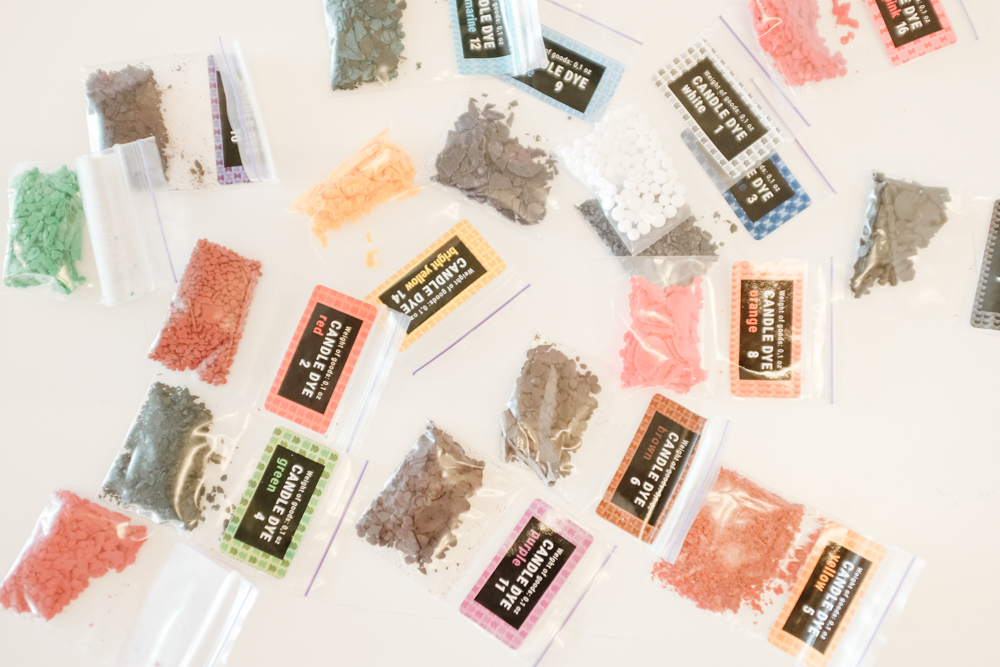
Step Four: Add Candle Dye to the Melted Soy Wax
To create different candle colours, you’ll need candle dye. Just add a tiny bit to your melted soy wax and stir it until the mix is even.
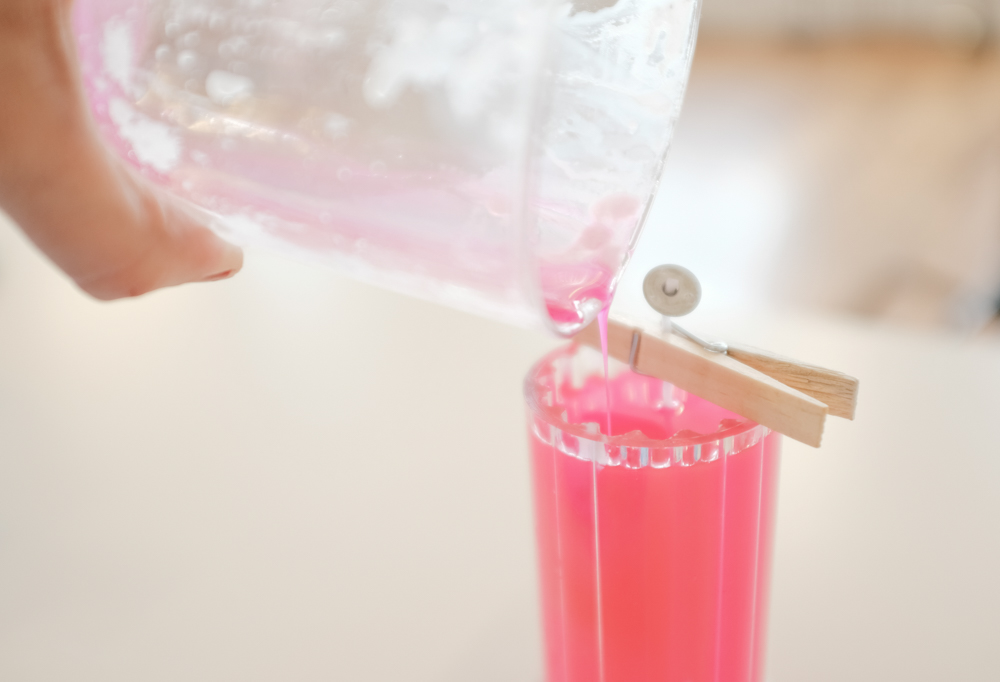
Step Five: Pour the Coloured Wax Into the Mold
Now you can pour the wax into the candle molds. Do it carefully (the wax is hot) and slowly fill it right up to the top of the mold.
Tip: If you want to add fragrance, you can add a few drops of your favourite essential oil.
Related: 10 Reasons DIY Projects Fail (and How to Set Yourself up to Success)
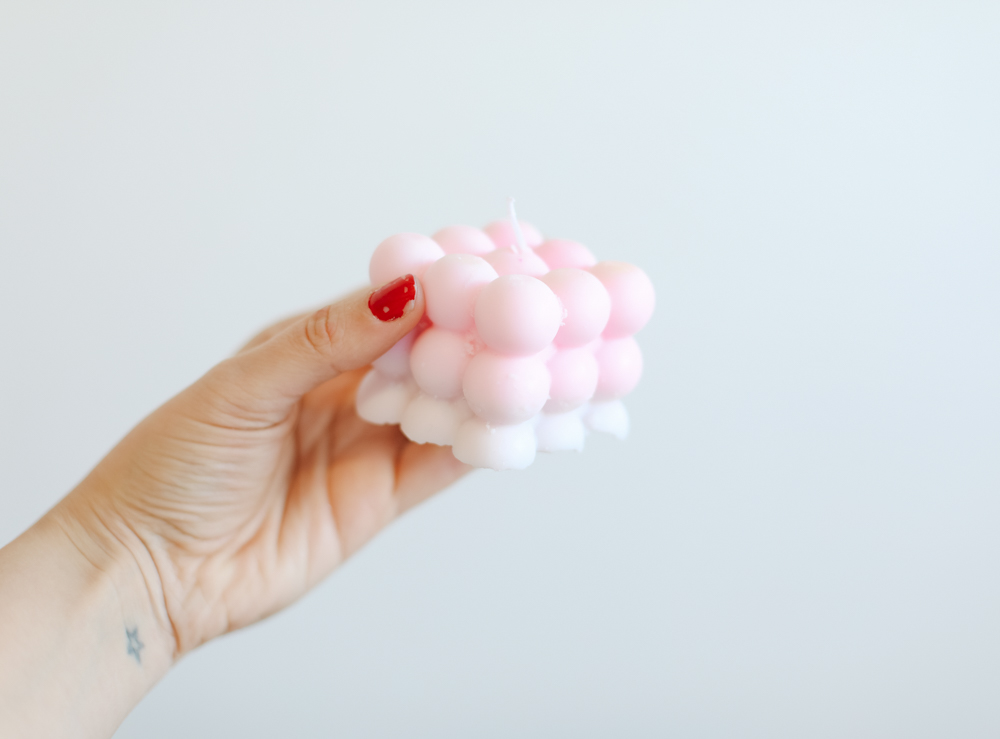
Step Six: Create Two-Toned Candles
If you want to create a candle with multiple tones, add your melted soy wax halfway down into the mold and let it sit for about an hour until it’s dry. In your hot pan, add a bit more candle dye and pour the other half into the mold to complete the candle.
Related: These Eco-Friendly Beeswax Food Wraps Are So Simple to Make
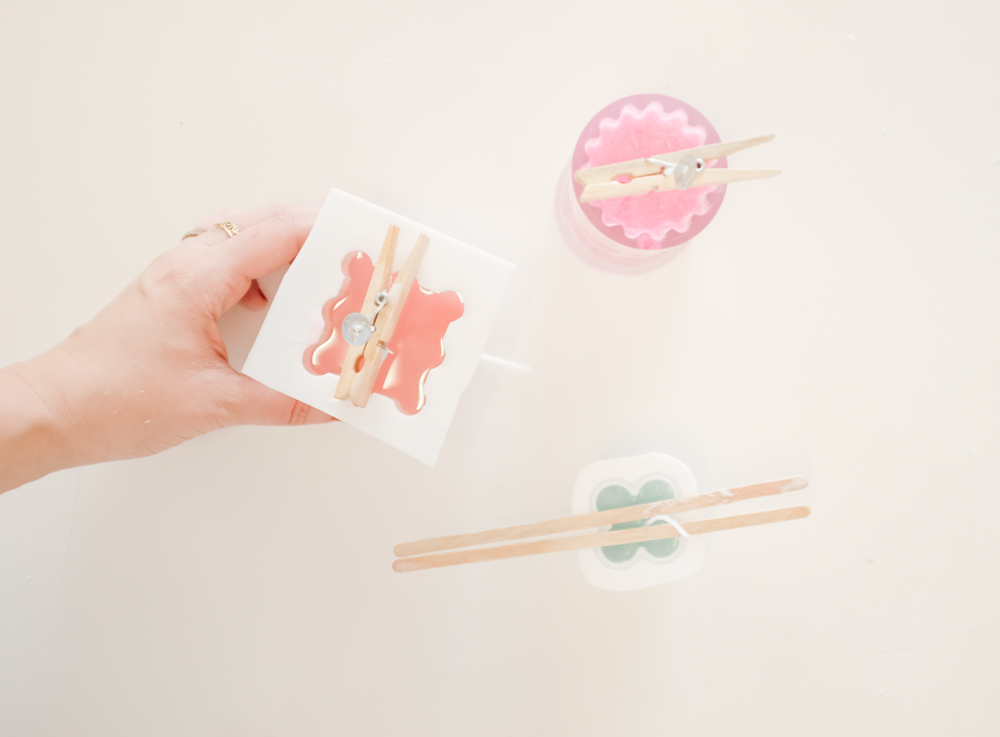
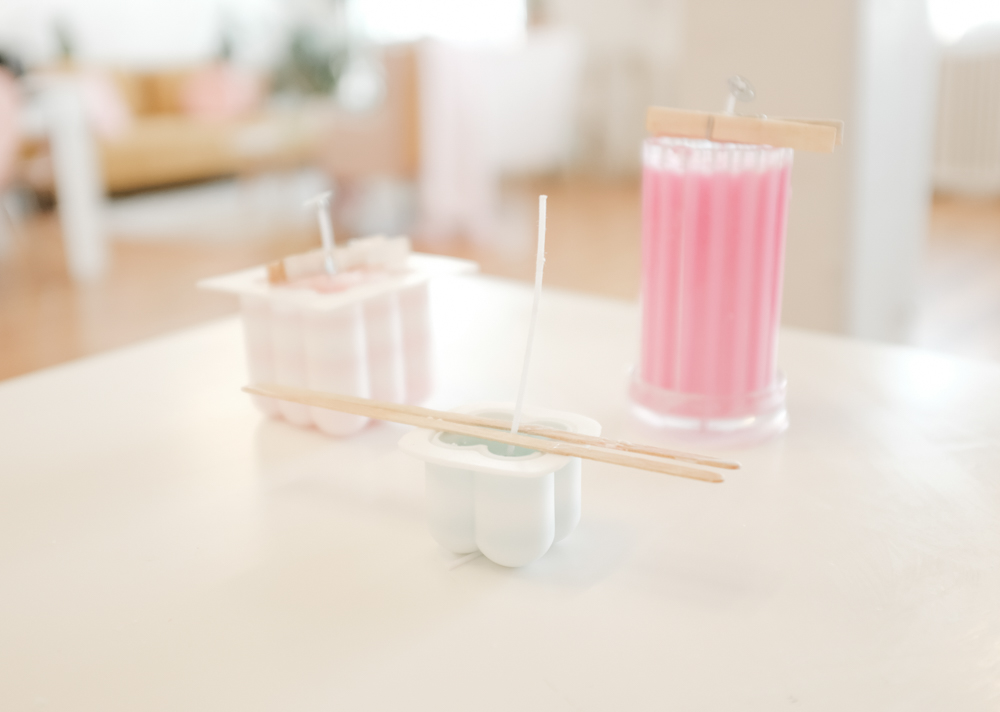
Step Seven: Let Your Candles Dry
The last step is to pinch the wick with a clothes pin or bobby pin, making sure it stays well centered. Let the candle sit for about two hours or until you see the candle solidified.

Step Eight: Remove the Molds & Finish Your Candles
Once the wax has completely set, take off the clothes pin and carefully remove the candles from the molds. If they’re stuck, freeze your molds for a bit to help loosen them. Cut the wick 0.5″ from the top of your candle with scissors.
Related: 21 Easy-to-Care-for Indoor Plants That Go Beyond Succulents
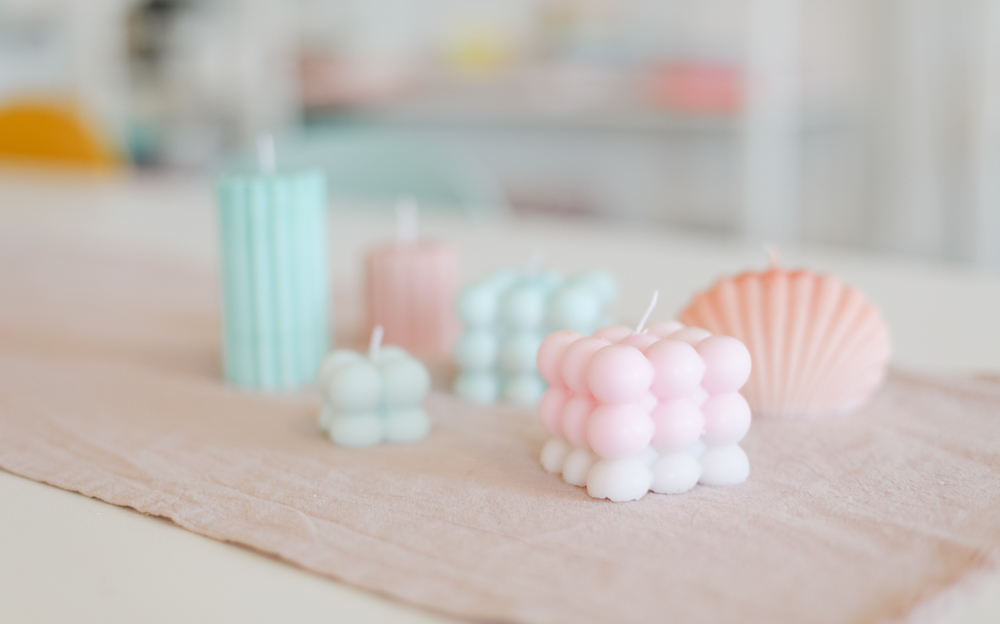
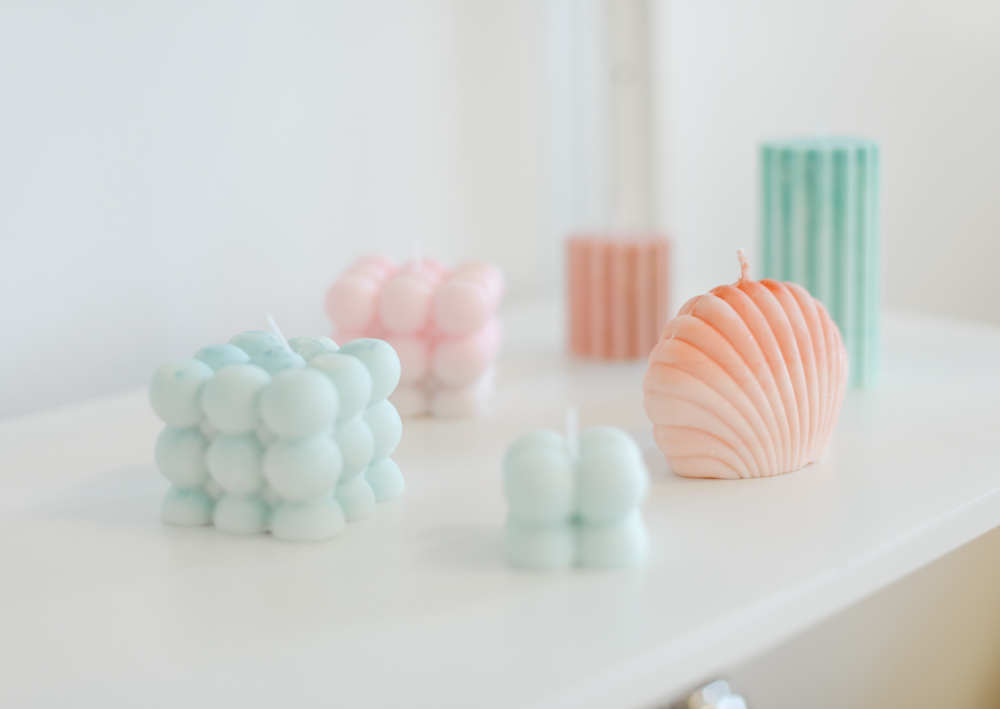
And voila! Making these fun colourful candles is so easy and you can now use them as part of your home decor.
Tip: It is recommended to wait at least seven days before burning your candle for the first time after making it. They will burn much faster if you don’t wait the seven days.
Images courtesy of Maca Atencio

