
Can you believe there’s only two more weeks to go until Christmas? We have an easy ornament DIY project for you to try – these beautiful drip-painted festive ornaments that make the perfect handmade gift or a delightful ornament for your Christmas tree.
Related: How to Make an Enchanting DIY Snow Globe This Christmas

Materials Required:
- Clear glass ornaments
- Gold foil flakes
- Assorted craft paints
- Paint brushes
- Glue
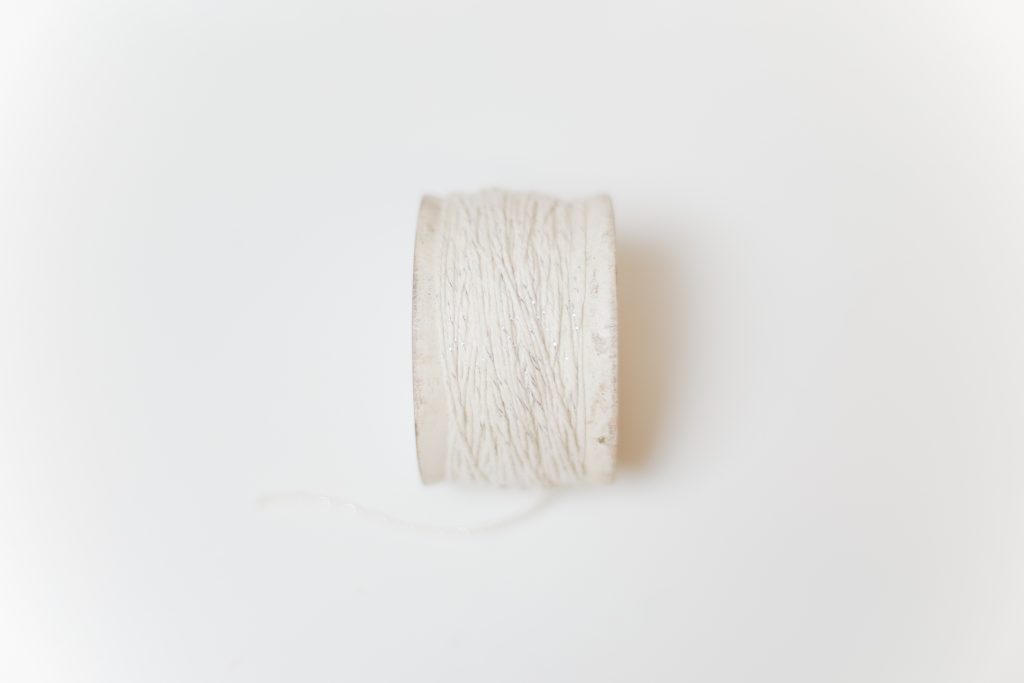
- Thin ribbon
- Scissors
- Small cups
- Tweezers
Related: This Fun and Festive DIY Winter Doormat Can Be Made in 5 Simple Steps
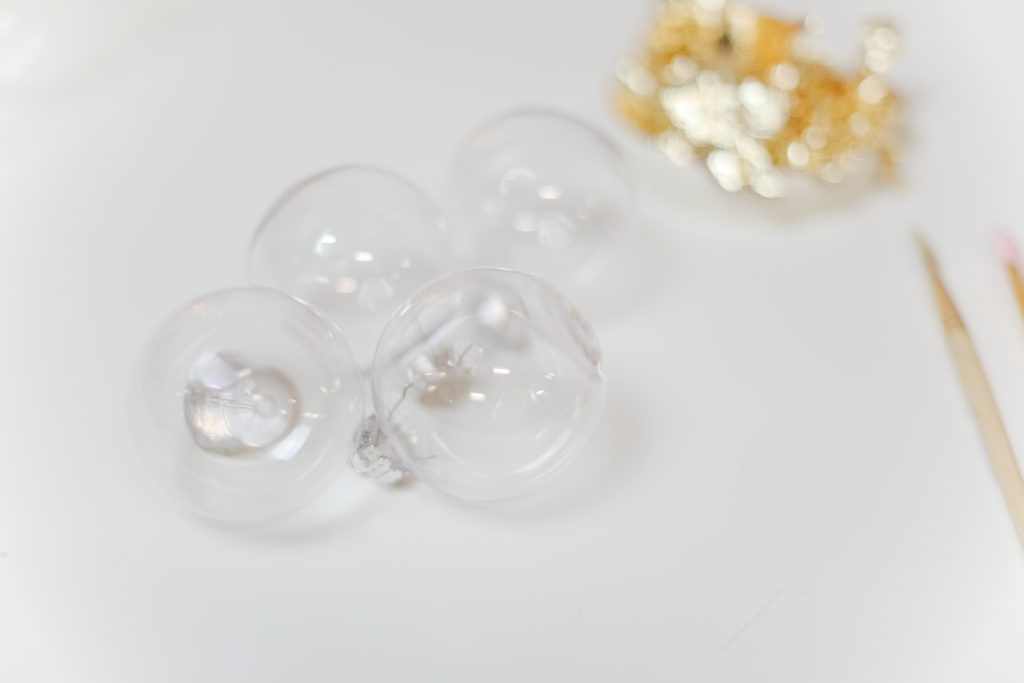
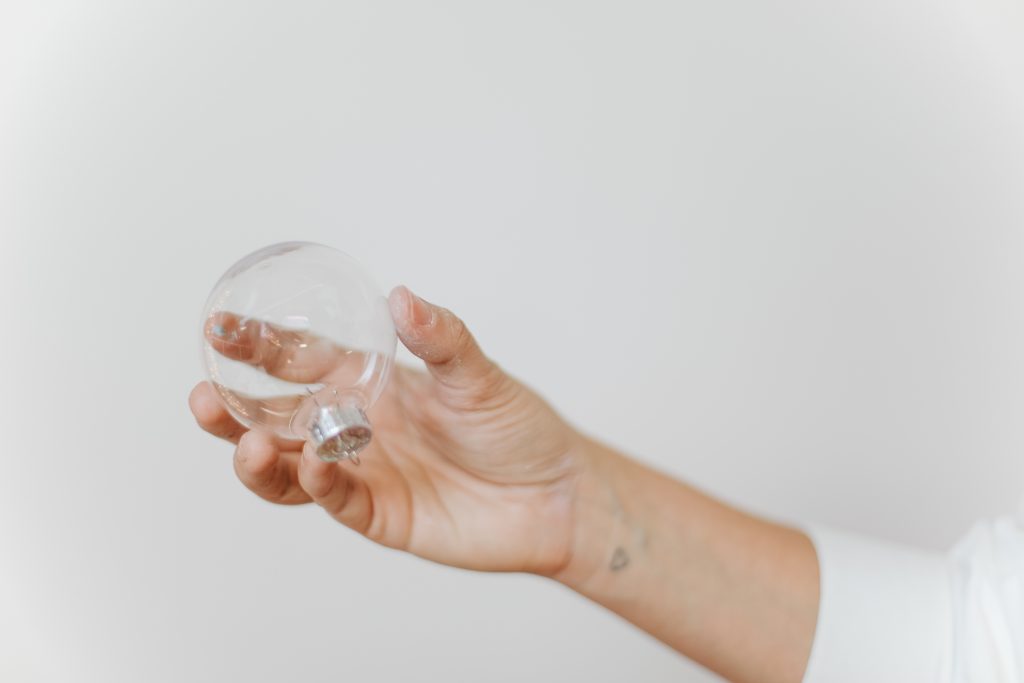
Step One: Set Up the Ornaments
Start by removing the top of each ornament and arrange your craft paints and gold foil. Make sure you remove any dust with glass cleaner before you start painting.
Related: Unique Holiday Gift Ideas Under $50 That Travel Well by Mail
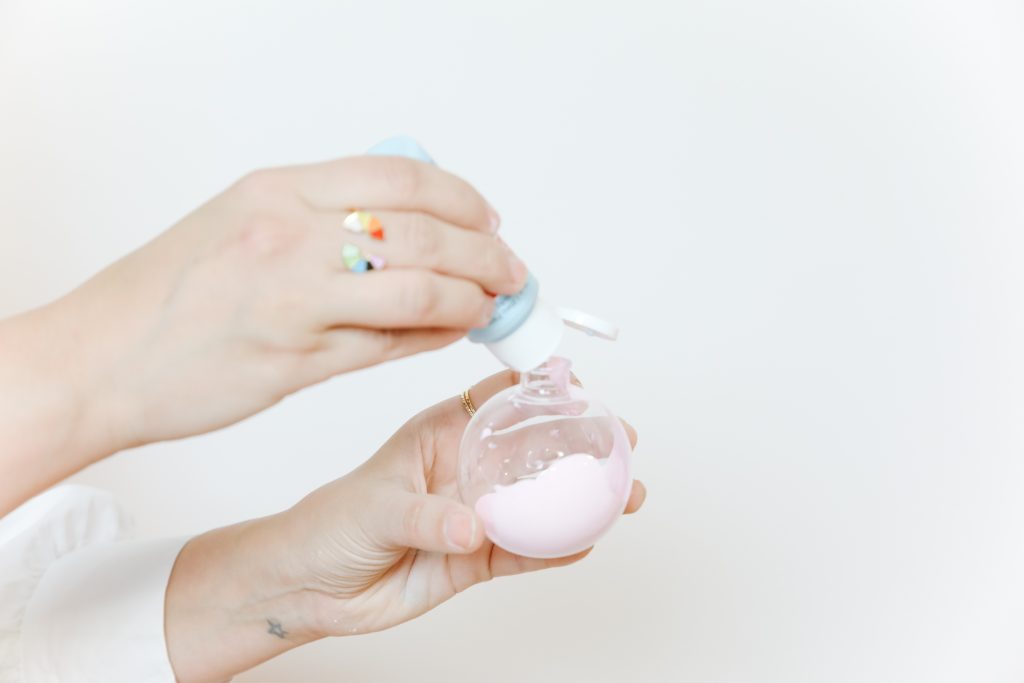
Step Two: Add Paint
Add a small amount of your favourite craft paint colour to the inside of your ornament. Place your finger over the open end of the ornament and shake it slightly until the paint covers the desired area.
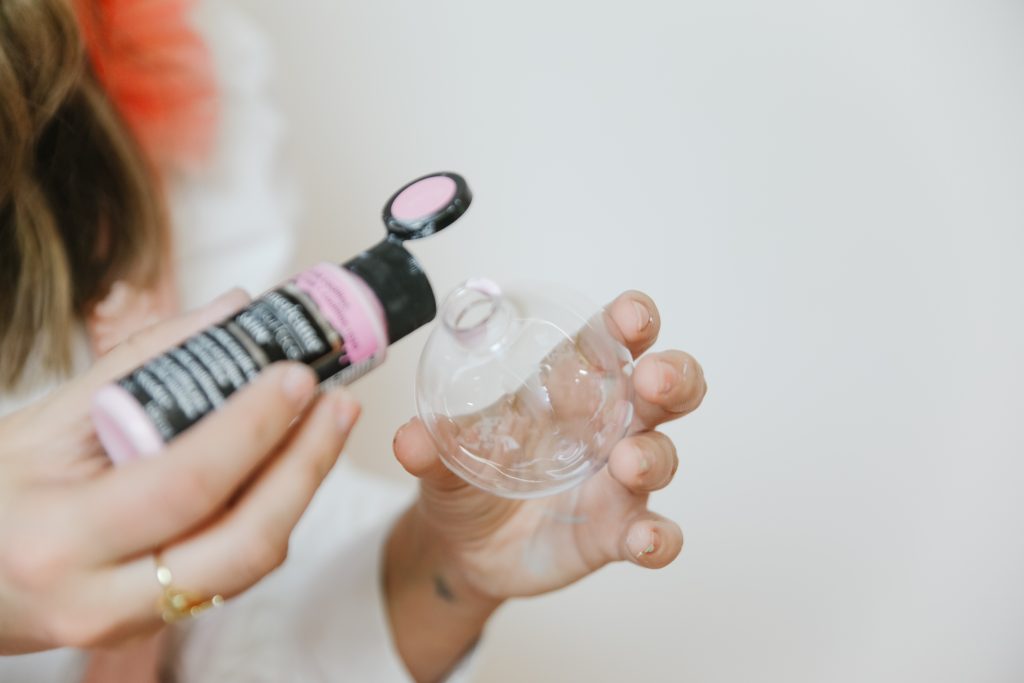
Keep in mind that too much paint will make it very hard for the ornaments to dry fast.
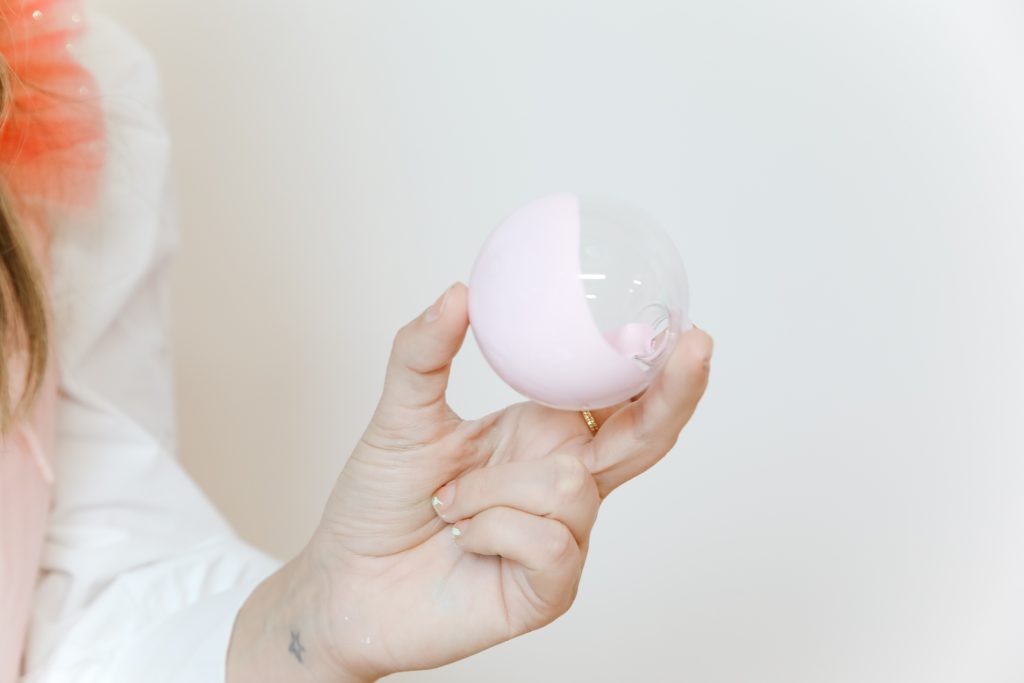
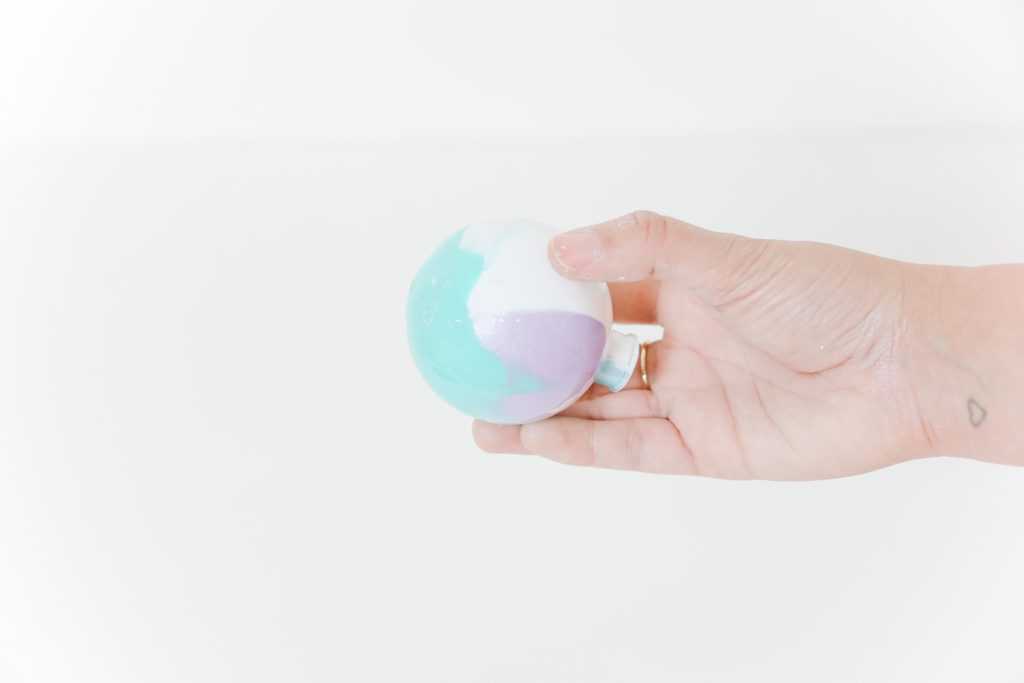
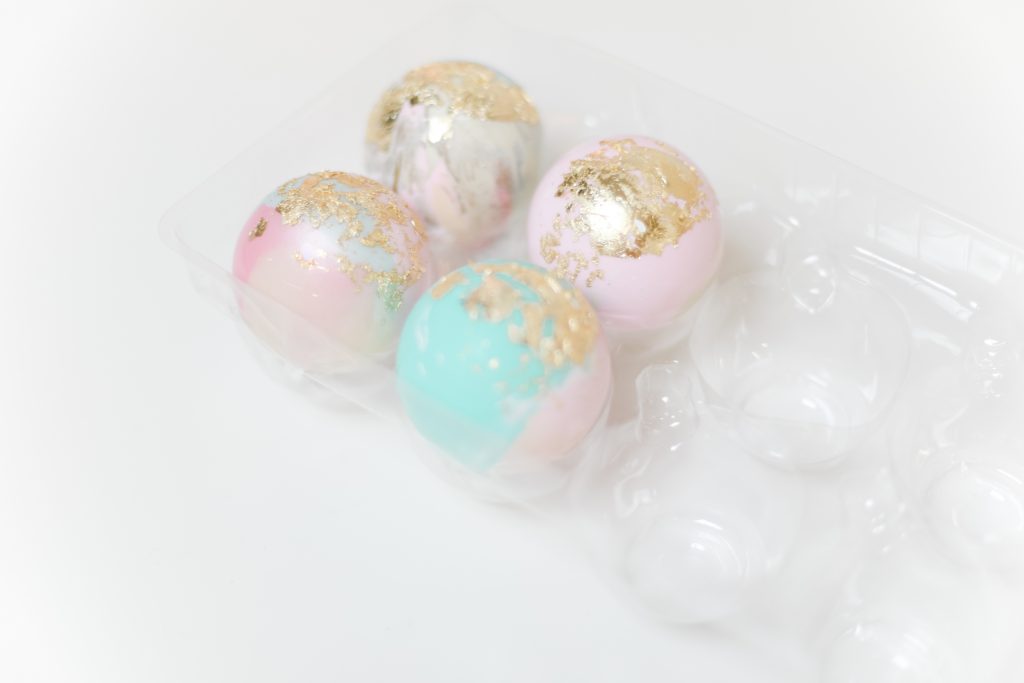
Step Three: Creating a Marble Paint Effect
You can opt to paint your ornament in a single solid colour or create a beautiful marble effect. To do so, start with one colour, swirl it around and then repeat that step by filling the ornament with a different paint colour. Using at least three tones will allow you to see the marble effect more clearly.
Related: Get a Jump Start on the Holidays With These DIY Leather Gift Tags
Step Four: Let the Ornaments Dry Overnight
Grab your ornament and check if the paint is covering all of the glass. Add additional paint if necessary. Now, set all of the painted ornaments upside down using a clear cup to let them dry completely overnight.
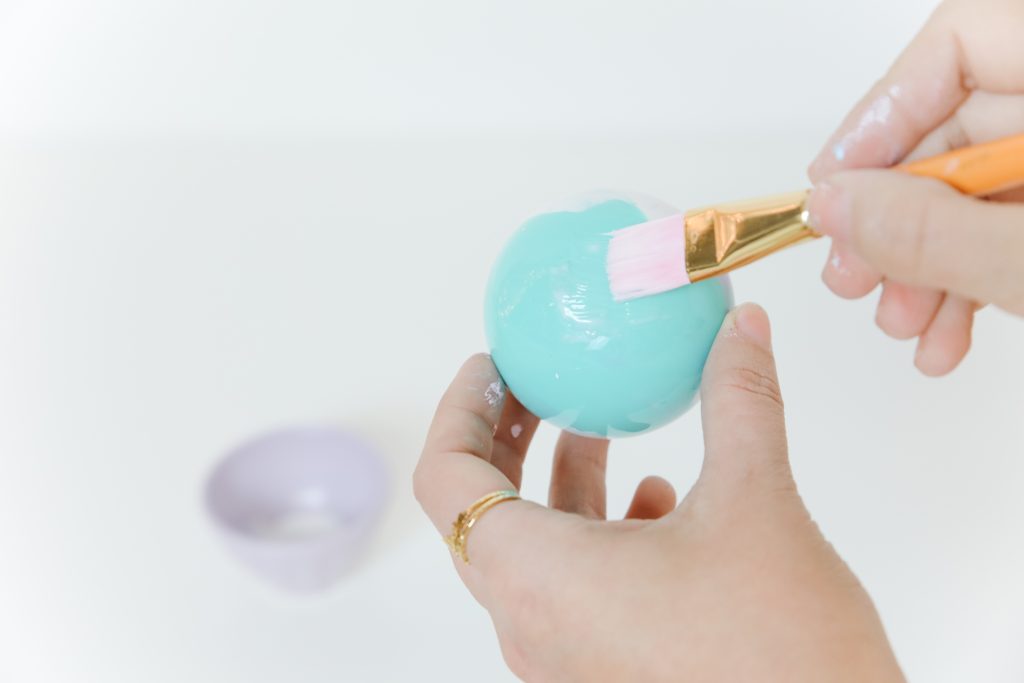
Step Five: Apply Glue to the Exterior of Your Ornament
Now that all of the ornaments are dry, using a clean paint brush, apply a thin coat of glue to the bottom half of the ornament. Allow the glue to dry for a few minutes (about two minutes).
Related: DIY Projects That Will Make Your Holiday Mantel Shine Bright
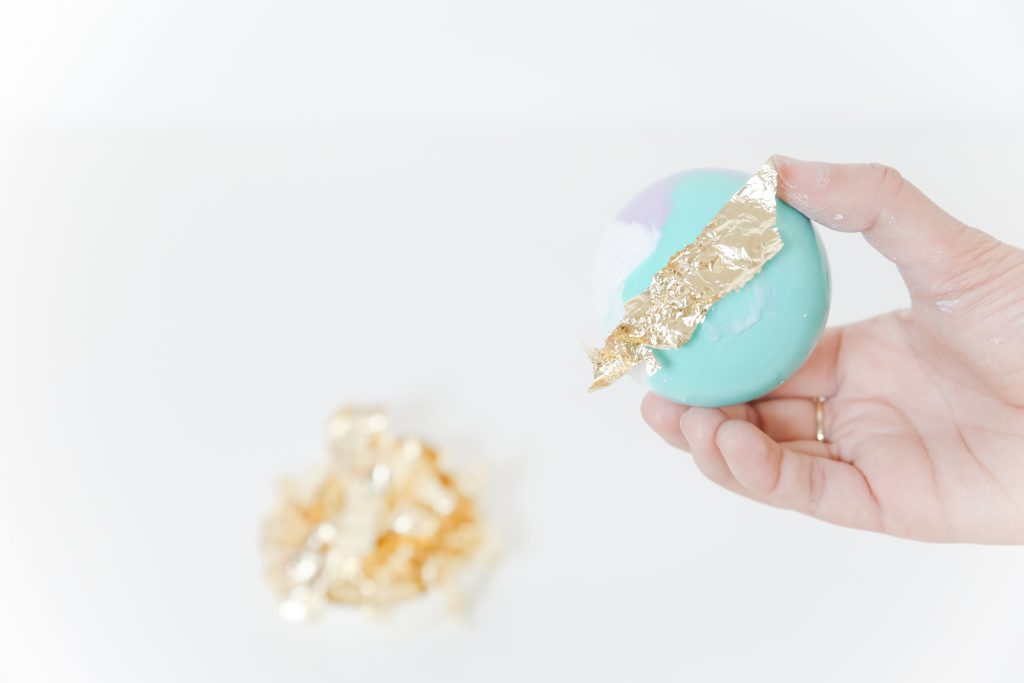
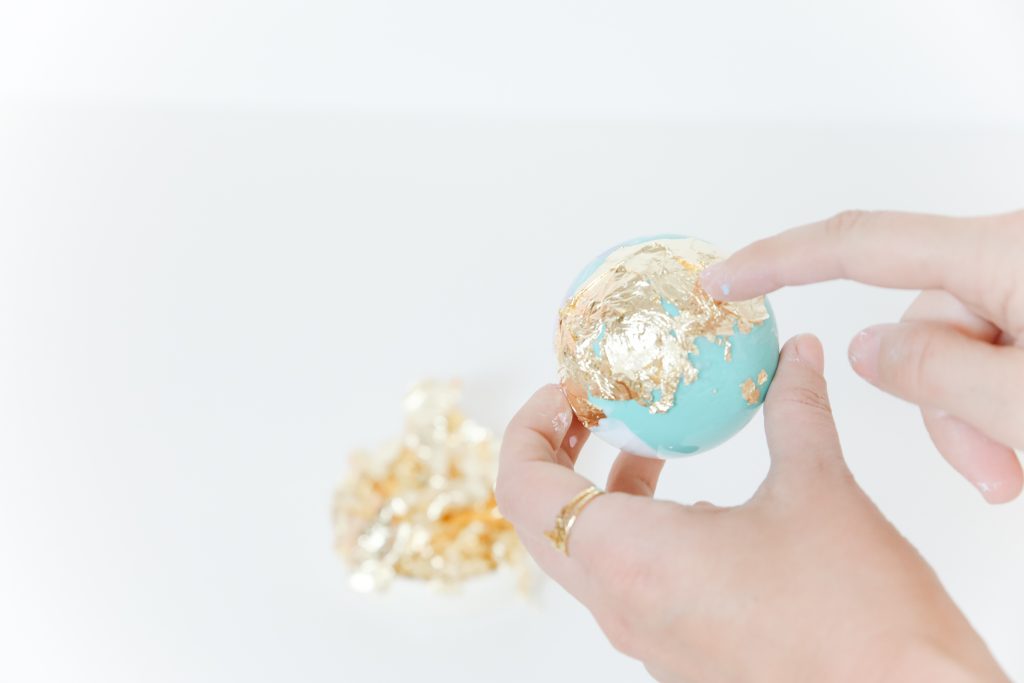
Step Six: It’s Time for the Gold Flakes
Now let’s have fun with the gold foil flakes. Using tweezers, carefully place the gold foil flakes on the ornament and smooth them down with your fingers. Allow the foil to dry for a few seconds and then add more. This foil is super delicate and may break apart during the process but don’t worry about that… you can still use it!
Step Seven: Texture the Gold Foil
Using a clean brush, start pressing all the gold foil flakes and remove the excess from the ornament. Smooth the last details with your fingers, gently. As an optional last step, apply a clear acrylic sealer and allow the flakes to dry overnight.
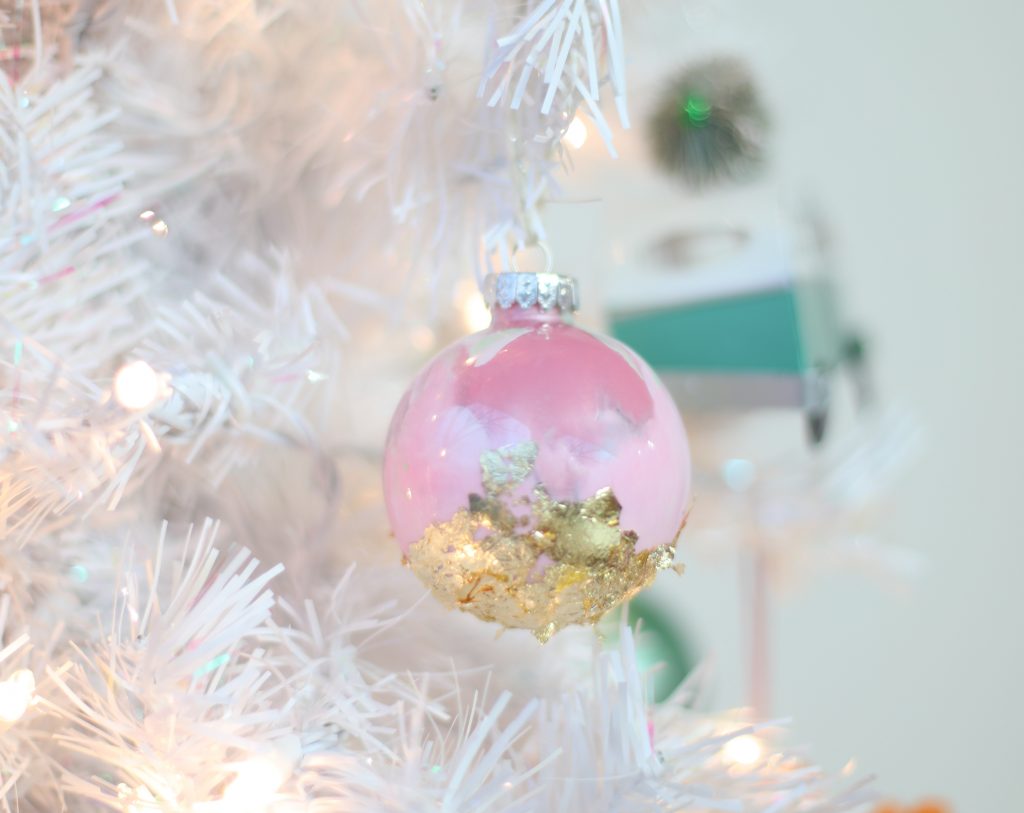
Step Eight: Add the Tops and Ribbons
Once your ornaments are ready and fully dry, you can add the tops back on each one. Then, cut some thin ribbon and string it through the ornament – now it’s ready to hang or be gifted!
This fun DIY project is the perfect thing to do with the whole family, and the stunning results are an added bonus.
Related: Timeless Christmas Tree Styles You’ll Love
Images courtesy of Maca Atencio

