
Spring cleaning is just around the corner and we could all use some cute storage boxes to get us started. And with the rising cost of storage tools, you’ll love this super-economical storage hack. When it comes to tidying and sorting, why not turn to the cardboard boxes you have lying around? With more online shopping than ever before, our homes are often rife with boxes that are perfectly sized for our organizational needs but usually end up in the recycling bin.
We’re sharing an easy, nifty craft to turn to boring old brown boxes into stylish storage cubes – so grab your paint, cane webbing and glue and let’s get started!
Materials Required:
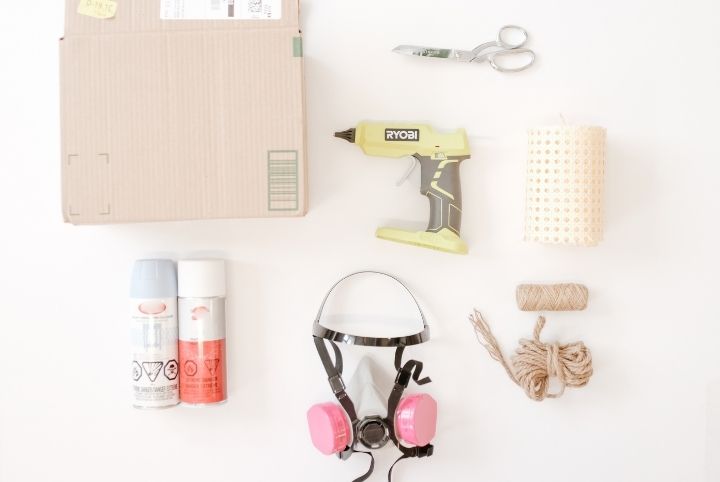
- Respirator or N95 mask
- Rubber gloves
- Goggles
- Old cardboard boxes in the size(s) needed for storage
- Spray paint in colour(s) of choice
- Scissors
- Cane webbing
- Hot glue gun and hot glue sticks
- Pencil
- Paper hole puncher
- Thin rope or thick twine
Related: Try This Organization Hack for the Bedroom (it Only Costs $50!)
Step One: Start With Spray Paint
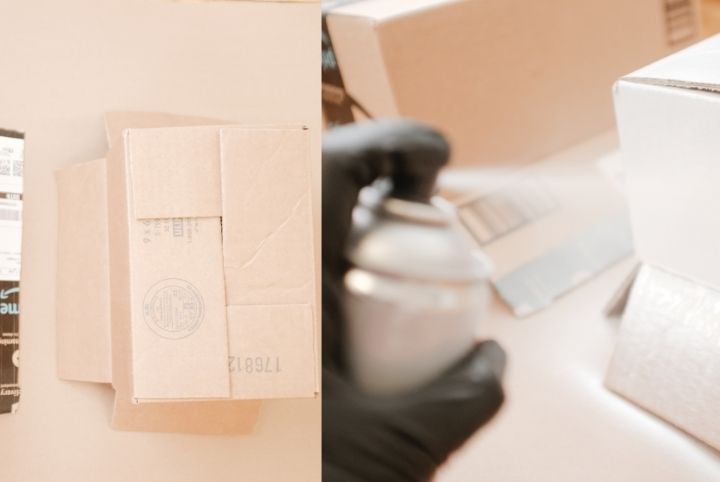
First and foremost, before any spray painting, it’s vital to wear protective gear. So, don a good respirator or mask, rubber gloves and goggles, ensure you’re spraying in a well-ventilated space and take pauses to get fresh air between coats.
Start by laying your cardboard boxes upside down. Spray paint your boxes with the colour(s) of your choice. We chose two different tones – white and lilac. Give the boxes a first coat of paint and let sit for about 30 minutes, until dry to the touch. Finish by applying a second coat and let dry for another 30 minutes.
Step Two: Turn the Boxes into Storage Cubes
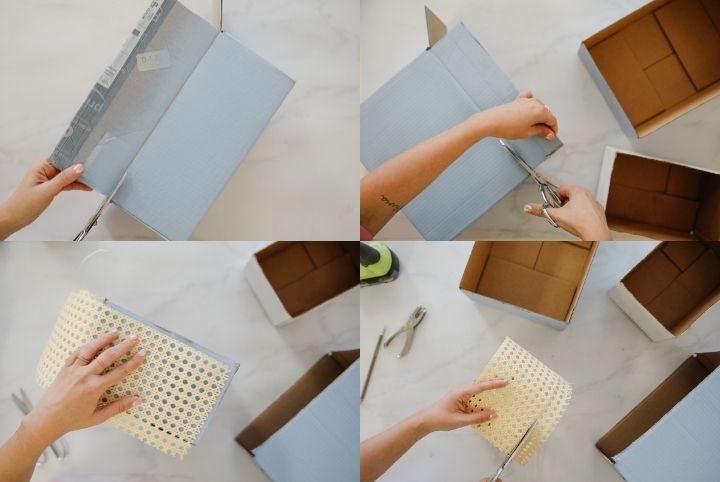
Once the boxes are completely dry, use scissors to remove the top cover flaps of the boxes, transforming them into lidless storage cubes.
Then, grab a piece of cane webbing and measure the front side of the boxes – the side of your box that will face outwards – with a pencil and cut the webbing to size.
Related: This Adorable and Easy Kitchen Storage DIY Will Solve Your Organization Woes
Step Three: Hot Glue The Cane Detail
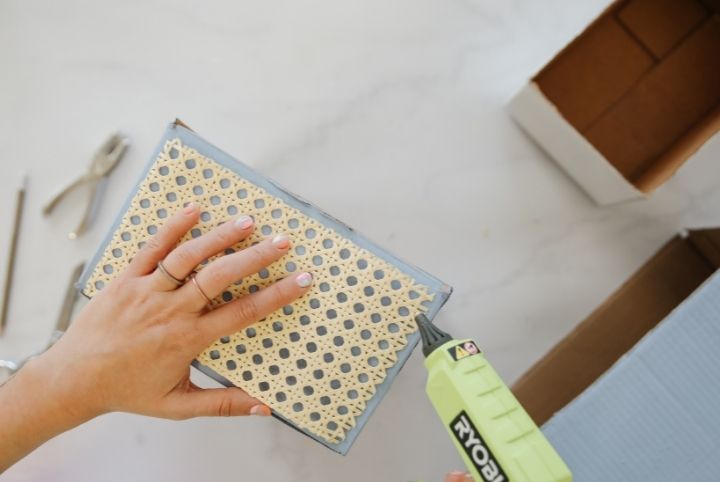
After cutting the cane webbing to size, use a hot glue gun and hot glue sticks to attach the webbing to the front side of the boxes. Apply some pressure to ensure the cane webbing is fully attached, then let dry for at least five minutes.
Related: How to Use Cane to Turn an Old Shelf Into a Sweet Design Piece
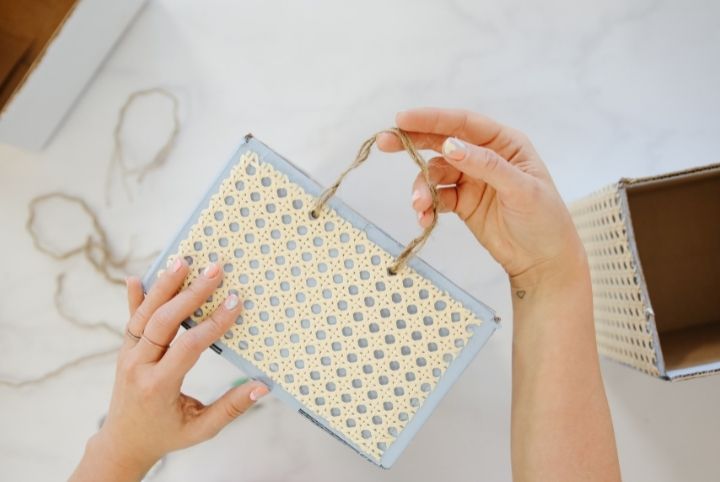
Step Four: Create Some Holes for Handles

Now, we’re going to create holes on either end of the box to thread our rope handles through. To do this, measure out the exact middle of the box on the side you attached the cane webbing to. Measure out two spots, equidistance from the middle, and pencil a small X in both these spots. With your hole puncher, carefully punch a hole over each X. Do the same to the opposite side of the box.
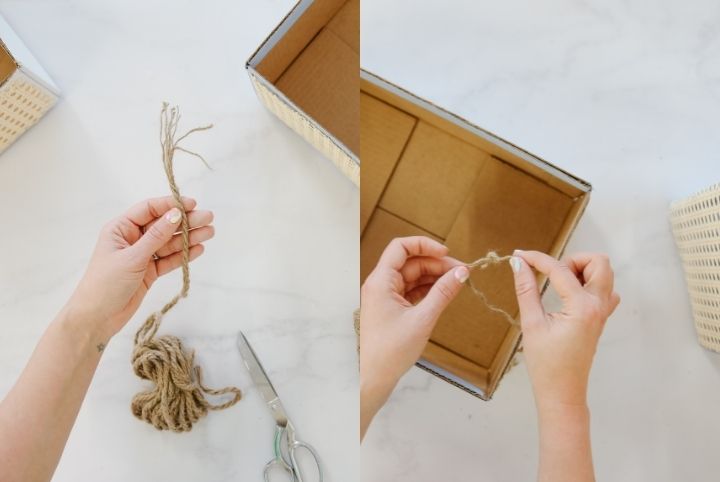
Step Five: Create Rope Handles
With your scissors, cut your rope or twine to your desired length for handles – roughly 8 to 10 inches. Remember that at least two inches of the rope will be used up securing the handles in place. A good tip is to test the length of your rope by threading it through the holes loosely and seeing how you like the handles at varying lengths before cutting it to size. Once you’ve cut the rope to your desired size, feed it through the holes. You can tape the end of the rope to avoid fraying and make it super easy to feed through. Knot the rope in the back behind both holes to secure the handle in place. If needed, double or triple the knot to ensure that the handles are secure.
Related: How to Make These Cute No-Sew Rope Bowls in 5 Easy Steps
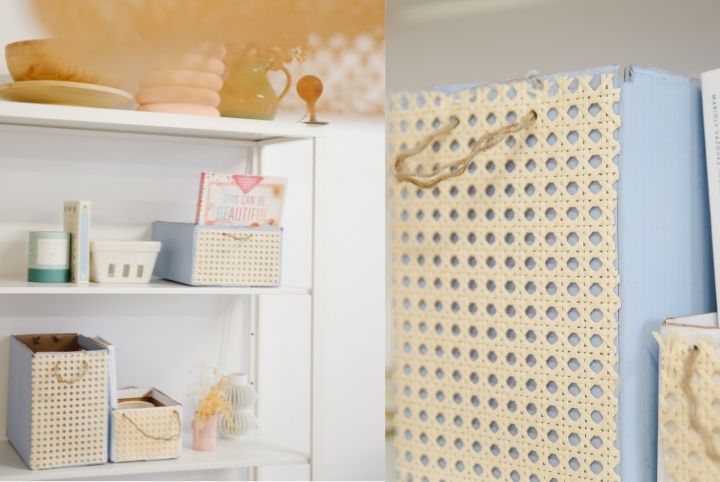
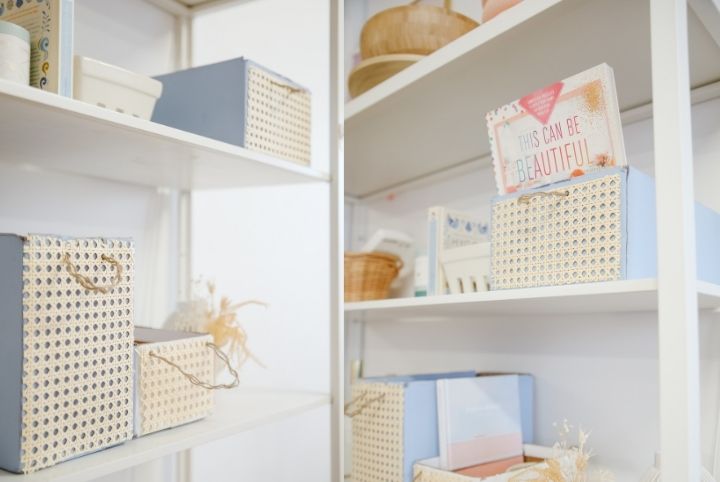
Et voilà! We can’t believe these old shipping cardboard boxes are now incredibly chic and stylish with little more than just paint and cane!
Images Courtesy of Maca Atencio

