
Surprising a loved one with a homemade gift is one of the easiest ways to make a person feel special. But as any crafter knows, it can be hard to find a thoughtful present that people of all ages will love and actually use. Whether you’re looking for a holiday gift for your grandparents or a housewarming present for your best friend, this timeless DIY floral resin tray hits the mark every time. Thanks to the use of stunning pressed flowers, this romantic piece is the perfect example of a cottagecore home decor accent that can work in any space. Follow these simple steps to make your own gorgeous DIY floral resin tray at home.

Materials Required:
- Resin kit
- Silicone tray mold
- Handles and screws
- Dried flowers
- Tweezers
- Heat gun
- Drill
Related: These Grandmillennial Style Living Rooms Are Hot Right Now
Instructions:
Step One: Put on gloves and a mask.
Step Two: Measure out your resin – it’s equal parts resin and hardener. We used a ½ cup of each for our base layer.
Step Three: Mix it together in a disposable cup with a disposable stir stick.
Step Four: Pour resin into the silicone mold.
Step Five: Using a heat gun, carefully heat your resin to remove as many air bubbles as possible. A toothpick can come in handy for the extra tricky bubbles.
Related: How to Make Your City Home Feel Like a Cottage Retreat
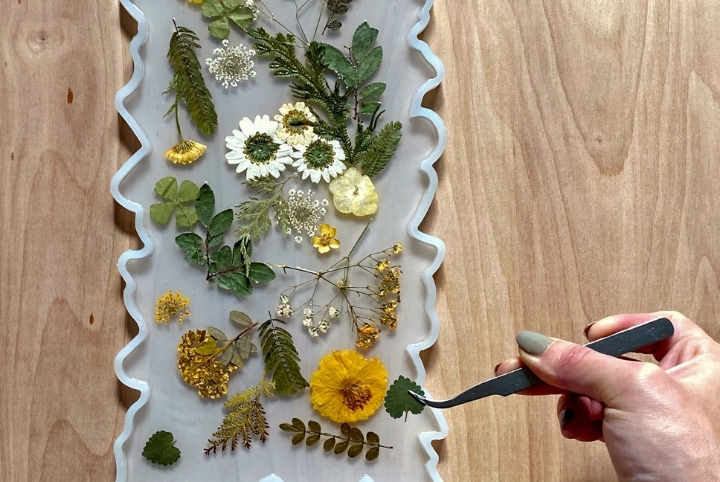
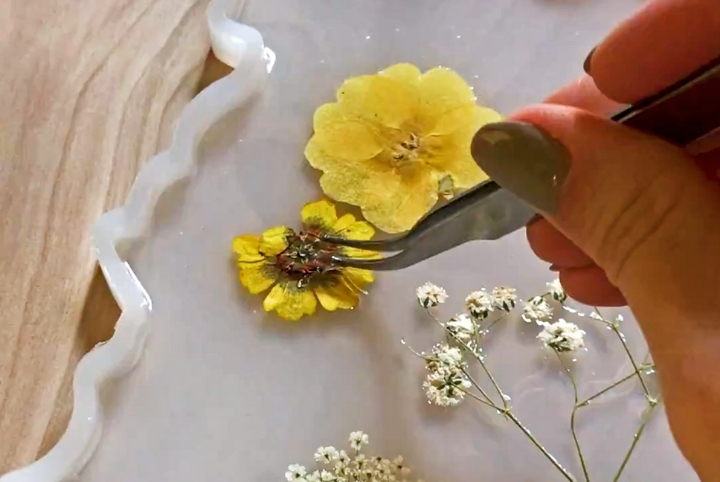
Step Six: Place your dried flowers throughout the tray. Using tweezers can be very helpful for this step.
Step Seven: Once you’re happy with the placement, let it sit for 20 minutes.
Step Eight: Mix additional resin. For the size of our mold, we used ¼ cup of each for our top layer.
Step Nine: Use the heat gun to remove any bubbles.
Step Ten: Let it sit for 72 hours.
Related: This DIY Herb Drying Rack is Perfect if You’re Into Herbal Remedies
Step Eleven: Remove from mold and drill through the resin to add the handles.
Step Twelve: Secure with screws.
Step Thirteen: Enjoy your beautiful new tray!
Related: How to Create Your Own Vertical Garden
Ready to make your own? Watch this video to see how to create a floral resin tray:
Photos and video courtesy of The Craft Aisle

