
We’ve all been there: frantically trying to figure out a thoughtful last-minute gift idea for the person that has it all. Instead of ordering something online or picking up a bottle of wine, why not opt for a homemade gift instead? If you’re looking for a stylish home decor gift for the design lover in your life, you’re in luck. These seriously chic yet practical punch needle pillow cases make the best home decor gift idea, whether it’s for a birthday or holiday gathering. Follow these simple steps to make your own punch needle pillow cases…
Materials Required:
-
-
-
-
- 20X20 pillowcase (canvas or natural cotton)
- Embroidery hoop
- Scissors
- Yarn
- Punch needle
- Punch needle threader
- Pencil or water-soluble marker
-
-
-

Instructions:
Step One: Using a pencil or a water-soluble marker, trace out your desired pattern.
Step Two: Thread your punch needle by inserting the needles threaded up through the metal tip of the punch needle.
Step Three: Place your yarn through the needle threaded and pull it out the tip. Remove the needle threaded.
Step Four: Using the needle threaded, put it through the hole in the tip of the needle, going from the outside in.
Step Five: Place the yarn that’s coming through the tip in the needle threader and pull it through. Make sure there are a few inches pulled through. Your punch needle is now threaded and ready to go!
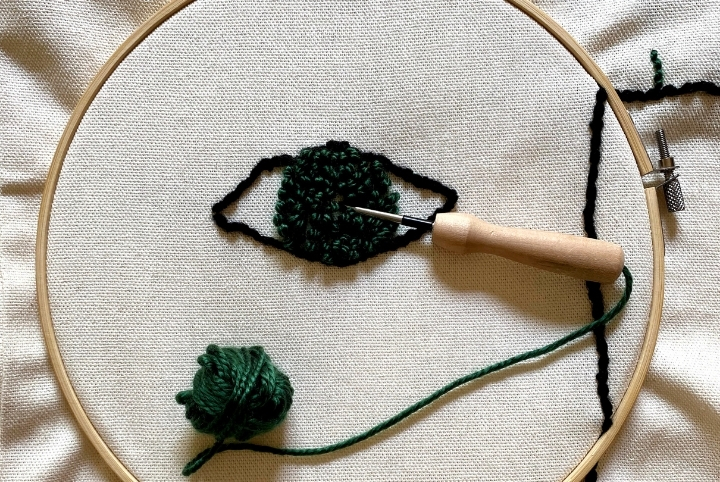
Step Six: Attach the embroidery hoop on top of the pillowcase over a part of your design.
Step Seven: Punch the needle through the pillowcase. From the inside of the pillowcase, pull the string through.
Step Eight: Make sure there’s lots of slack in your yarn coming from the ball and begin punching out your pattern.
Step Nine: By punching from the outside in, a tight stitch-like pattern will be created.
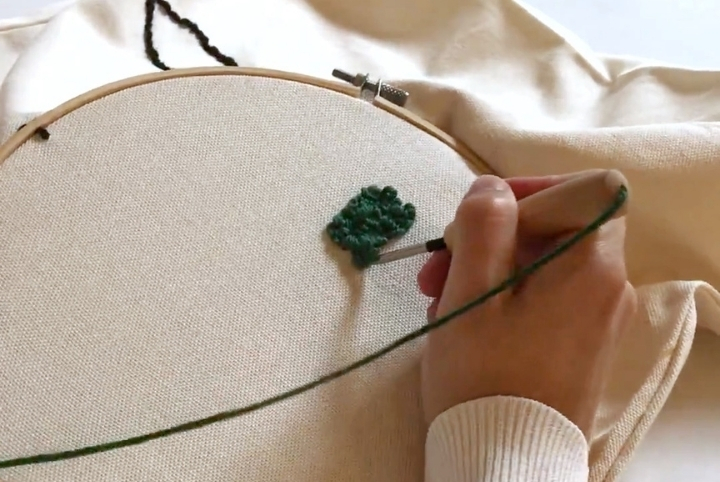
Step Ten: By punching from the inside out, a plush loop will be created. To do this, flip the pillowcase inside out and re-attach your embroidery hoop.
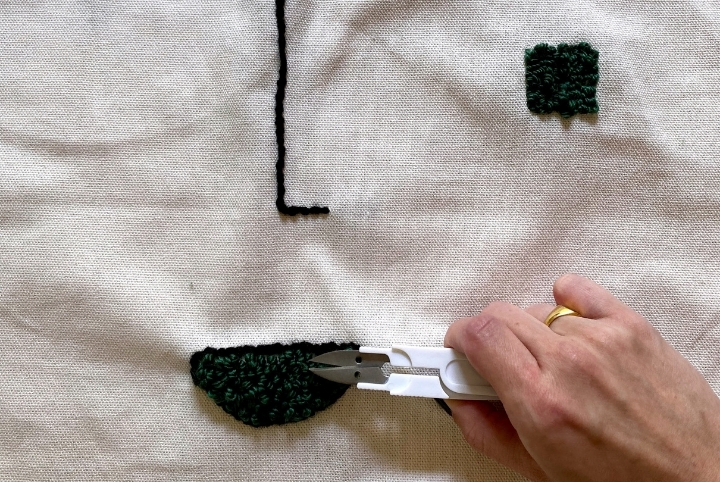
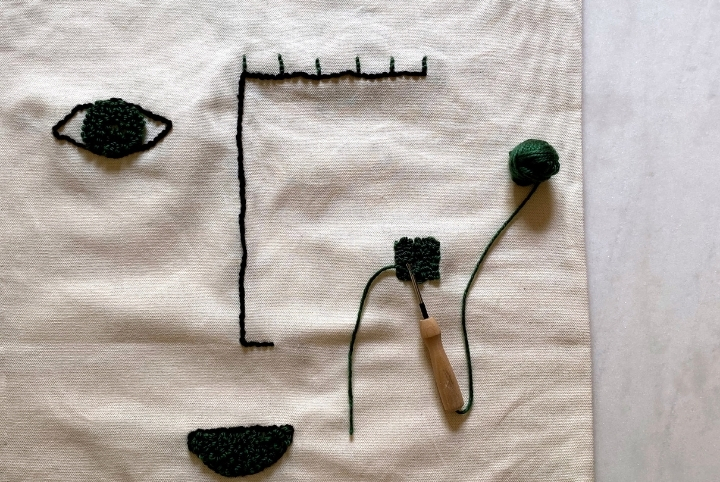
Step Eleven: After you have done a section, cut your yarn and pull the tail through to the inside.
Step Twelve: To change up the yarn colour, simply re-thread the needle with your other yarn.
Step Thirteen: Once you’re happy with your piece, insert a pillow into the case.
Watch this short video to learn how to make your own DIY punch needle pillowcases:
Photos and video courtesy of The Craft Aisle

