Bryan Baeumler is one of HGTV Canada’s go-to contractors and the host of Bryan Inc., House of Bryan and Leave it to Bryan.
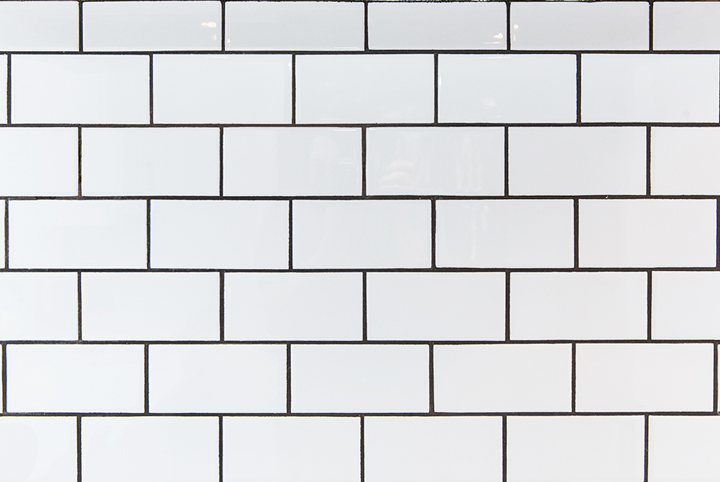
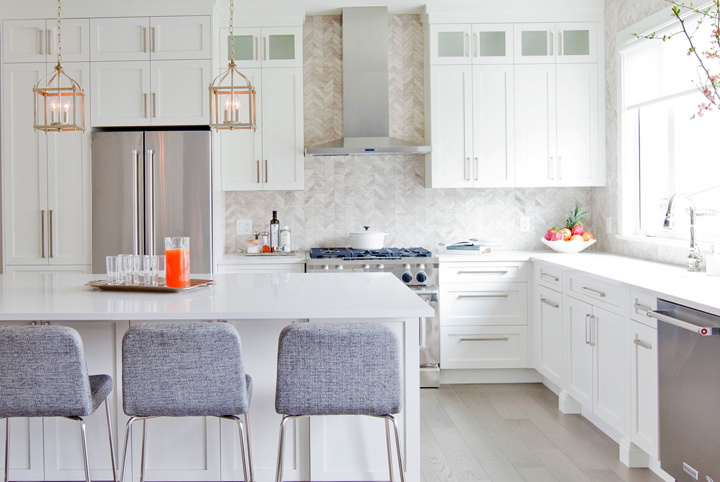
A kitchen backsplash gets a great deal of wear and tear, and can eventually become dingy (or dated). If you’ve been putting off re-doing your backsplash, or you’re tackling the job for the first time, look no further. These tips will help you get the job done in a single weekend. Bonus: revamping your kitchen backsplash will transform the overall aesthetic of your cooking space without costing a fortune.
1. Get Prepared
As with any DIY job, making sure you have everything prepared will save you so much time and grief. Firstly, measure the existing backsplash to ensure you buy the correct amount of tile for the job (purchase 10-15% extra material to allow for waste and breakage). You will also need mortar or mastic, along with a snap cutter, tile saw or grinder (I recommend using a tile saw for best results).
2. Remove Existing Tile
Once you have all necessary tools, it’s time to remove the old backsplash. Before you begin, switch off power to the nearest sockets for safety. Remove the tile carefully so not to damage the drywall. Any drywall damage will need to be repaired before you can install your new tile.
Related: 40 Brilliant Kitchen Backsplash Ideas for Your Next Reno
3. Plan the Layout
Before mixing mortar or laying tile, plan out your desired backsplash design. Position your tiles accordingly, and draw lines where you want to begin. This is an important step in the process, because once the new tile is installed, it’s difficult and messy to change.

4. Don’t Rush It
Once you’ve mixed the mortar according to the manufacturer’s instructions and have carefully tiled your new backsplash, take some time to admire your work. It’s very important to allow the tile to dry before you begin grouting. The drier the mortar is, the easier it will be to grout.
Related: How to Refinish Kitchen Cabinets: Bryan Baeumler Breaks it Down
5. Read the Instructions
As mentioned above, it is imperative that you read the instructions on the product you purchased. Just as with mixing mortar, this is certainly the case when it comes to mixing grout. Also check whether you need a sanded or unsanded grout, depending on the type of tile you have selected.
6. Clean Tile Before Grouting
Before you begin grouting, ensure the new backsplash tiles have been cleaned – you don’t want the grout to come into contact with any dust or debris. Use a damp cloth to remove any dirt.
Related: Bryan Baeumler Reveals 12 Biggest Reno Blunders Homeowners Always Make
7. Time to Grout
Once the tiles have been wiped clean, it’s time to grout! Work grout into the joints with a grout float, and clean excess grout from tiles as you go. Hold the grout float at 45 degrees to the grout lines to avoid removing excess grout.

8. Clean and Polish
After you’ve finished the grouting process and have left it to dry for as long as the instructions recommend, clean any excess grout from the tiles. Use a damp sponge and rinse often to remove. Then polish with a clean dry cloth to make those tiles sparkle. If your grout requires a sealer, use a penetrating sealer.
Related: Open Shelving: To Do or Not to Do? Bryan Baeumler Weighs In
Don’t forget to sit back and appreciate what you’ve accomplished. Replacing a kitchen backsplash can be an excellent idea if you are trying to sell your home, or if you simply want a quick and easy makeover. Happy tiling!
HGTV your inbox.
By clicking "SIGN UP” you agree to receive emails from HGTV and accept Corus' Terms of Use and Corus' Privacy Policy.


