comScore
ADVERTISEMENT
Your browser is not supported. We do our best to optimize our websites to the most current web browsers. Please try another browser.
Skip to main content

This is the One DIY Every Fashion Lover Should Have in Their Home

This is the One DIY Every Fashion Lover Should Have in Their Home

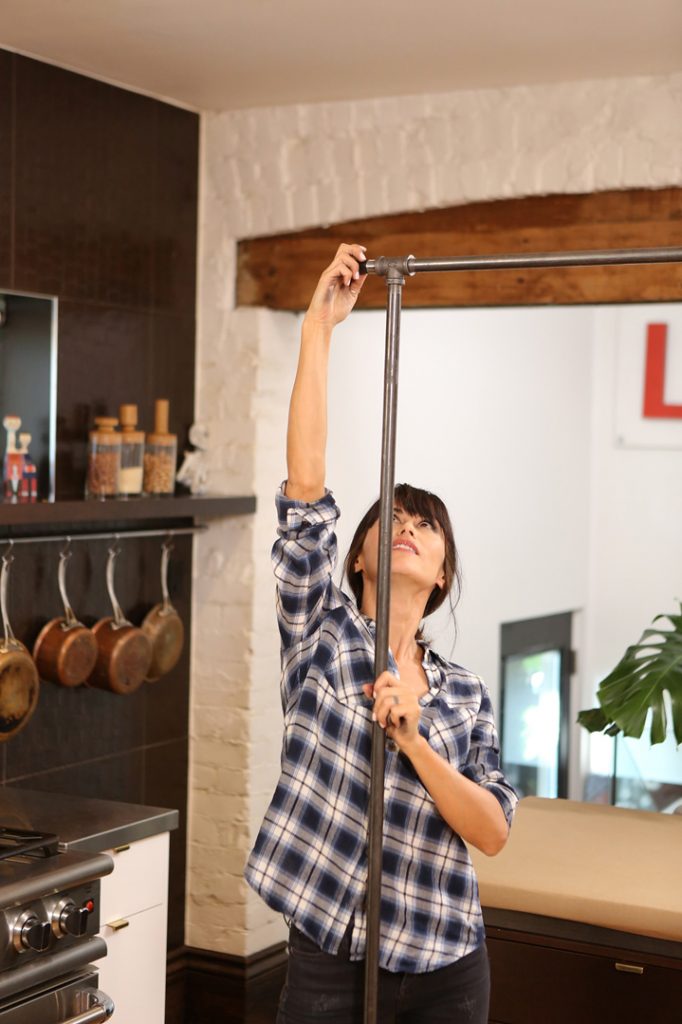
This DIY industrial pipe clothing rack does double duty in a bedroom, providing a space to organize curated outfits for the week (saving you precious minutes in the morning) while adding a chic boutique feel to your boudoir. Best of all, it’s one of the easiest projects to tackle yourself, and is bound to impress even your most fashionable friends. Read on for step-by-step instructions on how to make this DIY industrial pipe clothing rack.

ADVERTISEMENT

Behind the Scenes on the HGTV DIY video shoot with Danielle Bryk in Toronto, ON on May 28, 2017. Photo Credit: Dale Wilcox Photo/DWP.

Materials:

  • Two 1/2 X 48″ black pipe rails
  • Two 1/2 X 60″ black pipe rails (or ONE 10′ pipe cut in half)
  • Six 1/2″ T’s
  • Four 1/2″ X 6″ or 8″ nipples (these are for the stabilizing feet)
  • Four 1/2 elbows
  • Six 1/2 X 1 1/2″ nipples (these are to connect the two T’s and to connect the elbows to the flanges)
  • Four 1/2″ flanges
  • Two 1/2 X 2 1/2″ nipples and TWO end caps (these create awesome hook-like things on the ends of the top rail which are great for hanging your hat!)

Instructions:

Behind the Scenes on the HGTV DIY video shoot with Danielle Bryk in Toronto, ON on May 28, 2017. Photo Credit: Dale Wilcox Photo/DWP.

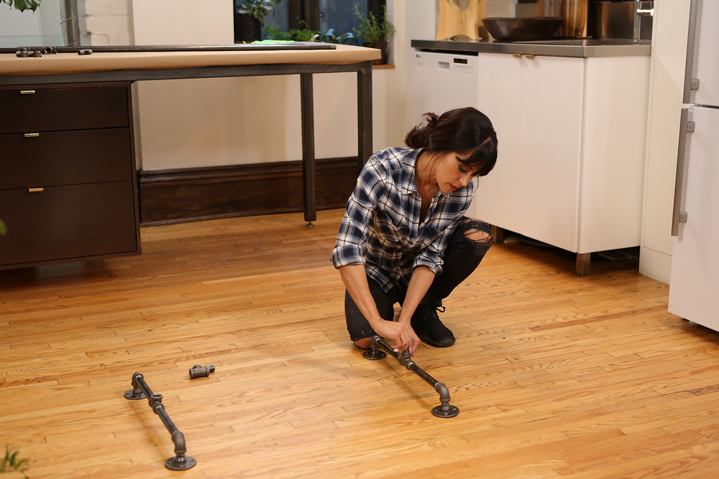
Step 1: Assemble both feet of rack: Connect flanges, connectors and 90 degree elbows attaching a T connector at the centre of each foot. Make sure the T connector is facing upright.

Behind the Scenes on the HGTV DIY video shoot with Danielle Bryk in Toronto, ON on May 28, 2017. Photo Credit: Dale Wilcox Photo/DWP.

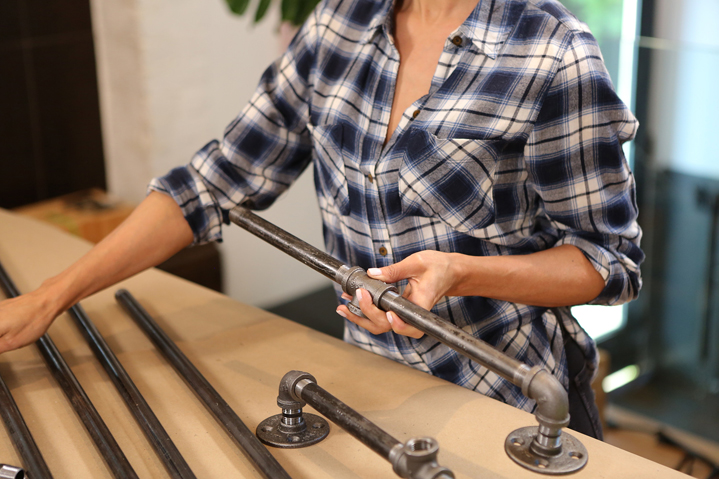
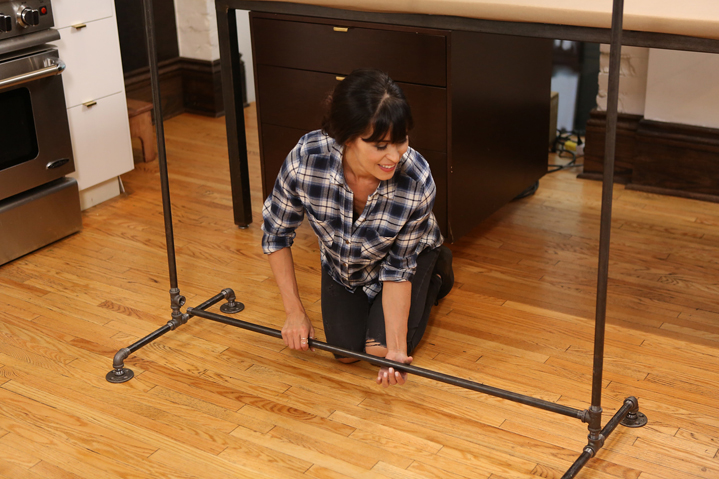
Step 2: Attach the uprights: Moving to the floor, attach a connector into both T connectors of the two feet. Attach a second T connector on top of each foot. (This will be for the lower cross bar later). Attach the two longest vertical pipes.

Behind the Scenes on the HGTV DIY video shoot with Danielle Bryk in Toronto, ON on May 28, 2017. Photo Credit: Dale Wilcox Photo/DWP.

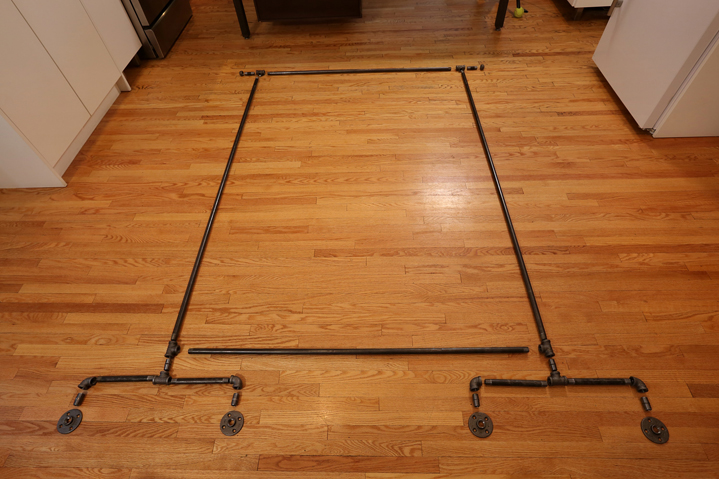
Step 3: Install the cross bars: Attach 2 more T connectors to the top ends of each vertical and then attach the upper cross bar, then the lower cross bar. When threading the lower cross bar, thread both sides before you deeply connect.

Behind the Scenes on the HGTV DIY video shoot with Danielle Bryk in Toronto, ON on May 28, 2017. Photo Credit: Dale Wilcox Photo/DWP.

Step 4: Add the end hooks: Screw on 2-inch nipples and end caps on both sides of the rack.

Images courtesy of Dale Wilcox Photo


Latest News

Are you thinking about putting your home on the market? You may want to wait if you can.
July 26, 2024
We worked with Zoocasa to find 10 dilapidated properties offering value and potential.
July 26, 2024
The Styled team returns for a sister act as they redesign a family home for the next generation.
July 25, 2024
This low-maintenance, low-cost gardening option is so charming.
July 25, 2024
Summer is in full swing and dandelions are taking over your yard. You want to get rid of them, but should you?
July 24, 2024
Discover how greenery can transform any space, improve your air quality and create a tranquil atmosphere.
July 22, 2024
Take a look at our favourite Jellycat animals and amuseables to add to a new nursery.
July 19, 2024
Here's a sample of properties across the country that are all under $100,000.
July 19, 2024
Nicole and Caffery return for another gorgeous renovation, this time in a timeless century-home.
July 17, 2024
ADVERTISEMENT
ADVERTISEMENT
This content is restricted to adults of legal age.
Please enter your birthdate to confirm.
Date of Birth