
I put as much effort into wrapping gifts as I do into buying them. The care and love that you put into wrapping something for a special occasion or a “Just because” gift can mean so much to the recipient. Because I am a maker, I simply cannot help myself! I have to think of new and beautiful ways to wrap things in unexpected ways because it makes me happy!
My current and most favourite wrapping container is the Chinese takeout box. I love the little handles and they come in a variety of sizes! Also, I find that when you are wrapping something that is small-this gives it a nice little home. Using any kind of pointy and blunt object (like a sharp pencil) make poke patterns, designs or letters into one side of the container and then stitch embroidery thread through the holes to create a custom container for your friend! These containers were found in Chinatown for change and I always buy in bulk, because I know that I am going to use them. Want to say it with an adorned takeout box? It’s too easy!

Here is what you are going to need for DIY Takeout Gift Boxes:
- Embroidery thread
- Paper
- Sharp pencil
- Sewing Needle
- Chinese paper take out container
- Scissors
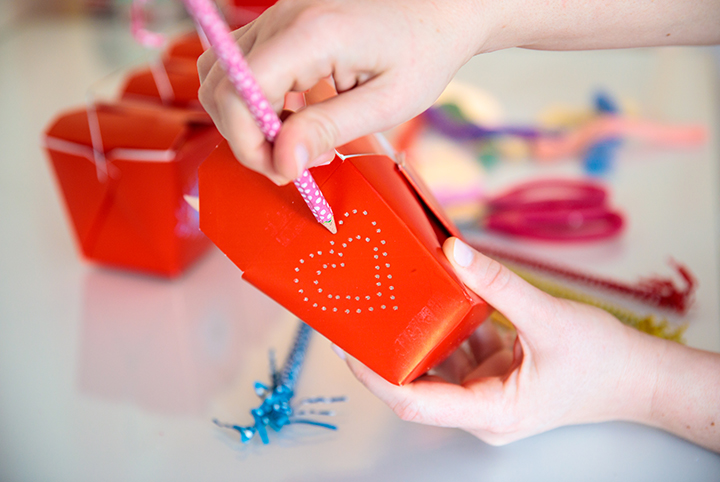
Step One: Draw Out Your Design
Grab a piece of paper and cut it the same size as the side of the takeout container that you want to stitch. Then draw the pattern, letter or symbol on the paper making the shape easy to recreate using dots. Grab your takeout container and begin punching out the pattern using your sharpened pencil.
NOTE: The more holes you put in, the less stitching you will see. This means that you need to have holes far enough apart that you can see the stitching but not so far that you cannot make out the pattern.
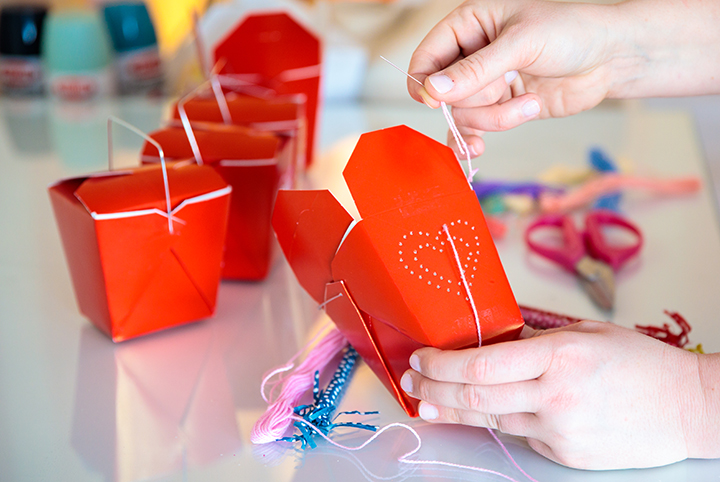
Step Two: Sew Your Pattern
Thread your needle and begin sewing the pattern with the desired embroidery thread colour. This takes no time and you can be as detailed as you want to be. You can use multiple colours of you can keep it to one colour. Make sure to tie all the leftover thread inside the container so that it looks neat.
Step Three: Wrap Your Gift
Fill and gift! This took no time so I made three! Mine are all shapes and they read: “I LOVE POPPY!” Poppy is my new wiener dog puppy that I love so much and I cannot stop getting her little gifts and bones! These are the containers that I made to contain her little gifts!
I love making these because they are so easy and they make such great conversation pieces! They can be used to share a message or even as an advent calendar during the holidays with a new number on the side for each day! There really is no end to what you can do here! You can make it as simple or make it as intricate as you like! The idea is that they are custom and made with love and that is what this is all about.
For more gorgeous DIY projects by Tiffany Pratt, visit HGTV.ca’s DIY section!

