
Tires consume a lot of space and they’re also pretty hard to recycle. Most end up in a landfill causing pollution, which is why today’s DIY is such a very special one. We’re showing you a simple DIY that will help you upcycle any old tire and create a beautiful rope ottoman with it.
Related: Balcony and Front Porch Design Ideas We Want to Steal
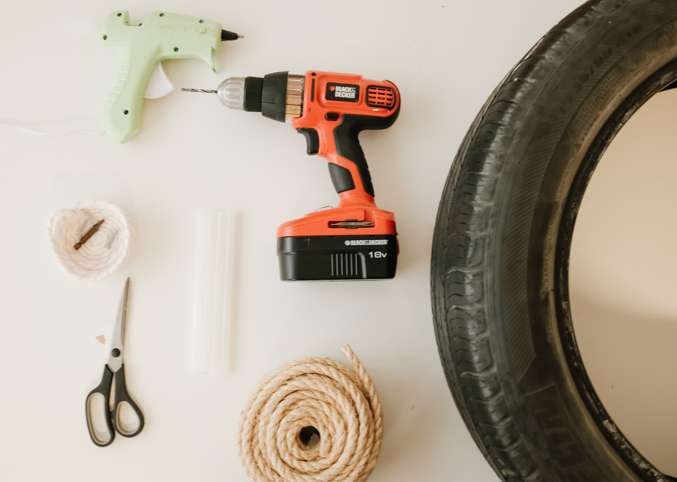
Materials Required:
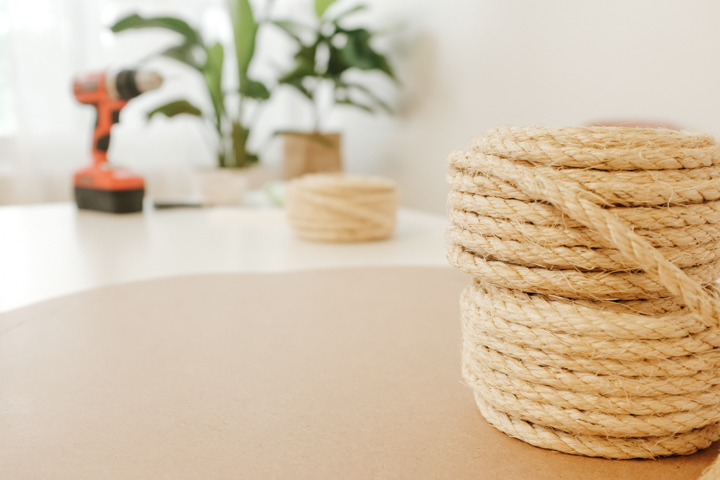
- 6 twisted sisal rope packs
- Hot glue gun
- A couple pieces of MDF wood
- Pencil
- Saw
- Drill
- Scissors
- Screws
- Clear sealer
- Brush
Related: Timeless Backyard Ideas and Trends to Make You Fall Back in Love With Your Yard
Step One: Measure the Tire and Cut Your MDF
Start by measuring the tire and cutting the MDF to the circumference of the tire. If you’re upcycling an old tire, clean it with a dry cloth first. You will need to cut two MDF pieces, one for the top and one for the bottom part.
Related: Expert Backyard Ideas to Build the Perfect Outdoor Oasis
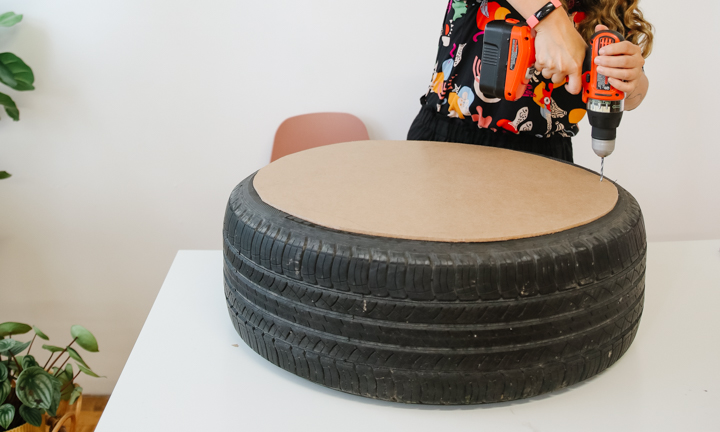
Step Two: Screw the MDF to the Tire
Drill three holes into the MDF wood, deep enough to pierce the tire rim. Use screws to secure the MDF pieces to the top and bottom of the tire.
Related: This DIY Indoor Herb Garden Can Be Made in Six Easy Steps
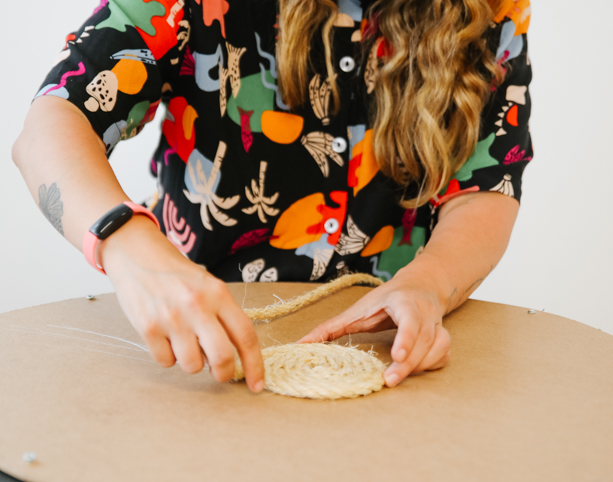
Step Three: Glue the Rope
Hot glue your rope in a spiral motion, beginning at the very centre of the top piece of MDF wood. Begin to coil the rope and keep winding and gluing it until you reach the bottom of the tire. When you finish the top, flip the tire over and continue gluing the rope down until you reach the bottom MDF board.
Related: Backyard Ideas to Turn Your Outdoor Space Into a Staycation Paradise
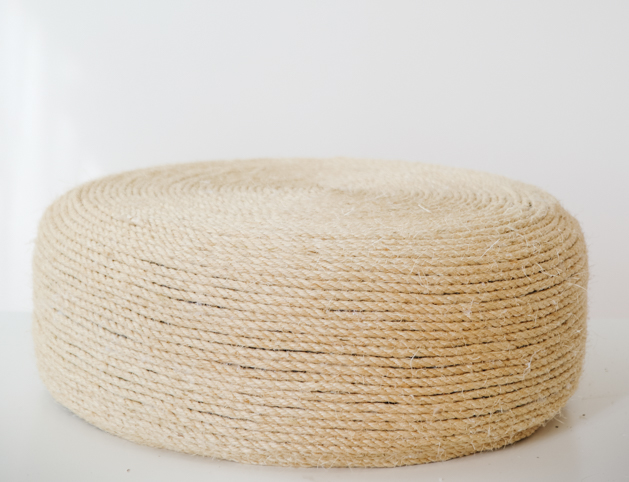
Step Four: Seal the Rope
Now that your ottoman is covered in rope, glue the end and secure it. Seal it with a clear sealer and let it dry. You can repeat a second coat if needed, and let it dry again.
Related: Easy DIY Projects by Tiffany Pratt That’ll Instantly Brighten Your Home

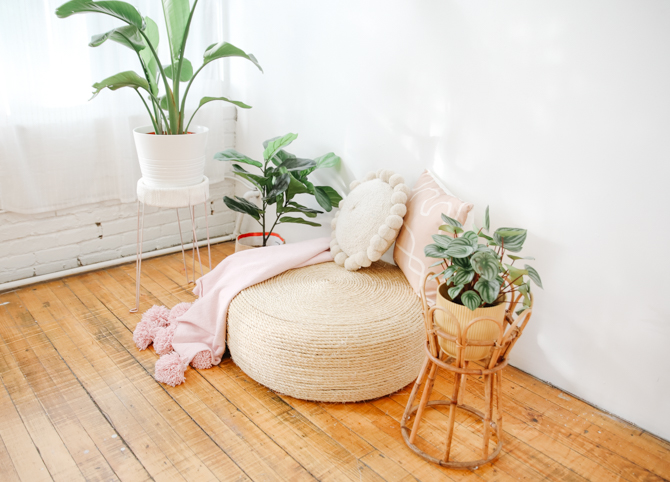
Can you believe you can make this cute ottoman in only four steps? Yes, it’s true! Try this DIY rope ottoman and you’ll see for yourself just how easy it is.
Related: 10 Trendy Outdoor and Indoor Hammocks for Maximum Relaxation
Images courtesy of Maca Atencio

