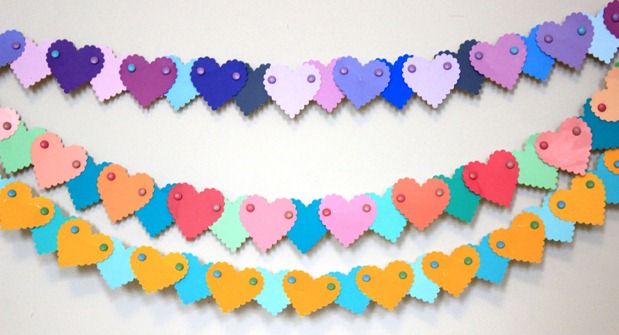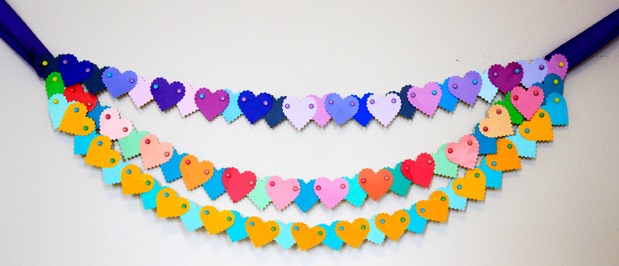
This whimsical wall decor DIY is the perfect accessory for a nursery or kid’s room. It’s practically free and it’s a cinch to make – plus, we promise you’ll smile every time you see it!
Materials:
- 75 Benjamin Moore paint chips
- Medium-sized paper puncher in shape of your choice (I chose a heart-shape with scalloped edges, but choose whatever shape you’d like, as long as the paper puncher is no larger than one paint chip)
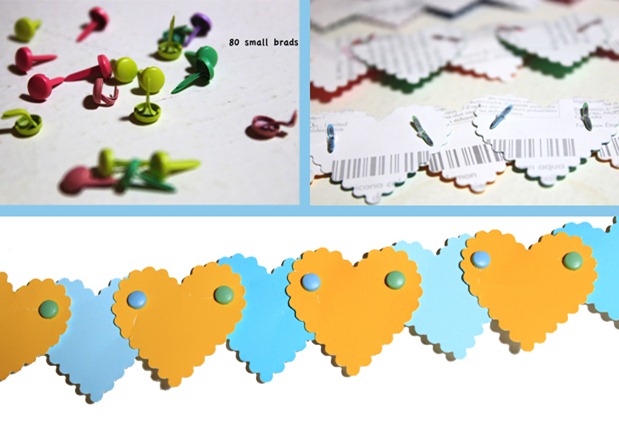
- 80 small brads
- Two pieces of 1″ thick and 8″ long ribbon
- Wall nails (these will be used to hang the garland on the wall)
Note: All craft materials are available at your local craft store, and the paint chips are available at your local paint store.
STEP 1: Paper puncher
Use your chosen paper puncher to punch out a shape from each paint chip. You should be able to get one shape per paint chip.
STEP 2: Create the rainbow
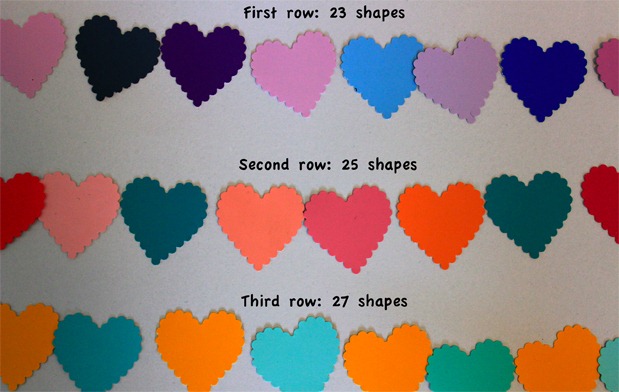
Lay out the paint chips in three lines in your desired order, with 23 paint chips in the first row, 25 paint chips in the second row, and 27 paint chips in the third row.
STEP 3: Connect the dots
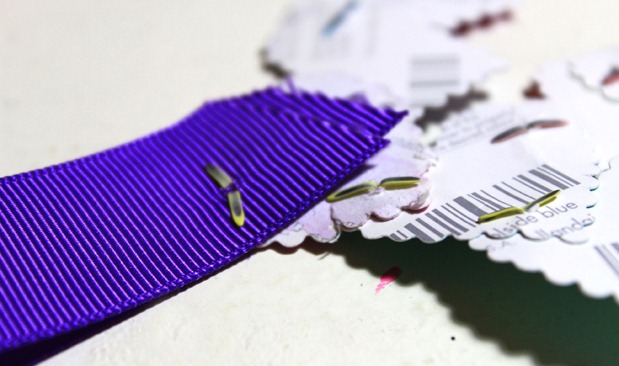
Use the small brads to attach the shapes by poking holes through the shapes and securing the brads at the back. Follow this pattern: overlap one shape over the other and then one behind the other. Do this for each row, until you have three separate garlands.
STEP 4: Come together
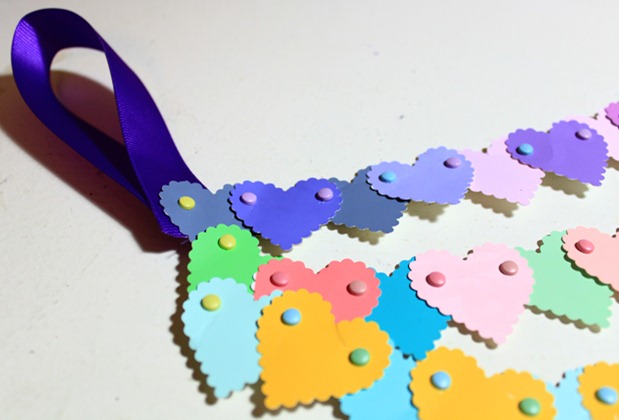
Attach one brad to the outside of each end shape, and use these brads to connect the end shapes together so that the three rows are now attached.
STEP 5: Get a handle on it
Take your two pieces of ribbon and attach one to each end using the brad on the top shape. To do this, punch one end of the ribbon through the brad, loop it around to create a hook and attach the other end to the brad. Repeat for other side. Trim the edges of the ribbon if necessary.
STEP 6: Mount it
Mount your garland on the wall by hanging the end loops on wall nails.
HGTV your inbox.
By clicking "SIGN UP” you agree to receive emails from HGTV and accept Corus' Terms of Use and Corus' Privacy Policy.


