
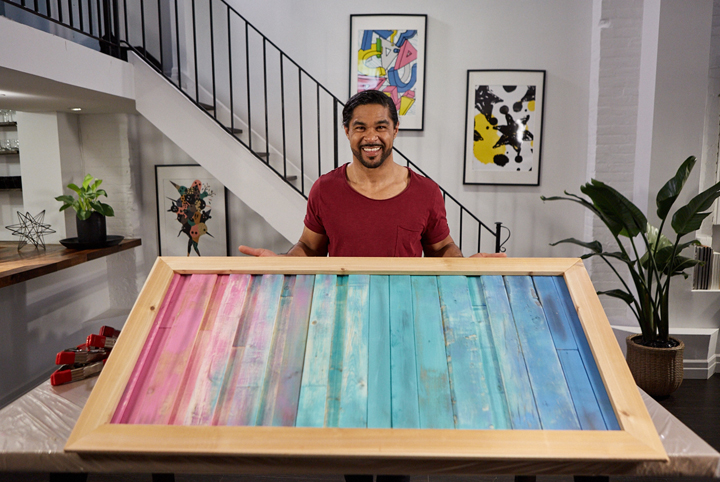
They say one man’s trash is another man’s treasure, and in the case of this DIY, literal scraps of wood become works of art! The steps and materials are simple, but the finished product of this colourful wall feature is bound to make a statement on bare walls. Read on for the materials and steps!
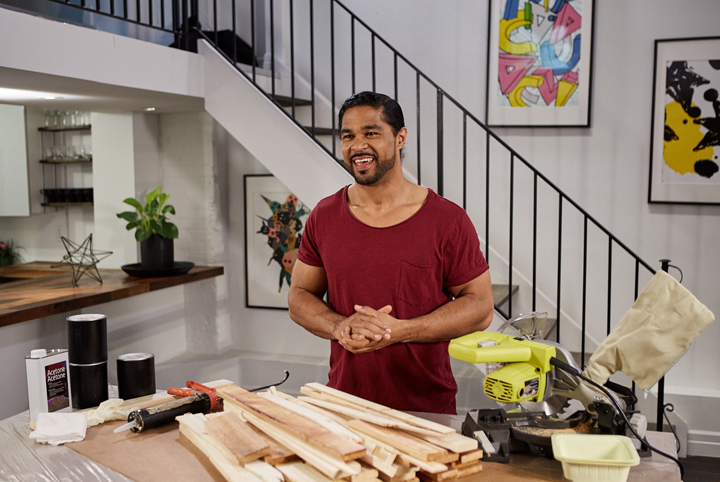
Materials:
- Scrap Wood
- Scrap Trim
- Thin Piece of Pressboard- in this case: 24″ x 48″
- Paint Brushes
- Latex Gloves
- Construction Adhesive
- Caulking Gun
- Water-Based Paint
- Acetone
- Hammer
- Finishing Nails
- Drop Saw
- Safety Glasses
- Paint Trays or Small Plastic, Disposable Containers for Paint/Stain
Instructions:
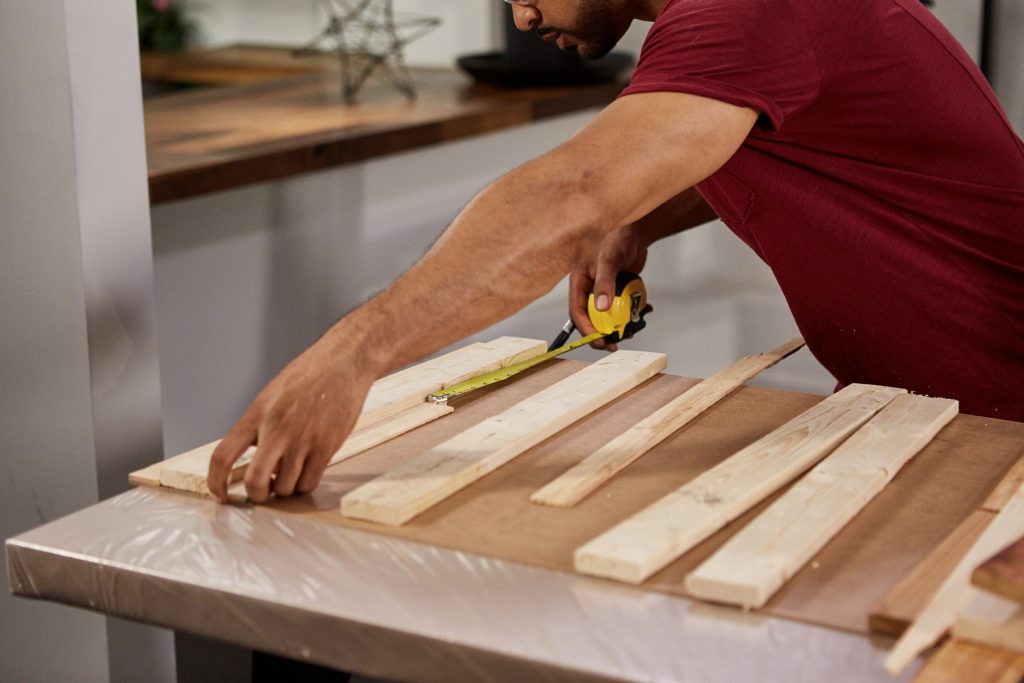
Step 1: Measure out your scrap pieces of wood and trip to 24″ L. Using safety glasses use your saw to cut pieces to fit exactly to 24 inches. The widths can vary. Arrange the pieces to cover the pressboard in a desired pattern.
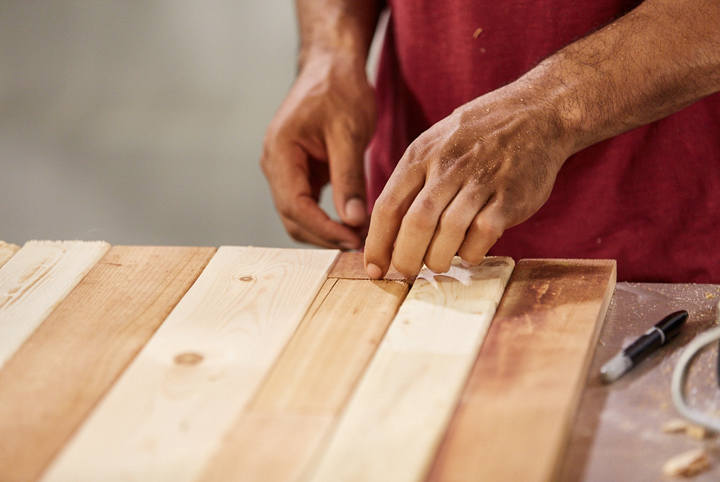
Step 2: Load your caulking gun with construction adhesive. Remove a few pieces at a time, apply adhesive to the backing board then attach the pieces. Continue with next few pieces until everything is glued down. Allow to dry for 24 hours.
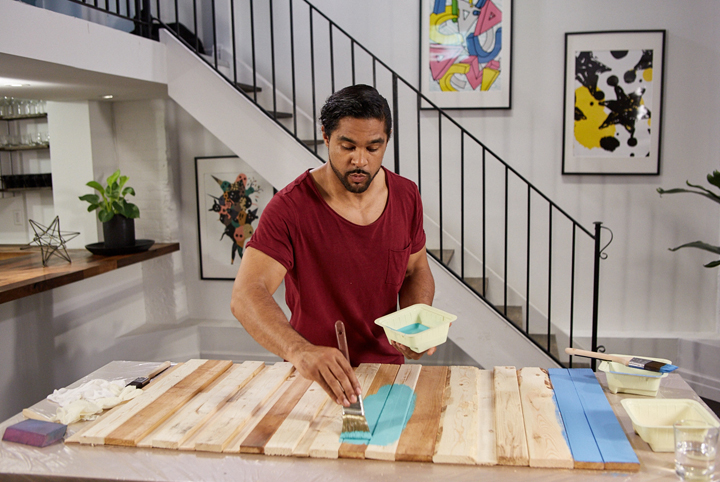
Step 3: Using 3 water based paint colours that blend together, begin painting a few boards at opposite end a different colour. Paint a few centre boards a 3rd colour. Next, working from each end continue painting the same colour without adding extra paint dry brushing for a gradation effect from solid to thinner coats moving towards the centre. Do the same from the centre out to blend into the other colours seamlessly. Using a rag dipped in acetone, blend the colours into each other. Use a sanding block, remove a layer of paint so that wood grain shows through (especially on the solid coloured boards). Use wire brush create a more rustic worn look to the piece. Allow one hour to dry.
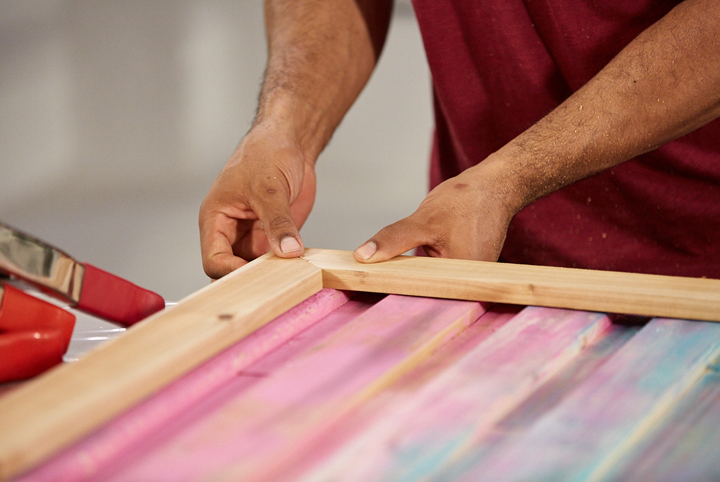
Step 4: Measure trim to make a 26″ x 50″ inch frame to go around your art and cut pieces and cut using saw and safety glasses. Mitre cut the ends of the pieces on a 45 degree angle for a finished look.
Step 5: Run a bead of adhesive along the border edge of the art and attach frame pieces right on top. Allow to dry for 24 hours.
Watch for more Save My Reno DIYs in Season 3 of Save My Reno which premieres on Tuesday, February 18 at 9pm e/p on HGTV Canada.

