Brian McCourt is a contractor, design expert and co-host of HGTV Canada’s Backyard Builds.
It sure looks easy to get rich flipping houses on TV! To get super real with you, these flipping experts perfected their craft long before stepping in front of the camera.
I had $10,000 to renovate my first flip – a two bedroom, two bathroom condo that was born the same year I was. To get more specific, my kitchen budget was a whopping $2,000 (nope, no zeros missing there). I was forced to use my mind instead of my wallet.
For those four long months, that condo and I were dating. We listened to our favorite song on repeat and ate Chinese food six nights a week. We laughed, we cried (it was one of those love-hate relationships). But hey, I was nineteen at the time and she was my first.
Your first flip will no doubt test your limits as you cross the road from DIYer to FTF (full-time flipper). Here are some handy kitchen tips I’ve learned over the years that cover five key features: cabinetry, countertops, appliances, backsplashes and flooring.
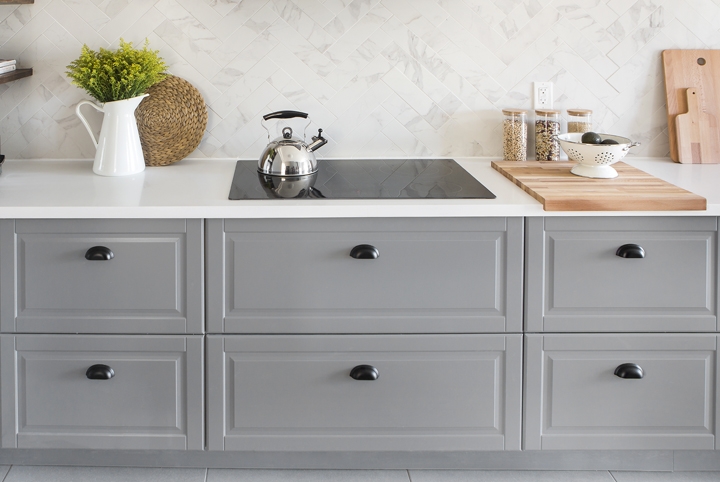
CABINETRY:
Perk Up Cabinet Doors
Best case scenario: you have cabinet doors that just need a bit of TLC. When the budget allows, have the doors professionally sprayed off-site for a factory finish ($40-$75 per door). I’ll often paint the sides of the boxes and the exposed pieces (like cover panels and the island surround) on site myself. When working with a tighter budget, you can paint the doors yourself, too. Lightly sand the cabinets, then prime and paint using a small velour roller. Make sure you mix your paint well and often to ensure an even satin finish. This will be surprisingly time-consuming, so prepare to spend a few days painting.
Don’t Overlook Melamine
These days, 90% of kitchen cabinets are made using melamine-faced MDF (pressed wood fibers with a plastic coating). It’s mind blowing how much strength we get out of these boxes! Each cabinet on its own is quite flimsy, but once they’re screwed together and secured to studs, they gain enough strength to hold thousands of pounds and last for decades. The melamine coating protects the fibers from water damage, but if exposed to moisture for long periods of time, the coating will fail and the boxes will start to deteriorate.
Executing the best kitchen flips requires a delicate dance of mixing highs and lows.
Salvage Cabinetry Boxes
Now that you’re an expert on melamine, you’ll want to carefully inspect the existing cabinetry boxes to determine if they’re still usable (which will save you tons of money). Oftentimes they’re still in decent shape and all you need are new doors (see tip #1) and updated hardware. If you’re starting from scratch, take a peek at your local ReStore for used kitchen supplies. I’ve saved thousands of dollars by buying second-hand for a couple of low-budget flips.
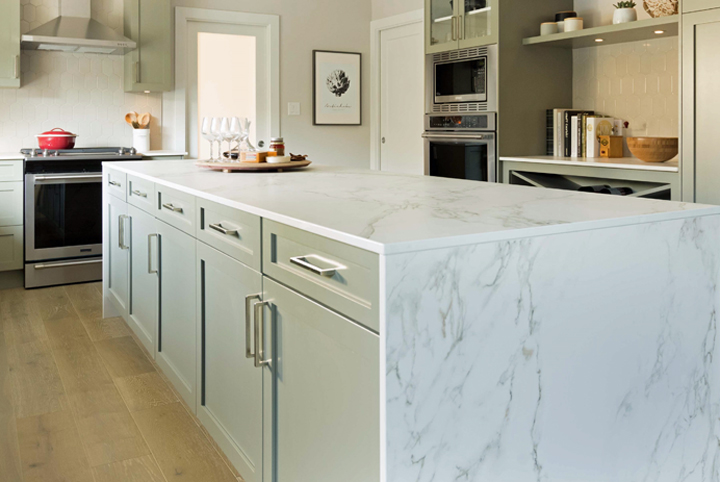
COUNTERTOPS:
Splurge on Stone
Executing the best kitchen flips requires a delicate dance of mixing highs and lows. Quality countertops are tough to fake, so if you only splurge in one spot, this is it. Stone counters are a fan favourite and will instantly add value to your home.
Know the Difference
Educate yourself on what’s out there. Marble is beautiful, with its dramatic veining and array of colours and patterns, but it’s also porous, stains easily and requires regular sealing – making it a poor choice if you plan on serving Cab Sauv at the open house. Granite is more durable but comes in limited speckled patterns. Quartz is a man-made material, comes in a variety of colours and patterns and is the most durable, but it’s also more expensive than marble and granite.
Review the Plan
When you’re dropping 3K – 8K on stone countertops, be sure to review the cutlist. Make sure the seams are far away from the sink cut-out and land on the gables (the upright structure of cabinet boxes). If you’re planning on a waterfall edge (the vertical stone that continues from the counter to the floor), make sure the contractor is bookmatching the slab so the pattern is not interrupted. We are all about saving money on a flip, but we still want to renovate properly!
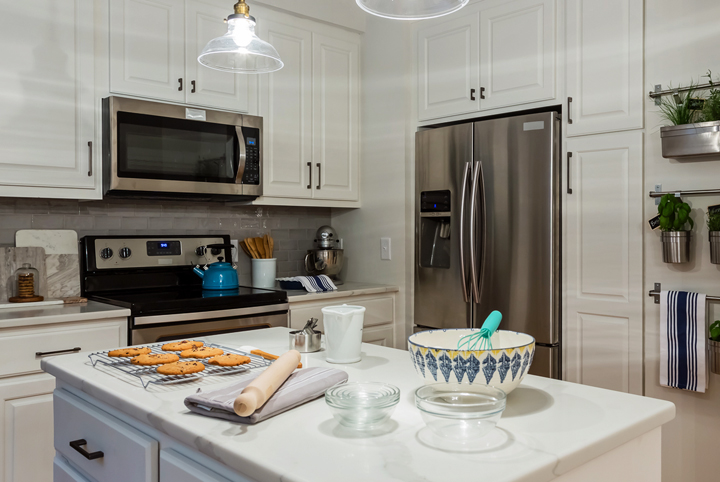
APPLIANCES:
Don’t Overspend
Opt for stainless-steel appliances that look new, but be frugal in your selection. Buyers usually walk through a house twice before they take possession. Basic appliances do the trick as long as they look great in the kitchen. The new homeowner can always buy higher-end models after they move in if that’s important to them.
Restore the Range Hood
It’s amazing what a can of spray paint can do to the hood vent. If you can get away with using the existing vent – do it! Use a high-heat product meant for appliances. Be sure to shut off the breaker before you disconnect the vent.
Second-Hand Savings
Check out second-hand stores and websites. If you widen the search to 100 kilometres or more, you’ll be surprised at what you can find. Rent a truck for the day and search for those half-priced appliances.
BACKSPLASH:
Embrace Paint
If you’ve spent most of your budget on the counters and there’s nothing left for the backsplash, this is where you get creative. Pull neutral colours from your countertop and paint a graphic design on the backsplash using painter’s tape (nothing too busy or with too much contrast). Buyers don’t always have a strong imagination, so we have to spell it out for them – or stencil it out!
Check the Discount Section
The average size of a kitchen backsplash is usually 30 to 50 square feet. This makes for a great opportunity to check end-of-stock sales to score some low-cost Carrera or glass mosaic tiles.
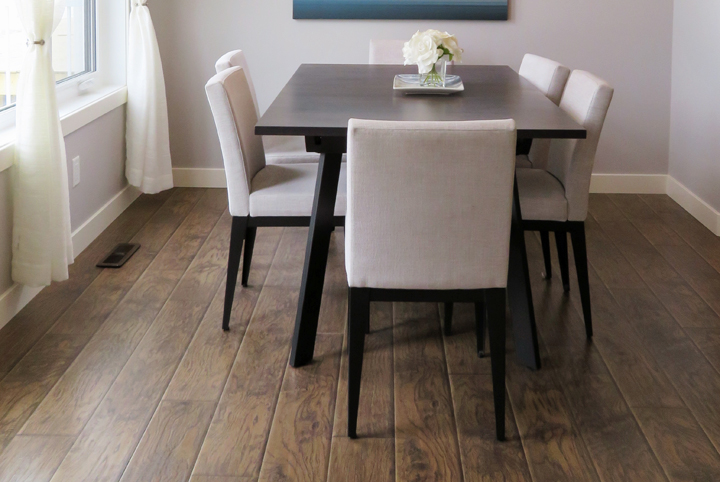
FLOORING:
Choose Hardwood
I love the seamless look of hardwood throughout a main floor and kitchen. It’s faster to install this way and costs less than most tile. That being said: avoid high-gloss flooring, which showcases every footprint, smudge and speck of dust. You’ll thank me between showings when you don’t have to mop after each visit.
Plan for Transitions
Before you start laying your floors, think about how the different surfaces will meet. Are they the same thickness? Do you need a reducer (a transition piece that joins the two floors)? Asking yourself these questions pre-reno will save many headaches down the road.