
Few things are more exciting (or thoughtful!) than a homemade gift, and there is no material I love using more than the fun and forgiving magic of Fimo – an easy-to-use polymer clay. From earrings and rings to plates and coasters, the DIY options are endless and the material costs next to nothing.
Tiffany Pratt is the Queen of Craft. Known for her signature colourful style, she’s brought her unique sense of design to HGTV Canada’s Buy It, Fix It, Sell It and Home to Win.
Related: 5 DIY Wrapping Paper Ideas Made with Household Items
Here’s what you’ll need to make any DIY holiday gifts:
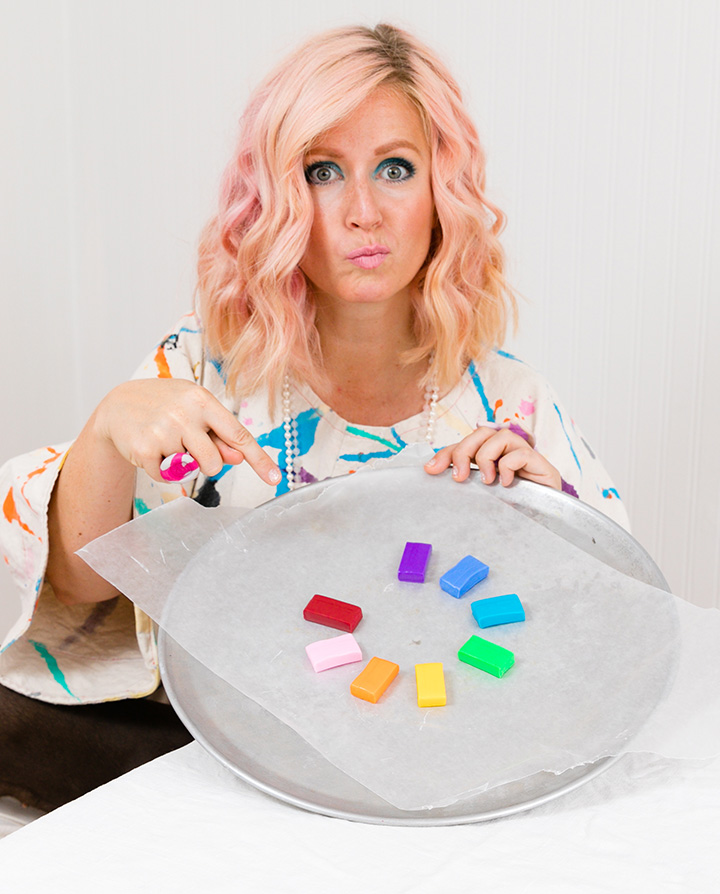
- Fimo in a rainbow of shades
- Earring backs and pins (if you want to make earrings, too!)
- Parchment paper
- Hot glue gun
Step One: Preheat the Oven and Roll the Fimo
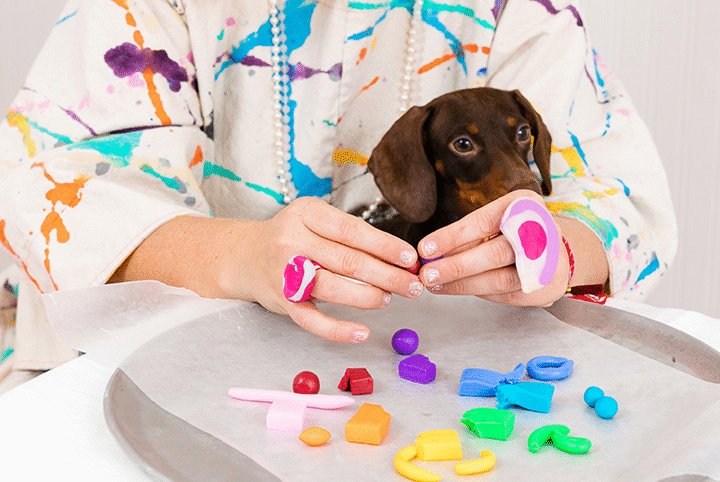
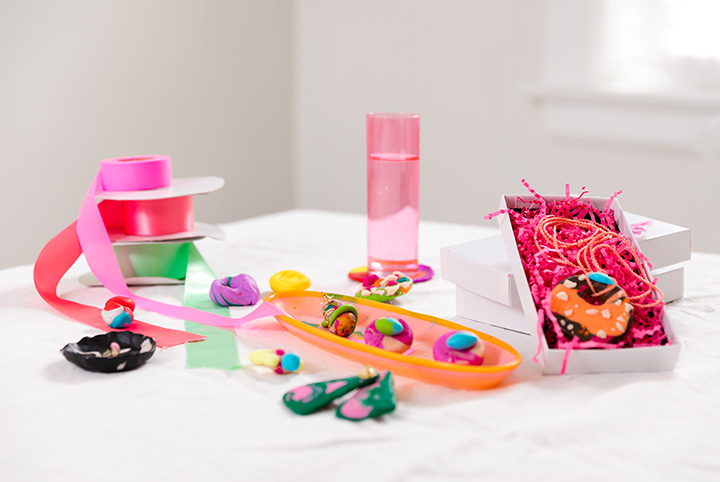
Pre-heat your oven to 250 degrees. Once you have an idea of what you want to create, start rolling the Fimo into balls and warming it up to make it easier to work with. I love swirling all of the shades together to create a marbled effect.
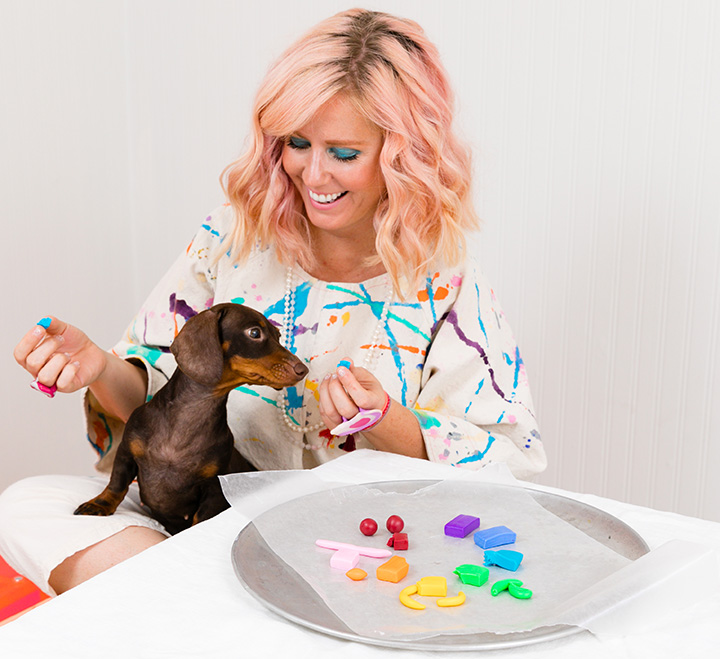
Step Two: Mold the Fimo Into Shape
Start forming the general shape of what you want to make. I made coasters for my brother-in-law, earrings for my mom, a ring for my sister and a ring dish for my friend. Once you get rolling, it never stops. I even took the last of the polymer clay and rolled the leftovers into balls and worms to create an abstract ornament (pictured). It looks so artful that it can be left out past the holiday season, and that is the name of the game! ,ake something that someone will cherish, wear and use.

Related: 12 More Homemade Holiday Gifts You Can Whip Up in a Pinch
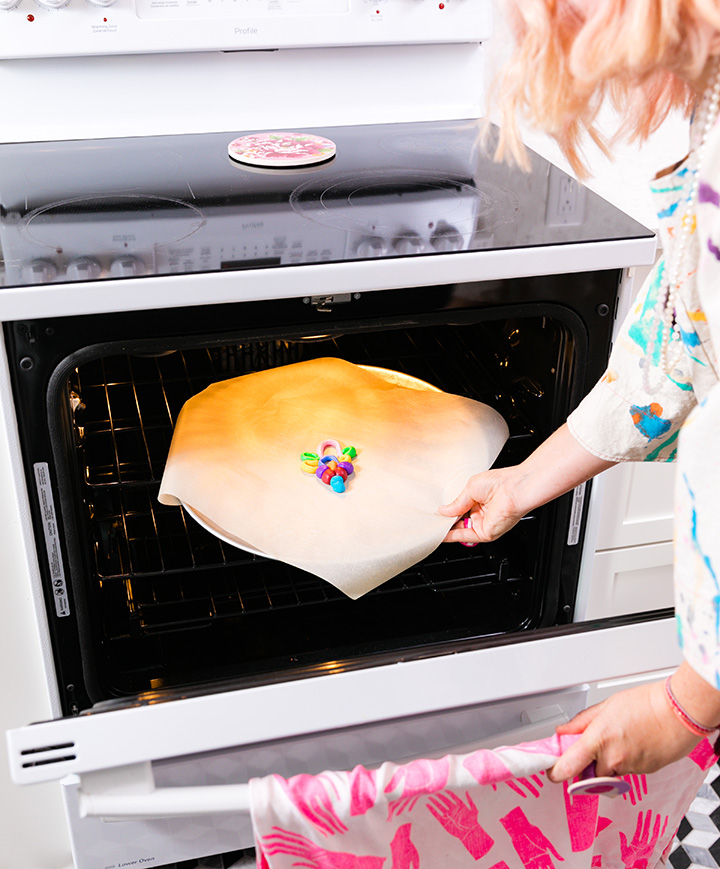
Step Three: Put Your Creations in the Oven
All of your Fimo creations need to sit in a 250 degree oven for 30 minutes to harden and form. Be sure to push all of your pieces tightly together, and that you are happy with how things look. Once the creations are baked, they cannot be modified or changed.
Step Four: Put on the Final Touches
Once your Fimo has cooled, add the final additions to your creations. Pull out the hot glue and add the earring or pin backs, then wrap up your creations artfully to turn these DIYs into a gifting dream!
Fimo has been around for 50 years, yet this item is an untapped craft resource that has been bringing joy and crafting love to us all for a long time. Don’t forget about those simple bricks of modelling clay at your local craft store next time you’re looking to create the perfect gift this season!

Want more Tiffany? Check out how to make these adorable holiday cards and our DIY section.

