
Take your cue from the classroom and craft a DIY chalkboard pumpkin for your festive front door or Thanksgiving table. It’s not only one of the easiest no-carve pumpkin designs out there, it’s also a chic and customizeable way to celebrate the season.
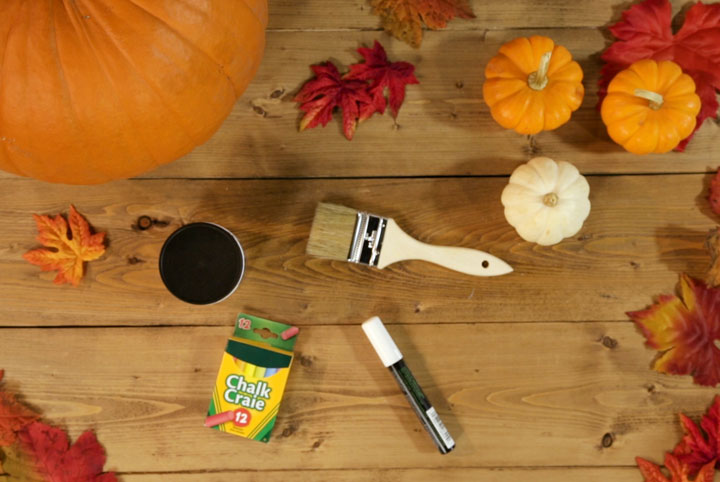
To make a chalkboard pumpkin, you’ll need the following materials:
A Pumpkin
Chalkboard Paint
A Paint Brush
Chalk or a Chalk Marker
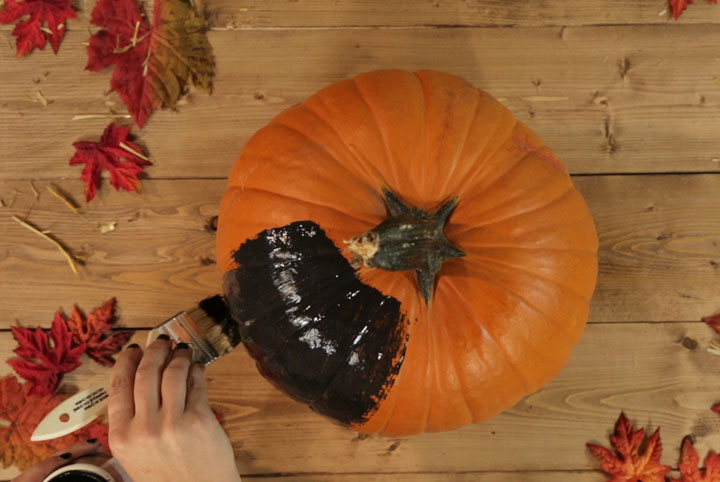
Step One: Paint Your Pumpkin
Paint your pumpkin using the chalkboard paint and paint brush. You can paint the entire pumpkin, or leave the stem exposed for a rustic touch.
Step Two: Let Your Pumpkin Dry
Allow the chalk paint to fully dry, and inspect your pumpkin for any spots you might have missed while painting. This design looks best with a solid coat of chalk paint.
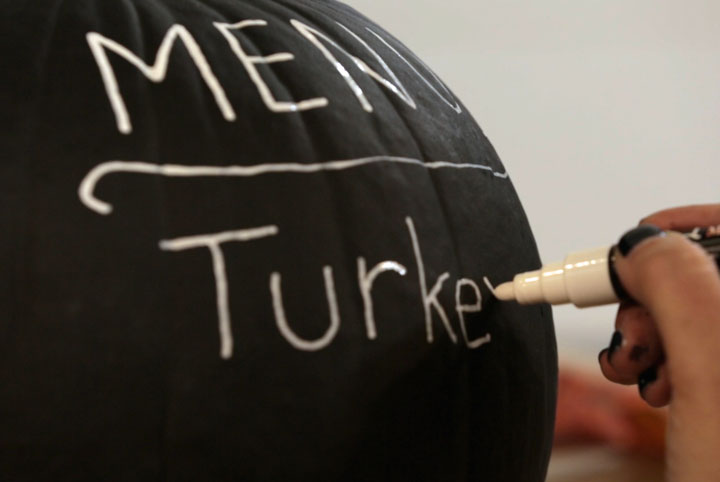
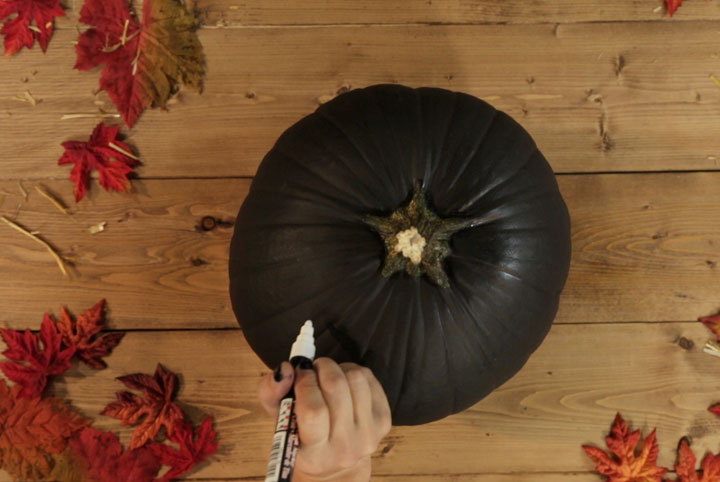
Step Three: Design Your Pumpkin
Once your pumpkin has dried, use your chalk marker or chalk pieces to draw on your pumpkin. You can use your chalkboard pumpkin to create a custom menu for your Thanksgiving menu, a Halloween countdown, or draw decorative and spooky designs. Let your imagination run wild!
For more creative DIY ideas, visit the HGTV.ca Halloween Guide!

