
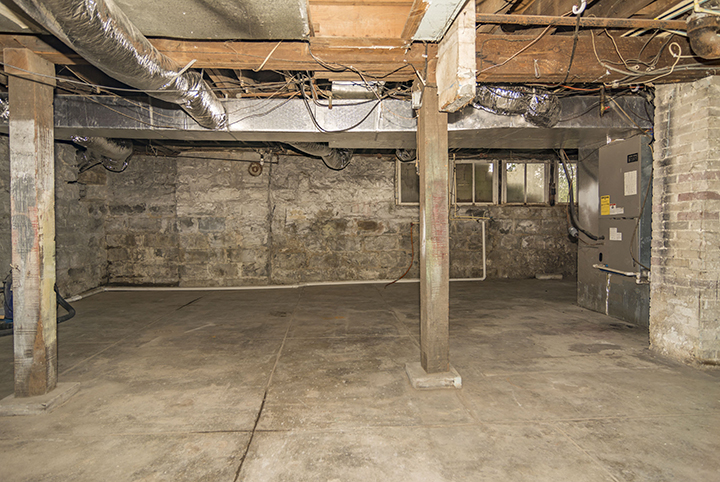
A properly finished basement can add value to your home. It also becomes extra livable space – a place for the kids to play, or a favourite space for adults to hang out (that sought-after man cave you’ve always dreamed about!). Spend your basement renovation dollars wisely by making it right the first time.
Once you have your design in mind, your permits and inspections in hand, waterproofing and repairs are taken care of, it’s time to get the framing done. Framing a basement can be a challenge for intermediate level DIYers, so if you’re a beginner, call in a professional to do the job.
Tools
Proper framing is crucial. Think of the framing as the skeleton of your basement renovation. You’ll want to make sure that you have the right tools on hand, and most importantly, instructions on how to use those tools safely. The tools you’ll need include:
- Power saw
- Drill
- Air Compressor
- Nail Gun
- Plumb Bob
- Laser Level
- Measuring Tape
- Wood or Metal Studs (If metal, need “tin snips” as well)
- Framing Square
- Speed Square
- Hammer
- Carpenter Pencils
- Safety Glasses
- Dust mask/respirator (dust mask)
- Sill Gasket
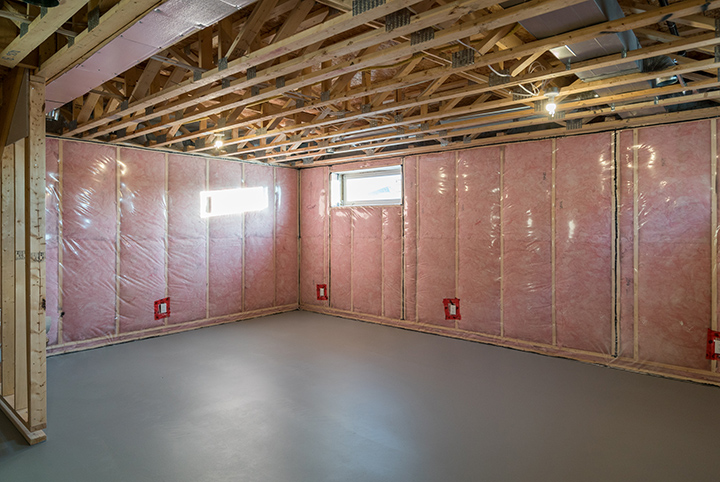
Framing
You’ll need to frame the walls and ceilings, of course. But what else? Doors, windows and electrical fixtures will all need to be framed too, as well as partition walls and soffits.
There are two ways to frame a wall: you can either nail the top and bottom plates, then nail the studs in between, or build each section on the floor and then raise and nail it into place.
Building a Wall in Place
- If you’re building a wall in place, start by lining up the top and bottom plates and mark where the studs need to go.
- Start by checking if the floor and ceiling are level. If it is not, you will need to measure for each stud by nailing the top plate to the ceiling joist. This can be tricky to do on your own, so you’ll need to use a couple of clamps to hold the top plate in place while you secure it.
- Using a plumb bob, mark two points on the floor for your bottom plate.
- You’ll snap a line between these two points using a chalk line. Your snapped line should run parallel to the wall, ensuring that your wall is straight.
- Place your sill gasket under the bottom plate on the floor, lining it up with the snapped line. Be sure you are leaving at least a ½” space between the studs and the foundation wall. We want to avoid direct contact of a wood wall with concrete. Your top and bottom plate should be perfectly aligned.
- Cut your stud (the vertical board) and place it into the top and bottom plates. The stud should be a snug fit, but not too snug. If you have to use a lot of force to fit it in, you may need to remove it and trim it a little. Studs should be placed 16 inches apart on centre.
- Once all the studs are in place, use your level to make sure that the wall is straight and the studs are flush.
- The last step is to secure your bottom plate.
Building on the Floor
If you’re building each section on the floor, I highly recommend having someone with you. You’ll need help with holding the wood together as you start to secure it, and you’ll need someone to help lift the wall into place. If your basement floor is not level (which most basement floors aren’t), building on the floor will be a challenge.
- Check each stud for curves (called “the crown”) and mark each curve with an “X”. Make sure that all the curves are facing the same direction – this will prevent the wall itself from having a curve in it.
- Again, place each stud 16 inches from centre, and secure the top and bottom plate. Make sure you have enough room to tip the wall up. Depending on the levelness of the floor or the positioning of the ductwork, you may need to put the top of the wall into place first, and then slide the bottom of the wall into place. This is where having someone with you is helpful.
Keep in mind that building on the floor is only good for solid walls; anywhere there’s a window or door opening, you’ll need to build in place.
Framing around soffits and electrical fixtures can be tricky, so make sure you plan it right so you can make it right.
![]()
Images courtesy of Harmony Home Builders and Getty Images

