
Bryan Baeumler is one of HGTV Canada’s go-to contractors and the host of Bryan Inc., House of Bryan and Leave it to Bryan.
Using drywall in your home has both its benefits and drawbacks: It’s relatively easy to install if you take the right steps, and is reasonably durable if well-maintained. However, it can also be quite easy to damage. Maybe your children are having just a little too much fun, or you pierce a hole from moving furniture. Whatever the case, there’s a chance you may have to fix a hole in your wall at some point in your life. Here’s how to do it:
Step One: Measure the Hole
Measure the size of the hole, and then cut a piece of drywall that’s bigger than the hole. This is a great opportunity to use up scrap pieces you may have lying around your shed or garage. Once you’ve cut the piece of drywall, hold it over the hole and trace its outline on the wall. Then take your drywall knife (make sure it’s sharp!) and cut the drywall where the lines are traced. This should make a perfect hole for the piece of drywall you cut.

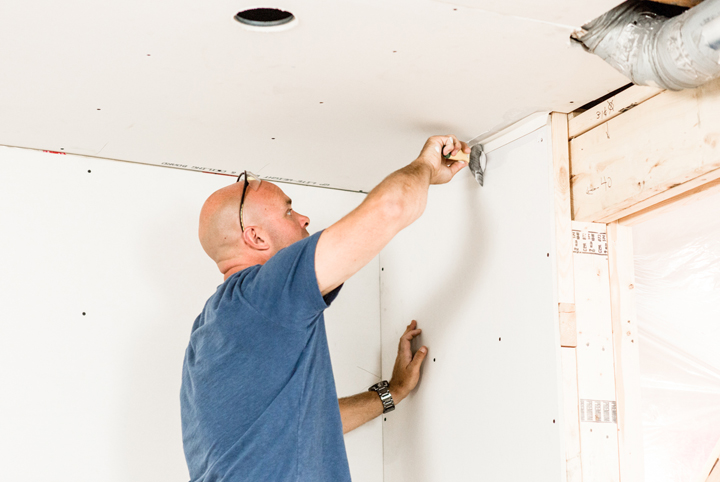
Step Two: Insert the Drywall
Once this is done, take either a couple of shims, drywall repair clips or 2x2s as backing and screw them into the framing on both sides. Then insert your new piece of drywall and screw it into place using the backing. If it’s a large area that needs replacing, cut the drywall back to the studs, exposing ¾ of an inch or half of the stud to use as backing. Then replace the entire piece of drywall.
Step Three: Mudding
Now it’s time to move onto mudding. This is where your level of expertise will determine what you do. If you haven’t tried mudding before, you might want to ask an experienced friend or family member; or better still, hire a professional. If you are confident to give it a try (we all have to start somewhere!) then follow these important ground rules:
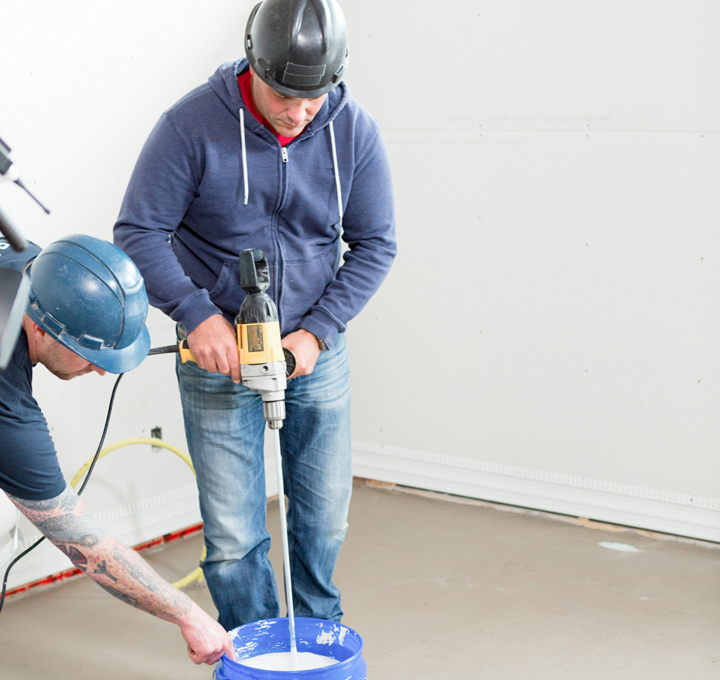
When mixing the mud, make sure it’s perfectly smooth, as any lumps will show up when you apply it to the drywall. Once you have your mixture ready, the first coat should act as a setting compound. This is often called “90” on site, because it dries in 90 minutes.
Use a drywall trowel to fill the large gaps in the corners and joints, then let it set. There shouldn’t be a need to sand this coat, as the first layer should be flat if done correctly. If this is a small repair, use compounds that dry in 45, 20 or 5 minutes, but be careful not to make too much, as the mudding will dry before you apply it. An alternative to this is to buy a ready-mixed compound, but I recommend against that stuff for the first coat.
When replacing a square piece of drywall, you will obviously have four butt joints. These can be hard to feather out in order to make the seams invisible. You’ll probably need to apply two or three coats of mud for this reason. I recommend feathering out about 12 inches from the joints, as the further you go, the less you will see the repair.
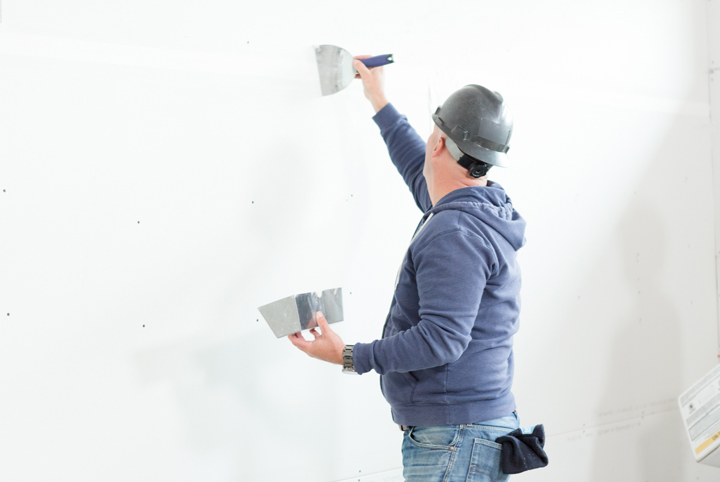
Step Four: Sand and Paint
Once you’re done mudding, you’ll need to sand and then paint. If done correctly, you shouldn’t need to sand for long, after all, we don’t call it sanding and scraping. Once you have a smooth area and the seams aren’t visible, you’re ready to paint; and the job is done.
Good luck, and remember, mudding is for the brave!

