
If you’re looking to change up your typical holiday decor, this stylish Mason jar DIY is a quick and impactful way to dress your living space up without breaking the bank. You know I love making things feel extra festive (especially for the holidays) and these colourful jars accomplish just that!
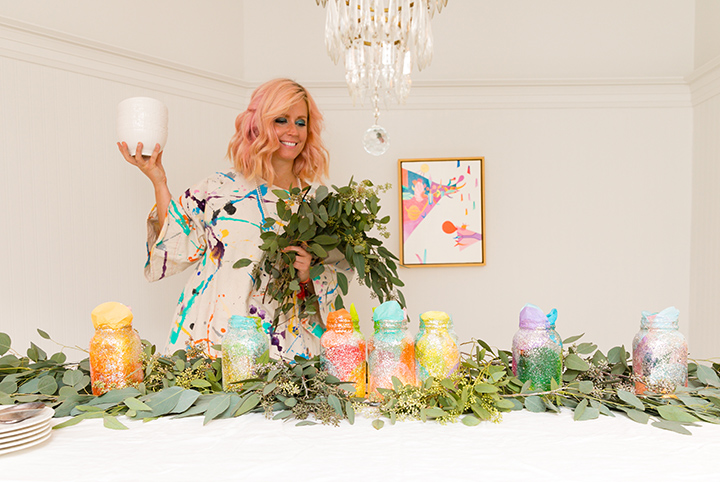
Tiffany Pratt is the Queen of Craft. Known for her signature colourful style, she’s brought her unique sense of design to HGTV Canada’s Buy It, Fix It, Sell It and Home to Win.
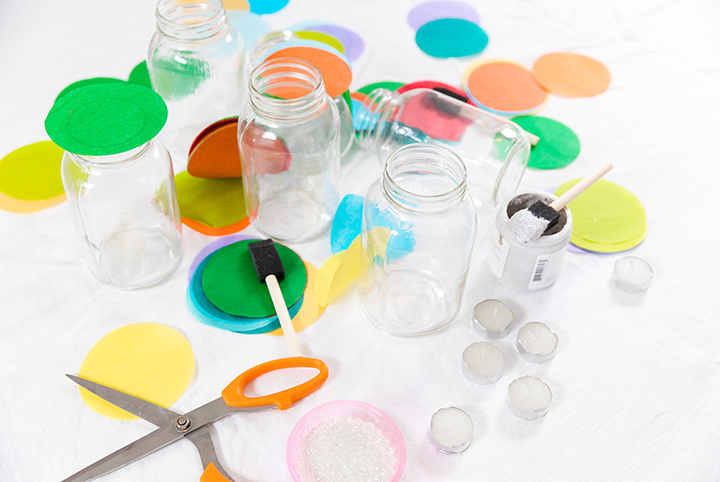
Here’s what you’ll need:
- Mason Jars (I used seven)
- Tissue Paper (assorted colours)
- Mod Podge (available at your favourite crafts store)
- Sponge Brushes
- Glitter (clear or iridescent)
- Scissors
- Tea Lights (battery operated or classic candles)
Related: Top Your Holiday Table with These Colourful DIY Paper Trees by Tiffany Pratt
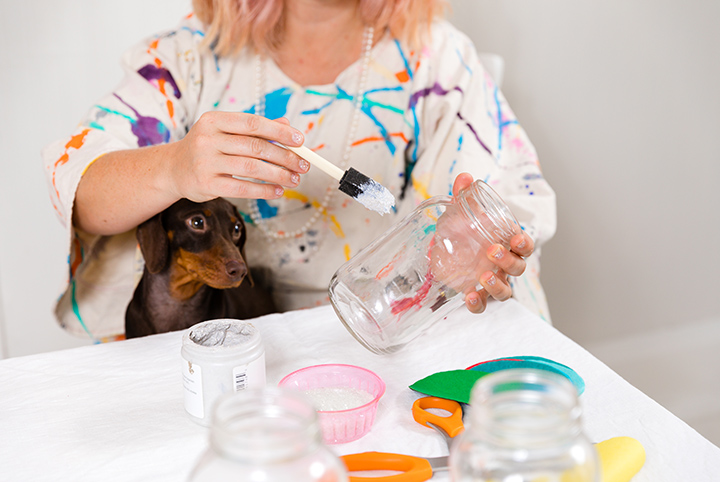
Step One: Glue the Tissue Paper to the Jar
Make sure your Mason jars are clean and dry. Take your sponge brush and apply a generous layer of Mod Podge all over the jar.
Layer the tissue paper onto the wet glue. I chose assorted tissue paper colours pre-cut into circles. Use whatever you have at home, or select colours and shapes that suit the holiday you’re celebrating!
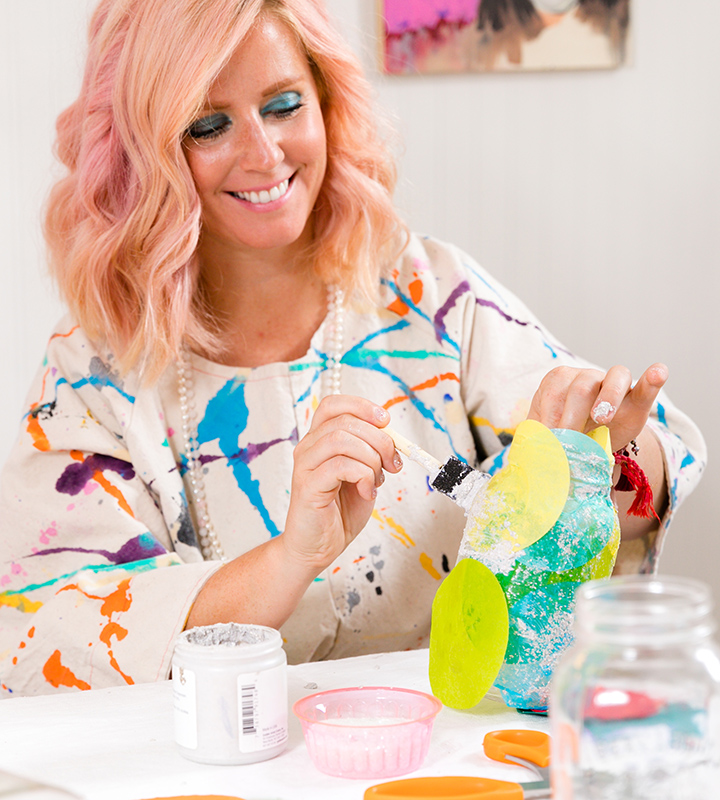
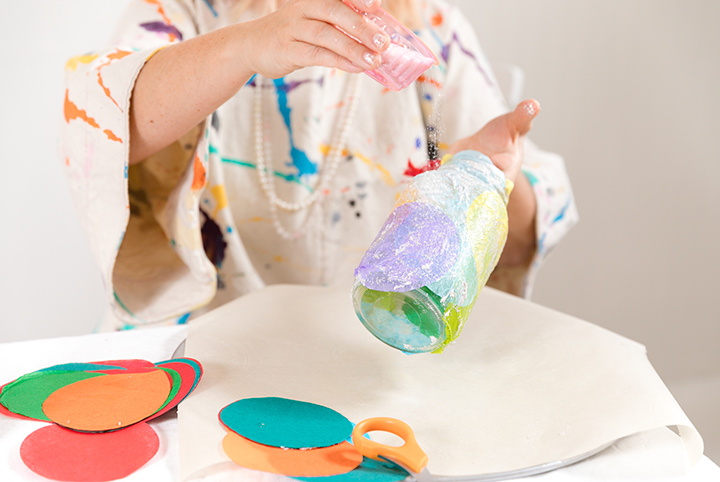
Step Two: Add Sparkle with Glitter
Coat the jar in another generous layer of Mod Podge. While it’s still wet, sprinkle your favourite iridescent or clear glitter. Note: I highly recommend using only clear or iridescent glitter for this project to enhance the colours of your tissue paper, rather than concealing them.
Related: Easy and Unique DIY Chalk Paint Wrapping Paper Ideas by Tiffany Pratt
Step Three: Trim Away Stray Tissue (If You Want)
Once your jars have dried, you can use your scissors to trim any stray edges. Or, you can leave the loose ends at the top of the jar just like I did for some fun texture.
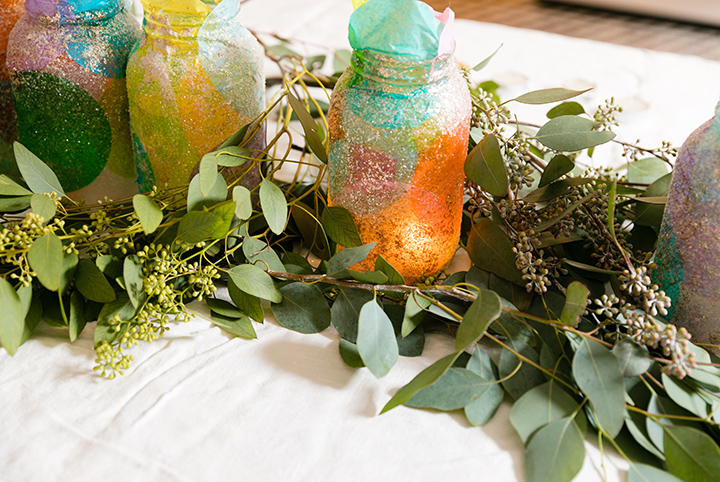
Step 4: Create a Stylish Centrepiece
After creating a few jars by following the above steps, use them to make a stylish holiday centrepiece. Line the jars up in the centre of your table, surround them with eucalyptus or baby’s breath to spread some holiday cheer. Get creative and use these jars anywhere in your home for a colourful glow!
Want more Tiffany? Check out these 12 easy DIY projects that will brighten your home and our DIY section.

