
Although I love a good solid coloured dyed egg at Easter, I cannot help but think outside of the drugstore decorating box when it comes to decorating eggs. I resist pulling out the hot glue and I opt for mod podge so that I can make use of some of the tissue paper coloured circles that I bought for no reason! By mod podging the coloured tissue on top of the egg, I can get a stained glassed effect and because we are using tissue paper and mod podge-we are not compromising the soft delicate egg shell. I always love adding clear glitter to the top of these because you have to add a layer of mod podge on top of the tissue at the end anyways. By adding the glitter just makes it more magical. You don’t have to use tissue paper circles- you can use any old tissue you have cut into smaller pieces. The secret to success here is the mod podge which is a really great adhesive and glaze all in one!
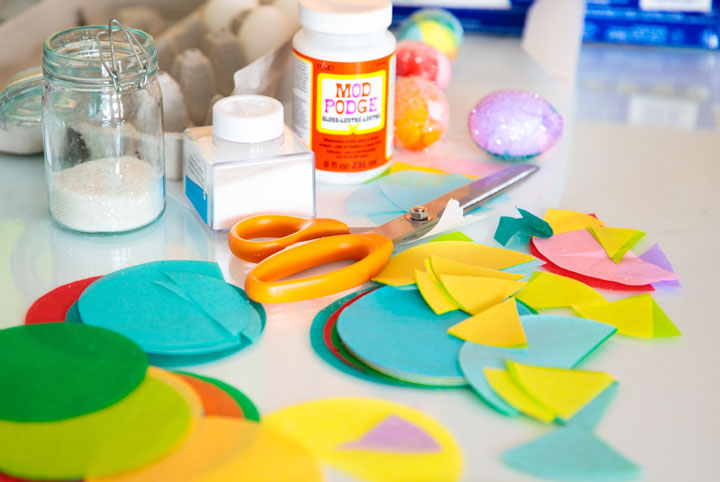
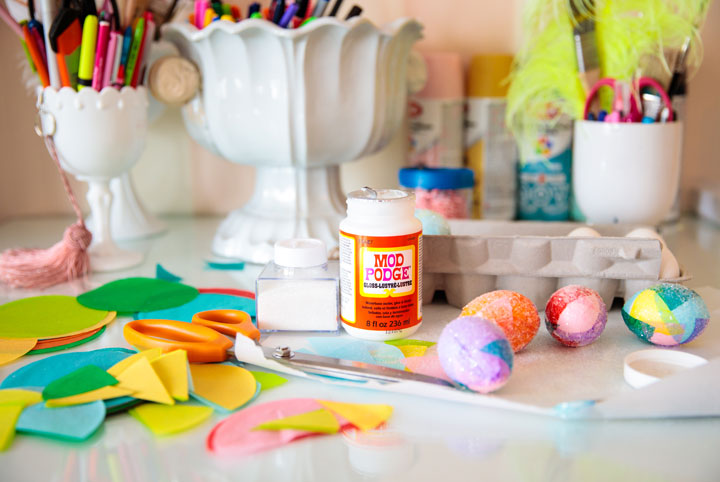
Here is what you’ll need to create the DIY Decoupage Easter Eggs:
- White eggs (hard boiled)
- Mod Podge (glue)
- Tissue paper (multiple colours + shapes)
- Clear glitter (but any glitter is cool)
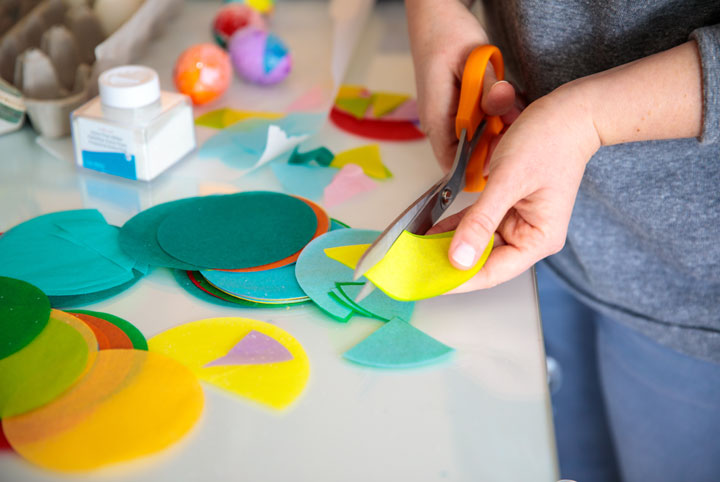
Step One: Cut Tissue Paper into Shapes
Begin by preparing your tissue paper. The smaller the pieces the more intricate the overall look will be. If you can buy ready made shapes of tissue like squares or circles this makes it easier-but you can cut up whatever you have hanging around the house!
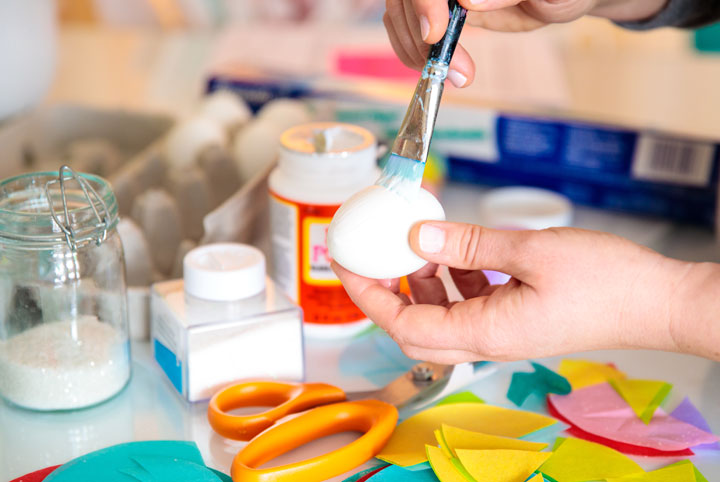
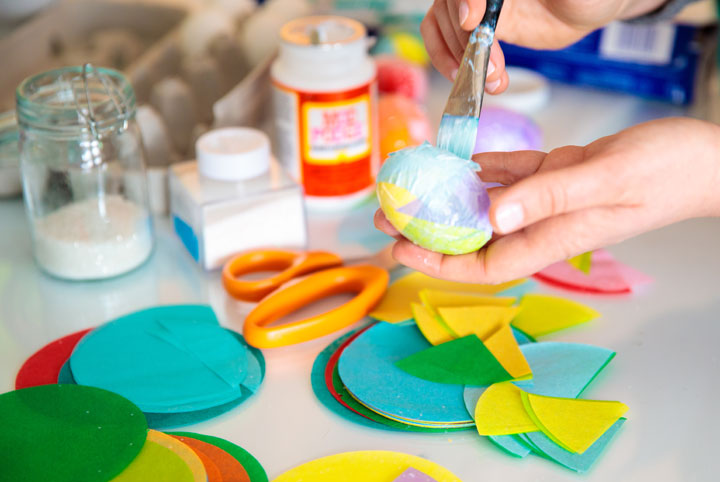
Step Two: Apply Glue and Tissue Paper to Your Egg
Cover the entire egg in mod podge and then begin placing the tissue onto the egg in the mod podge all around the egg. You want to make sure that you layer the tissue colours so that they create new colours. The flatter the tissue paper the easier it will be for you to see the overall effect as it is happening so brushing the glue on top will be helpful to hold the paper down.
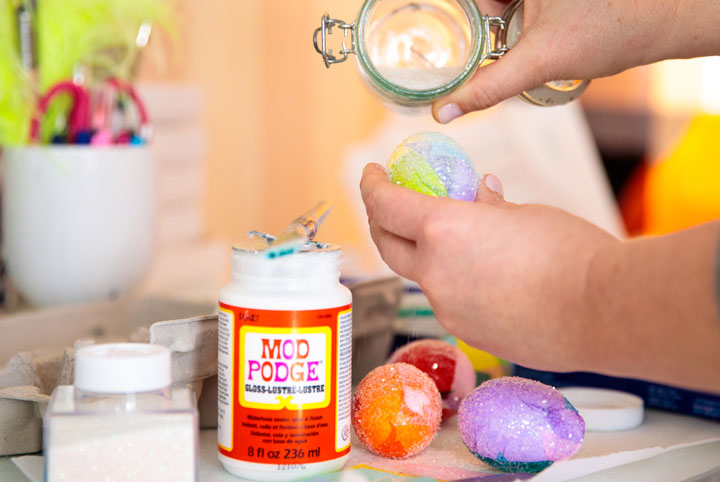
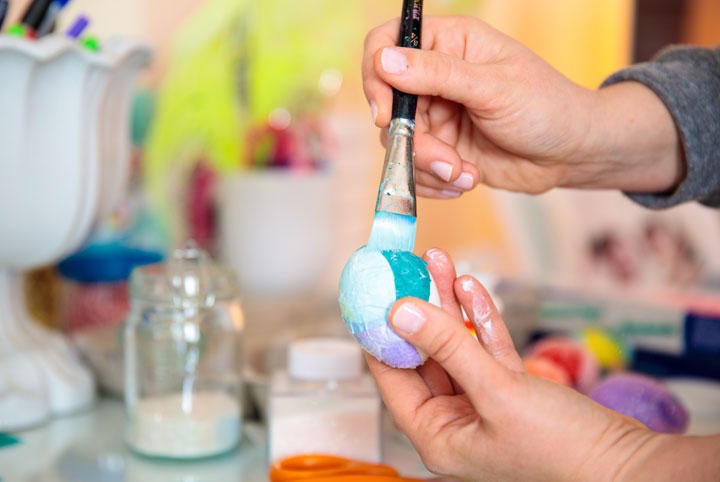
Step Three: Apply a Final Layer of Glue and Glitter
Once the entire egg is covered in tissue, then add the final layer of mod podge to the top of the tissue! Do not add too much! Just a light dusting of the glue is plenty and then sprinkle the clear glitter on top of the wet mod podge. Let dry and ta da!
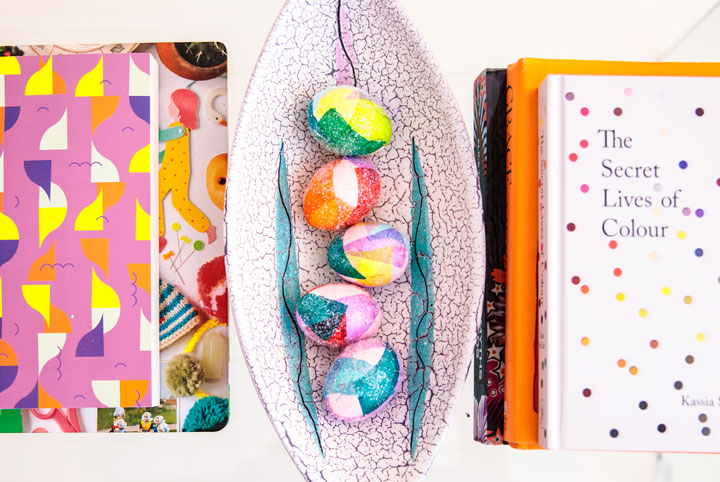
What I love about this DIY is that you can really make some amazing designs without a lot of effort! Anybody of any age can do it and the supplies required are minimal. I do recommend a trip to the craft store specifically for mod podge and clear glitter as they really take this project to the next level. These two items will be things to have in your craft artillery forever and always that I know you will love and come back to time and again! Because the only thing that takes time for this DIY is the drying of the glue, you can make an epic heap of these magic eggs and create quite the holiday display!
For more of Tiffany Pratt’s colourful DIY creations, visit the HGTV.ca DIY section!

